Cart
0
Press-On Nail Reuse 101
How to Reapply Press-On Nails Like a Pro
Want to make your press-on nails last longer? Discover how to reapply press-ons like a pro with our expert tips on prepping, gluing, sizing, and removal!
Why Settle for One Set When You Can Have Many?
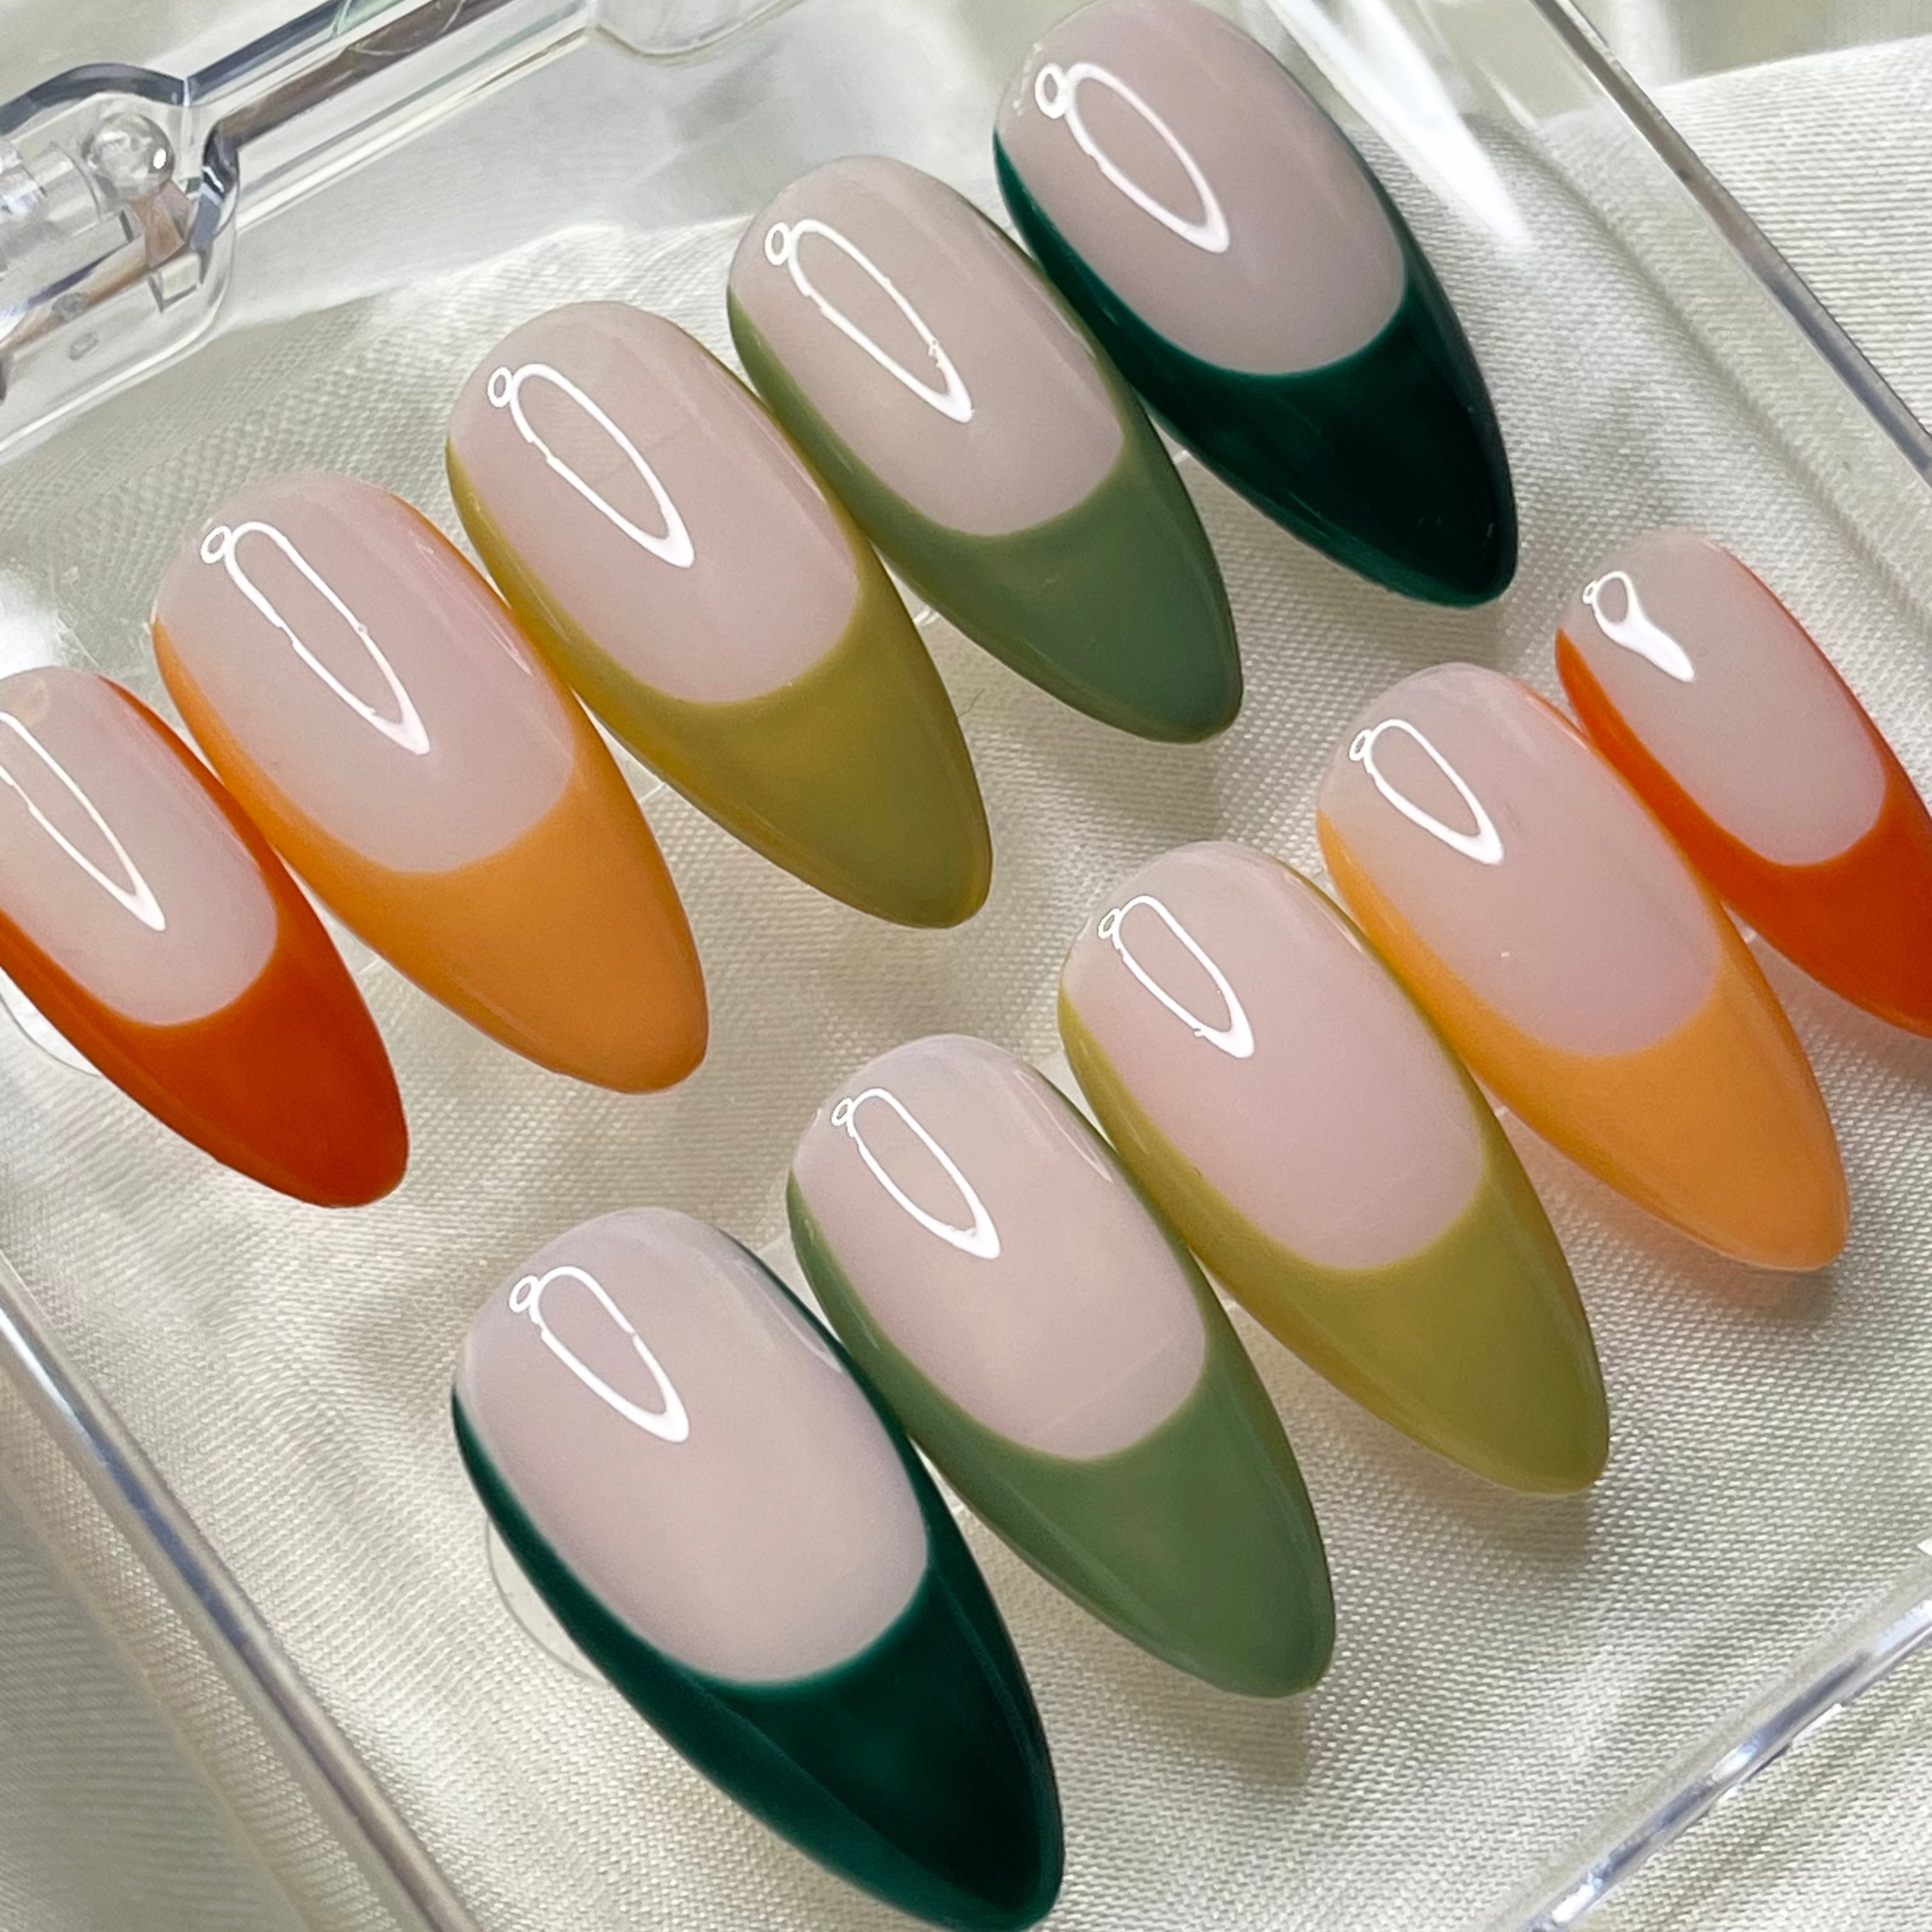
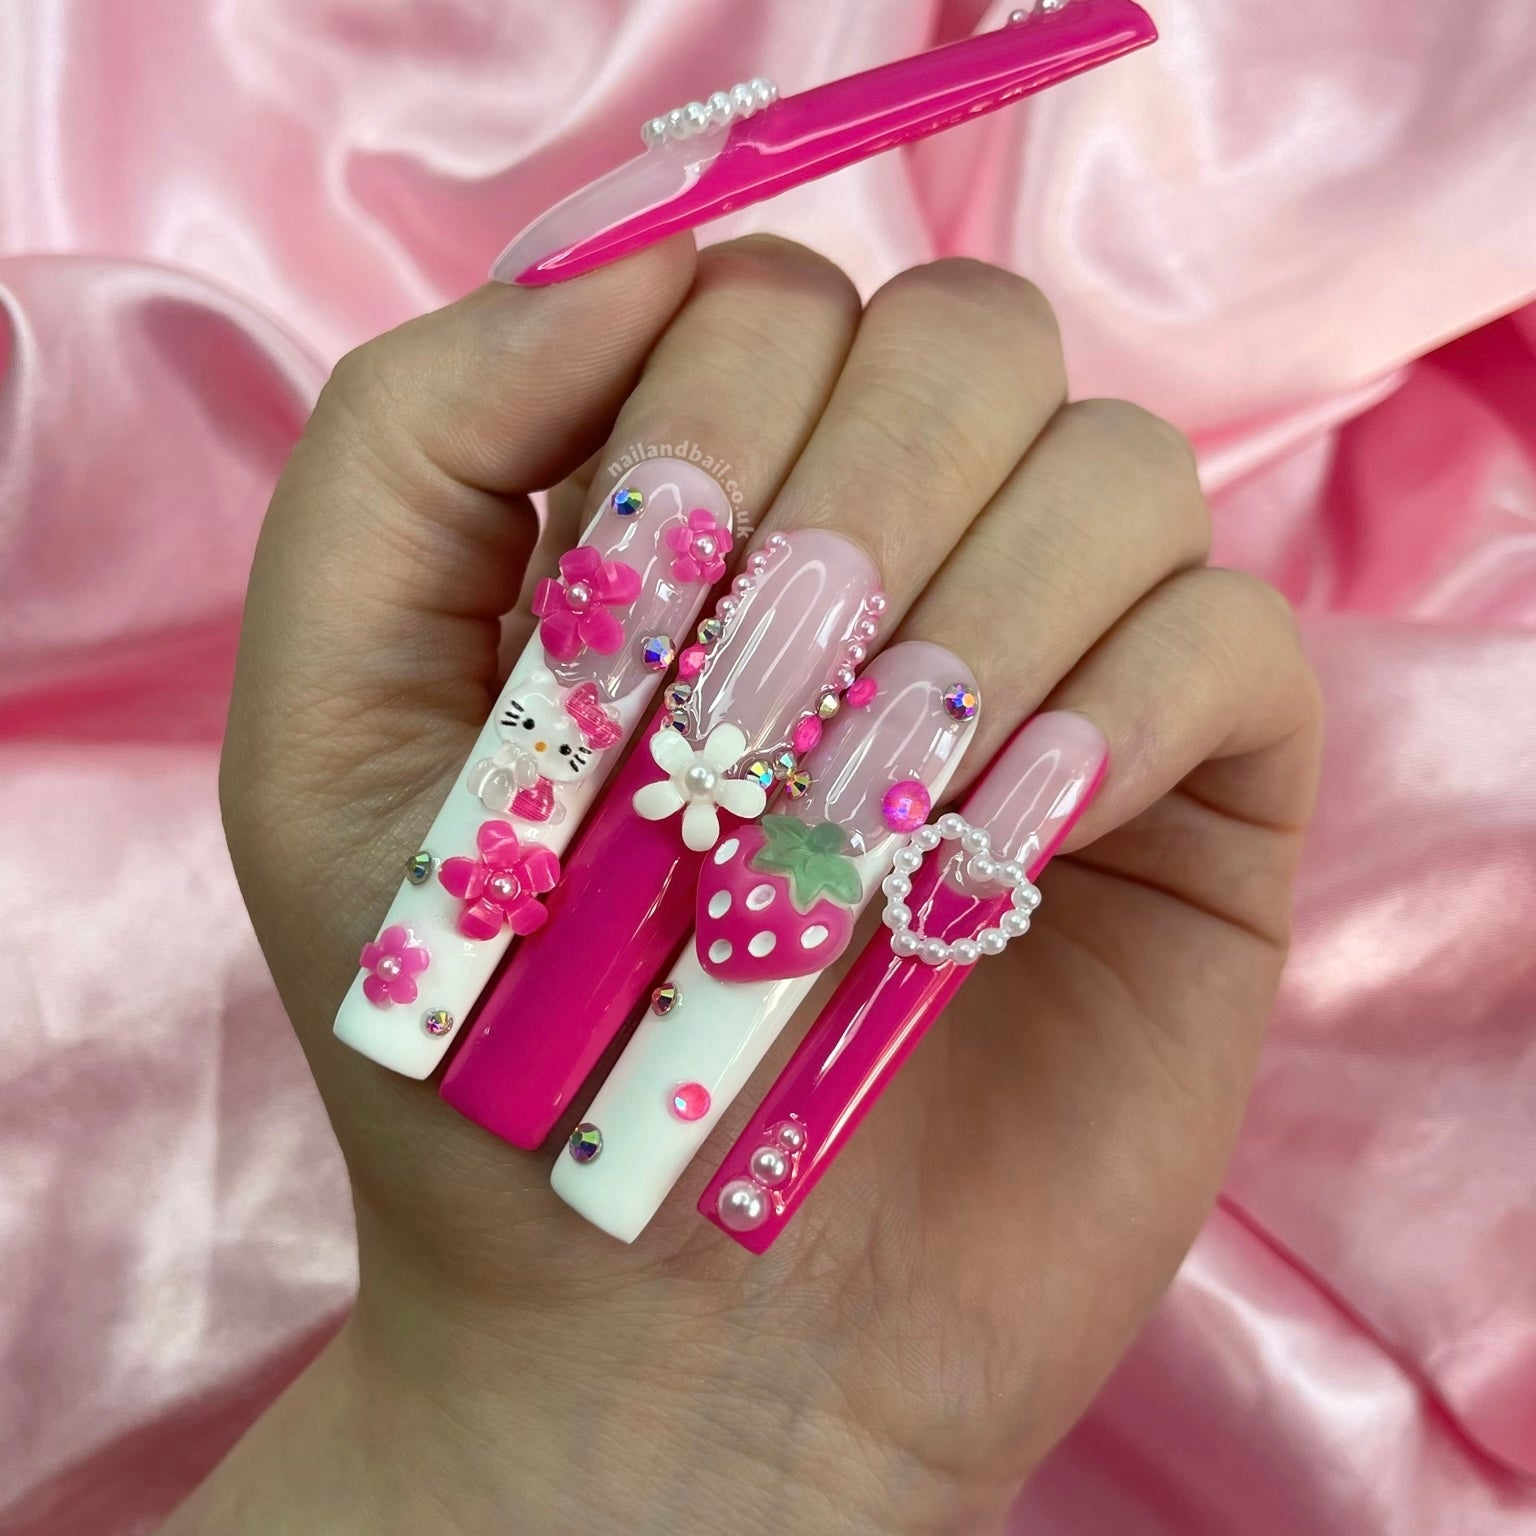
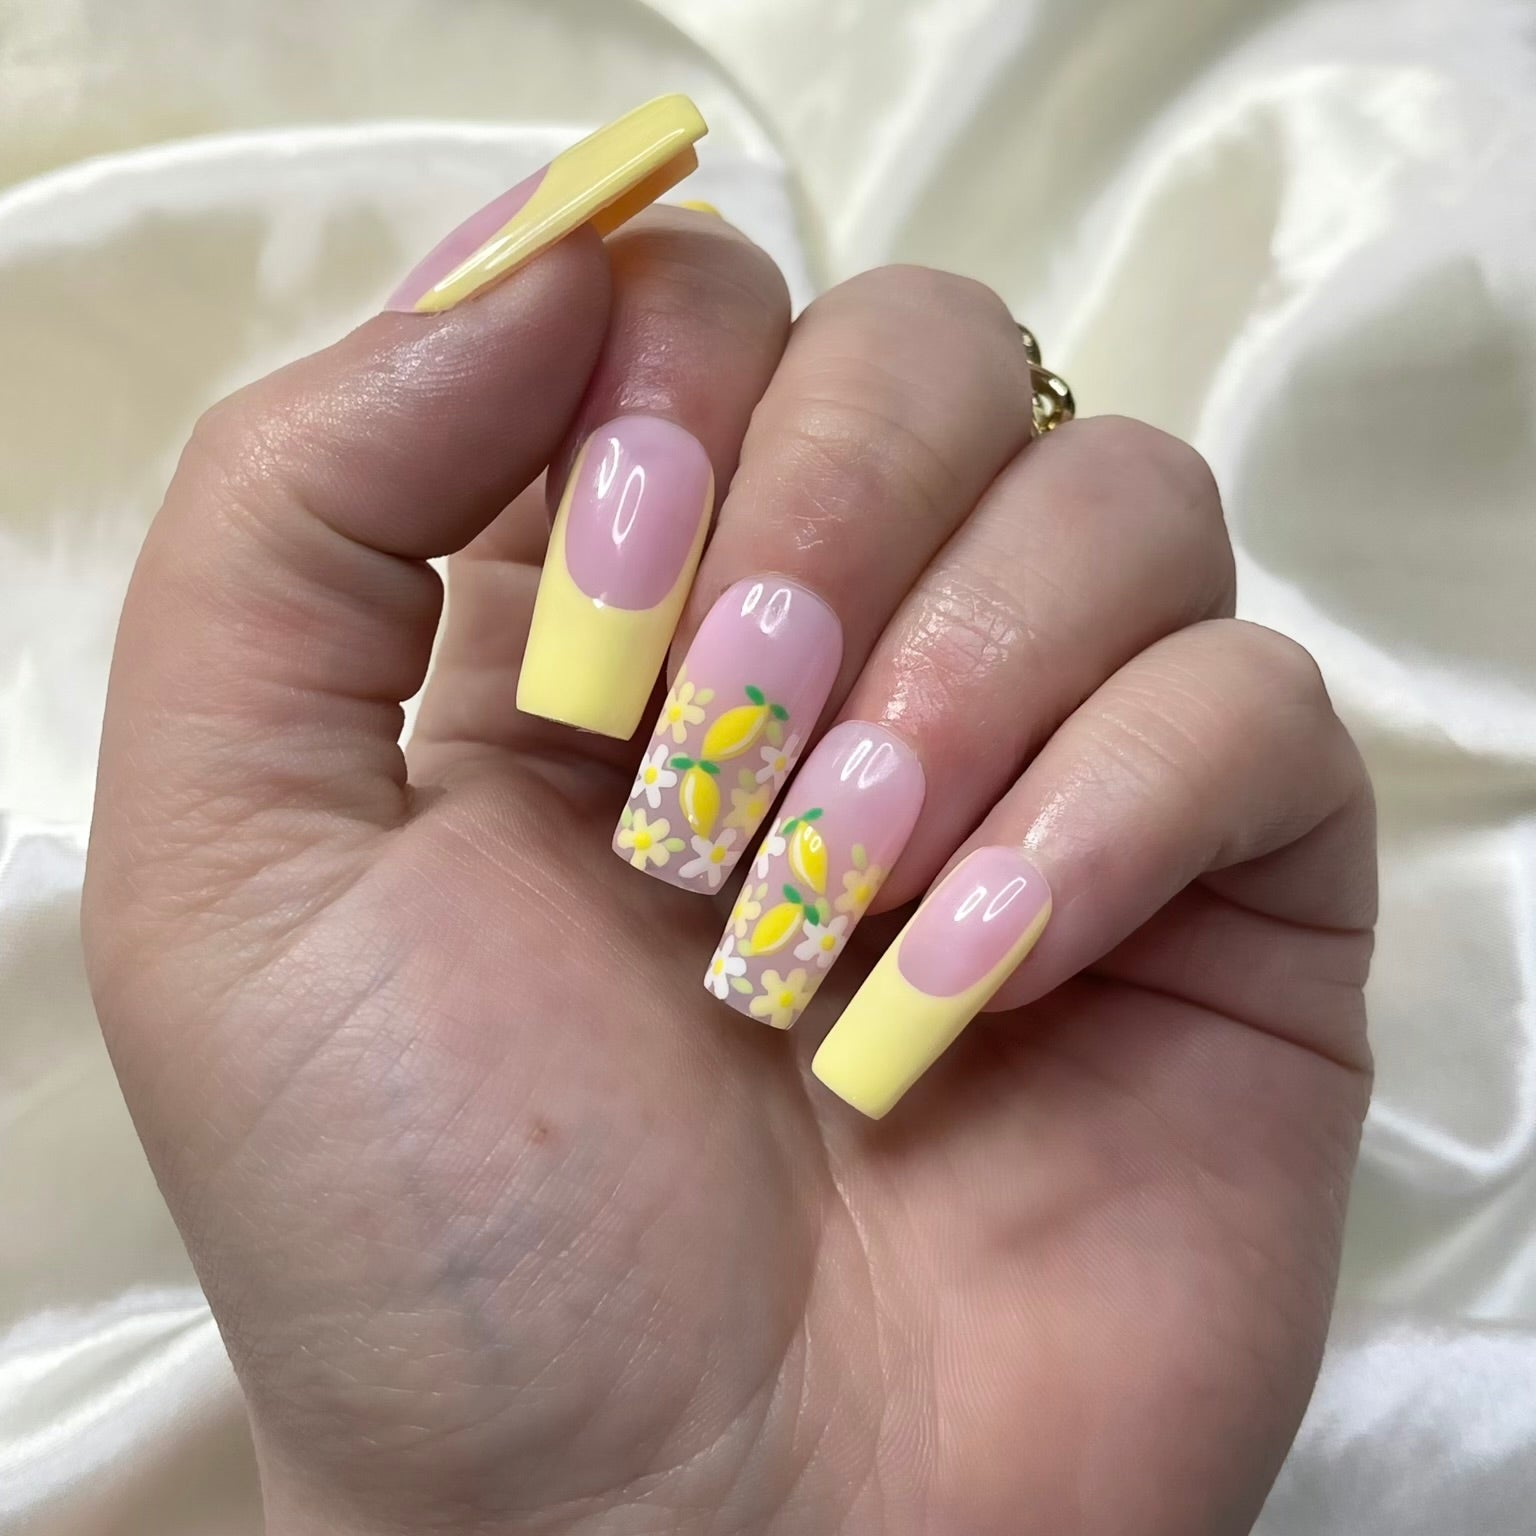
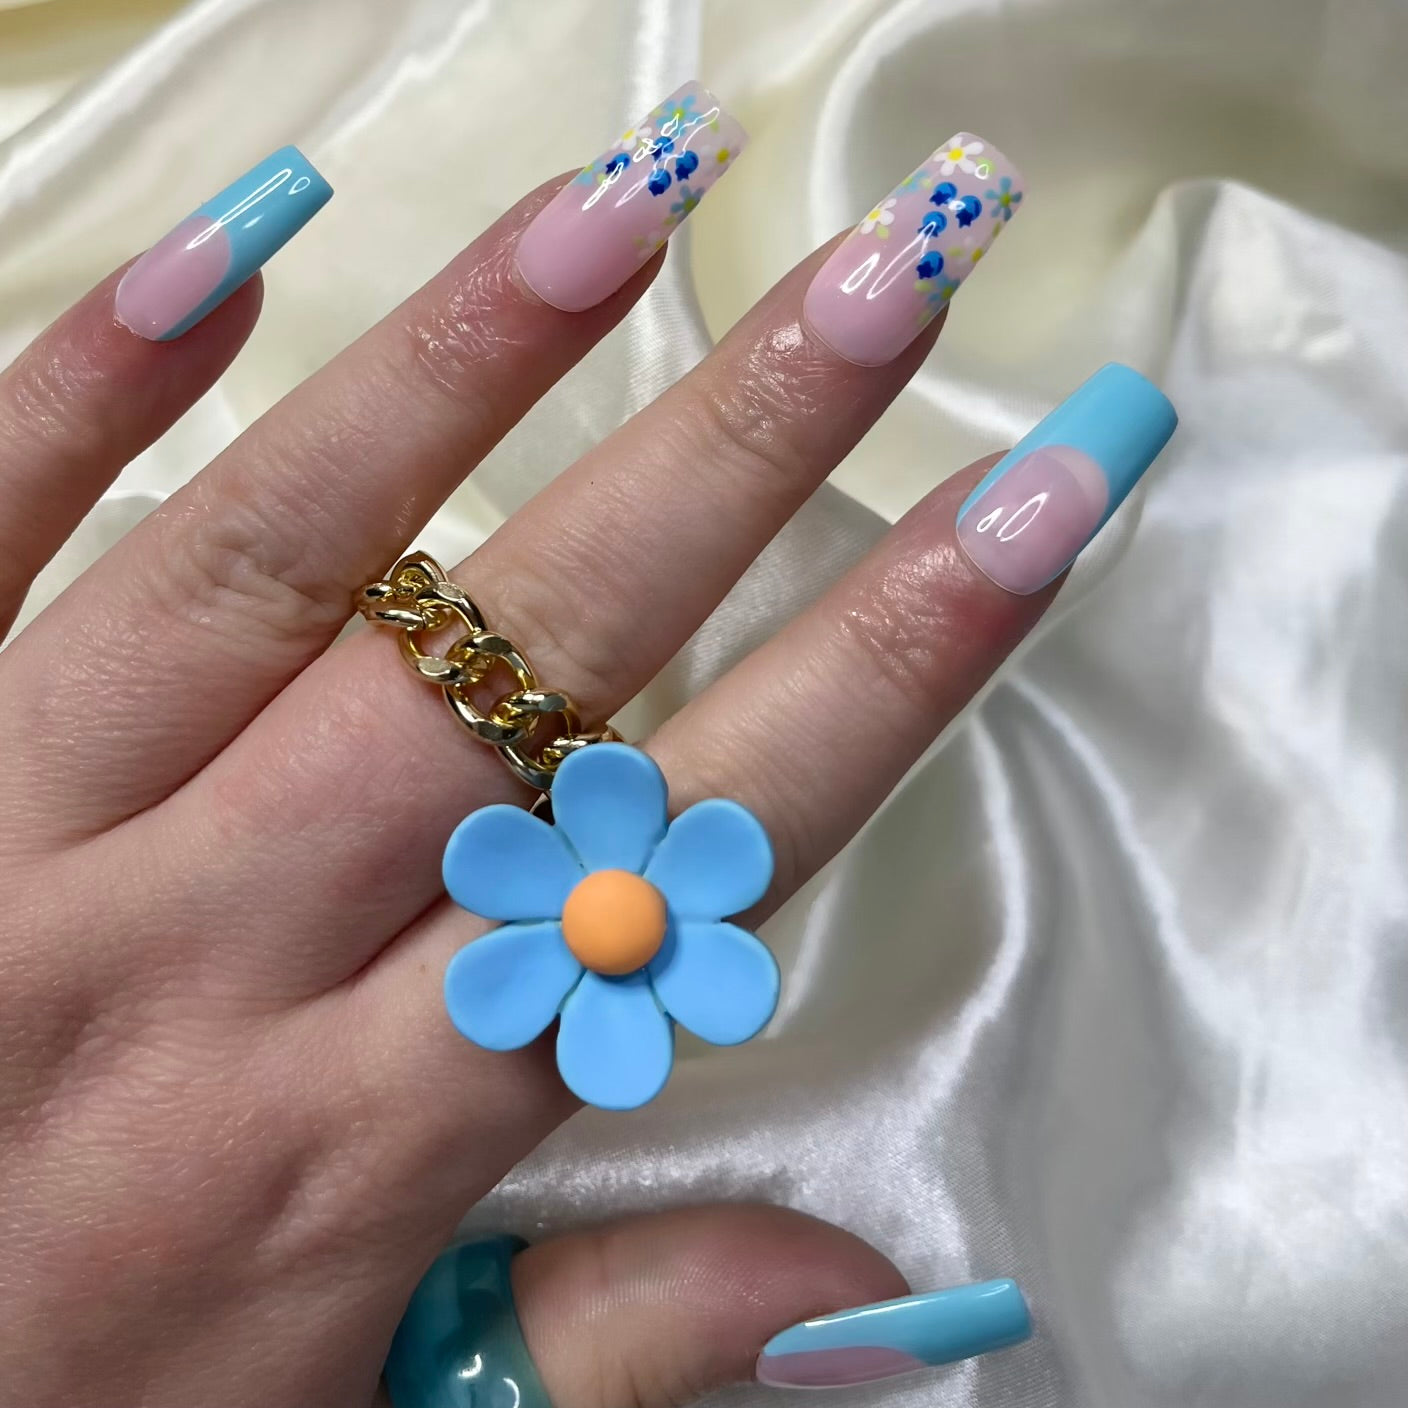
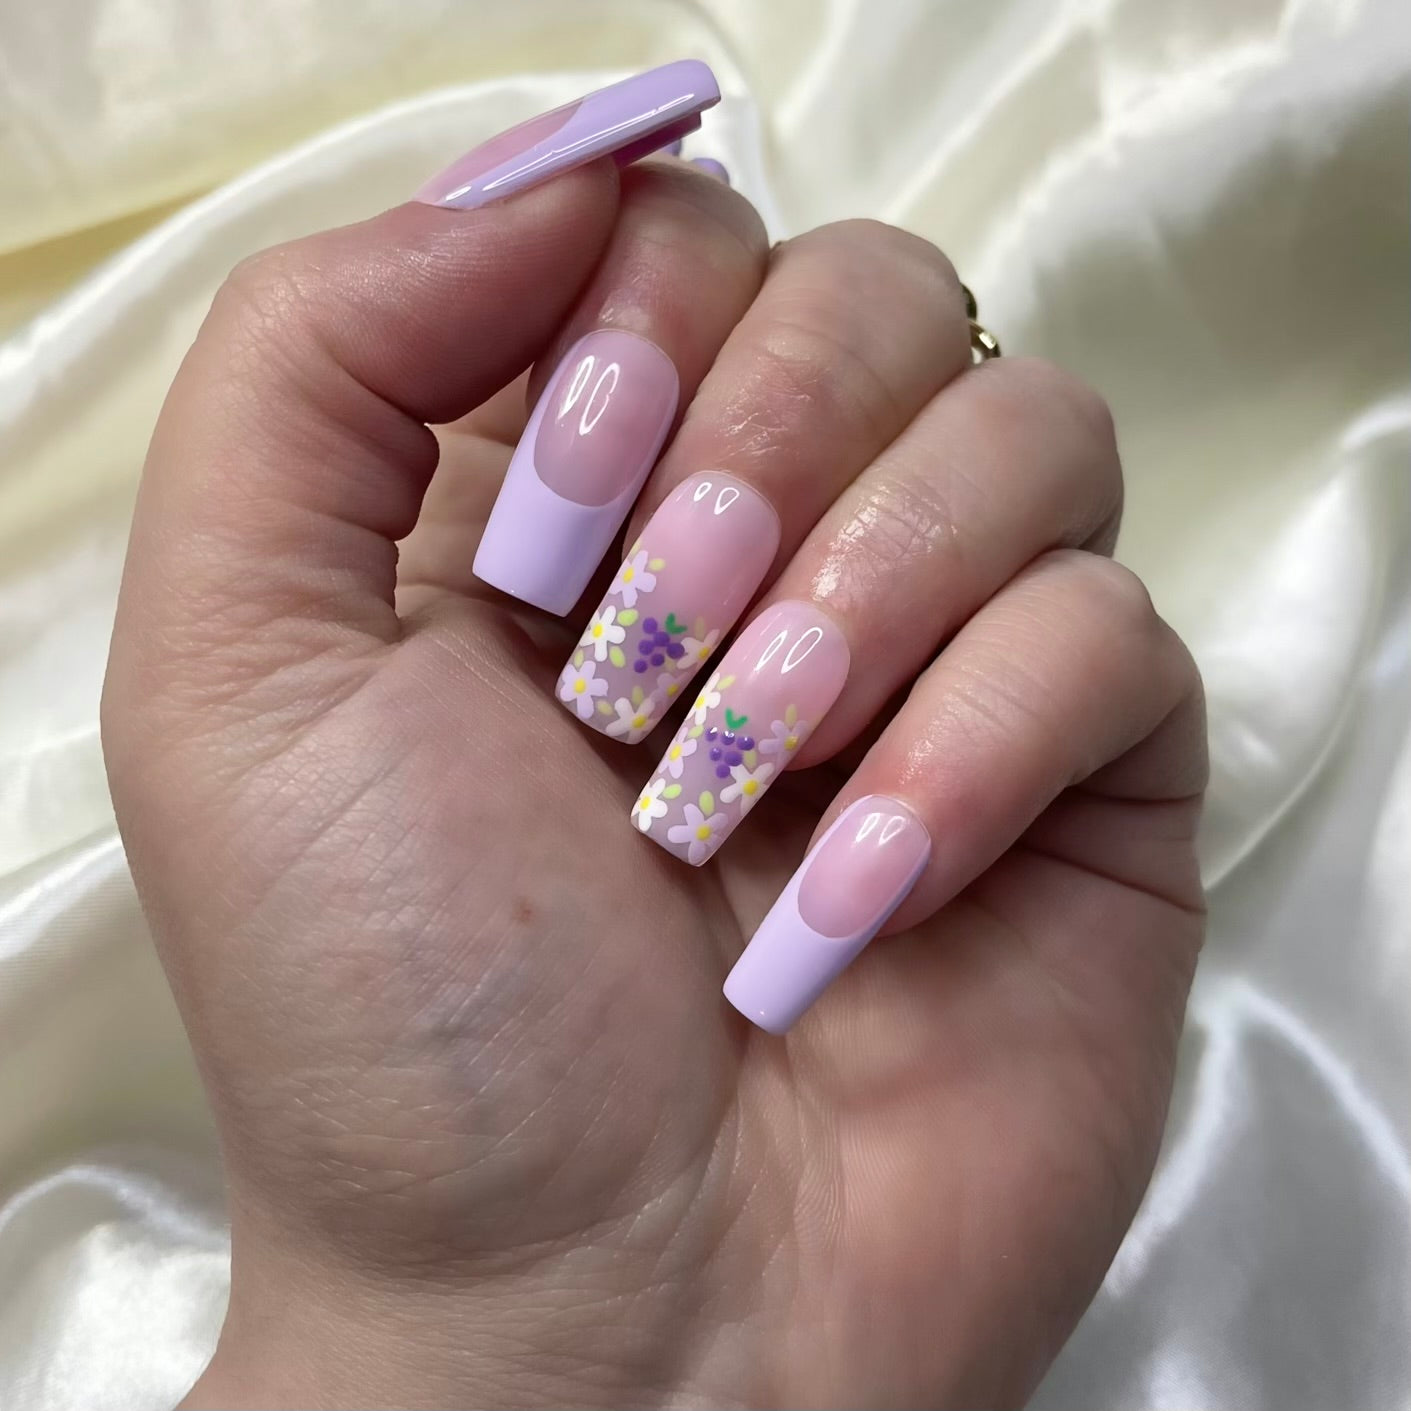
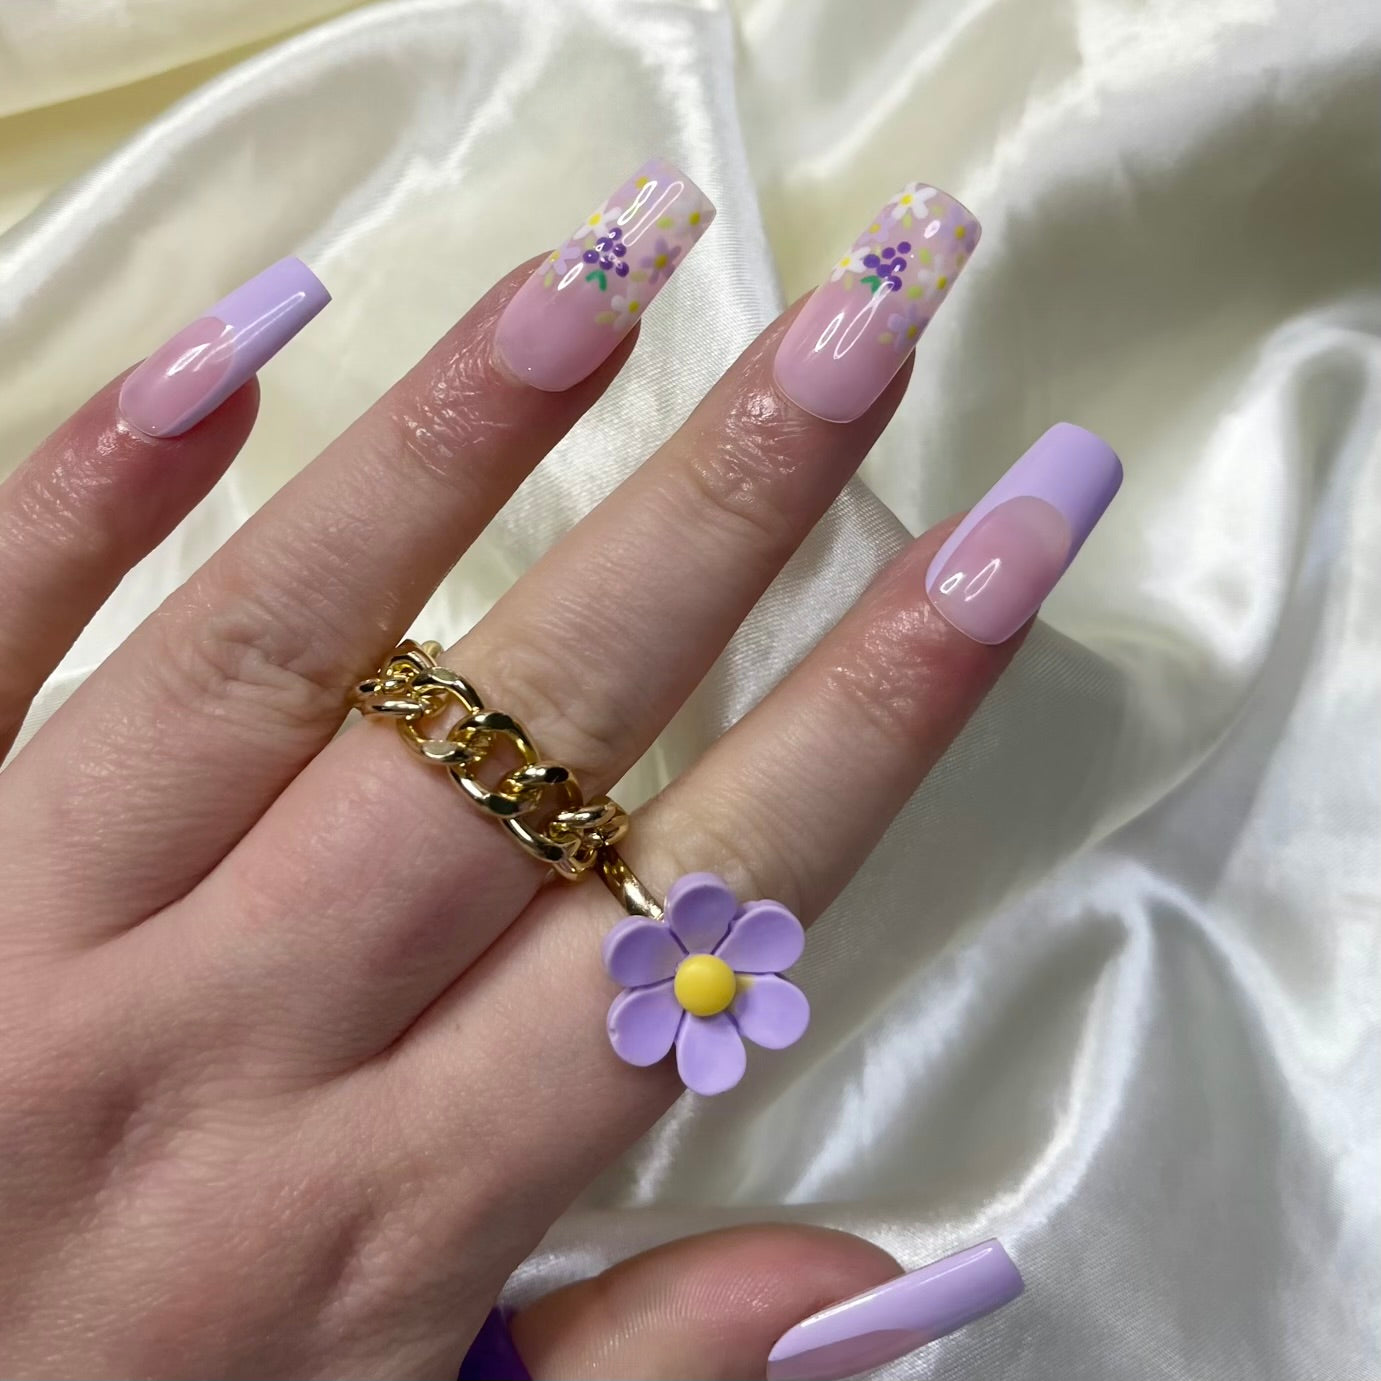
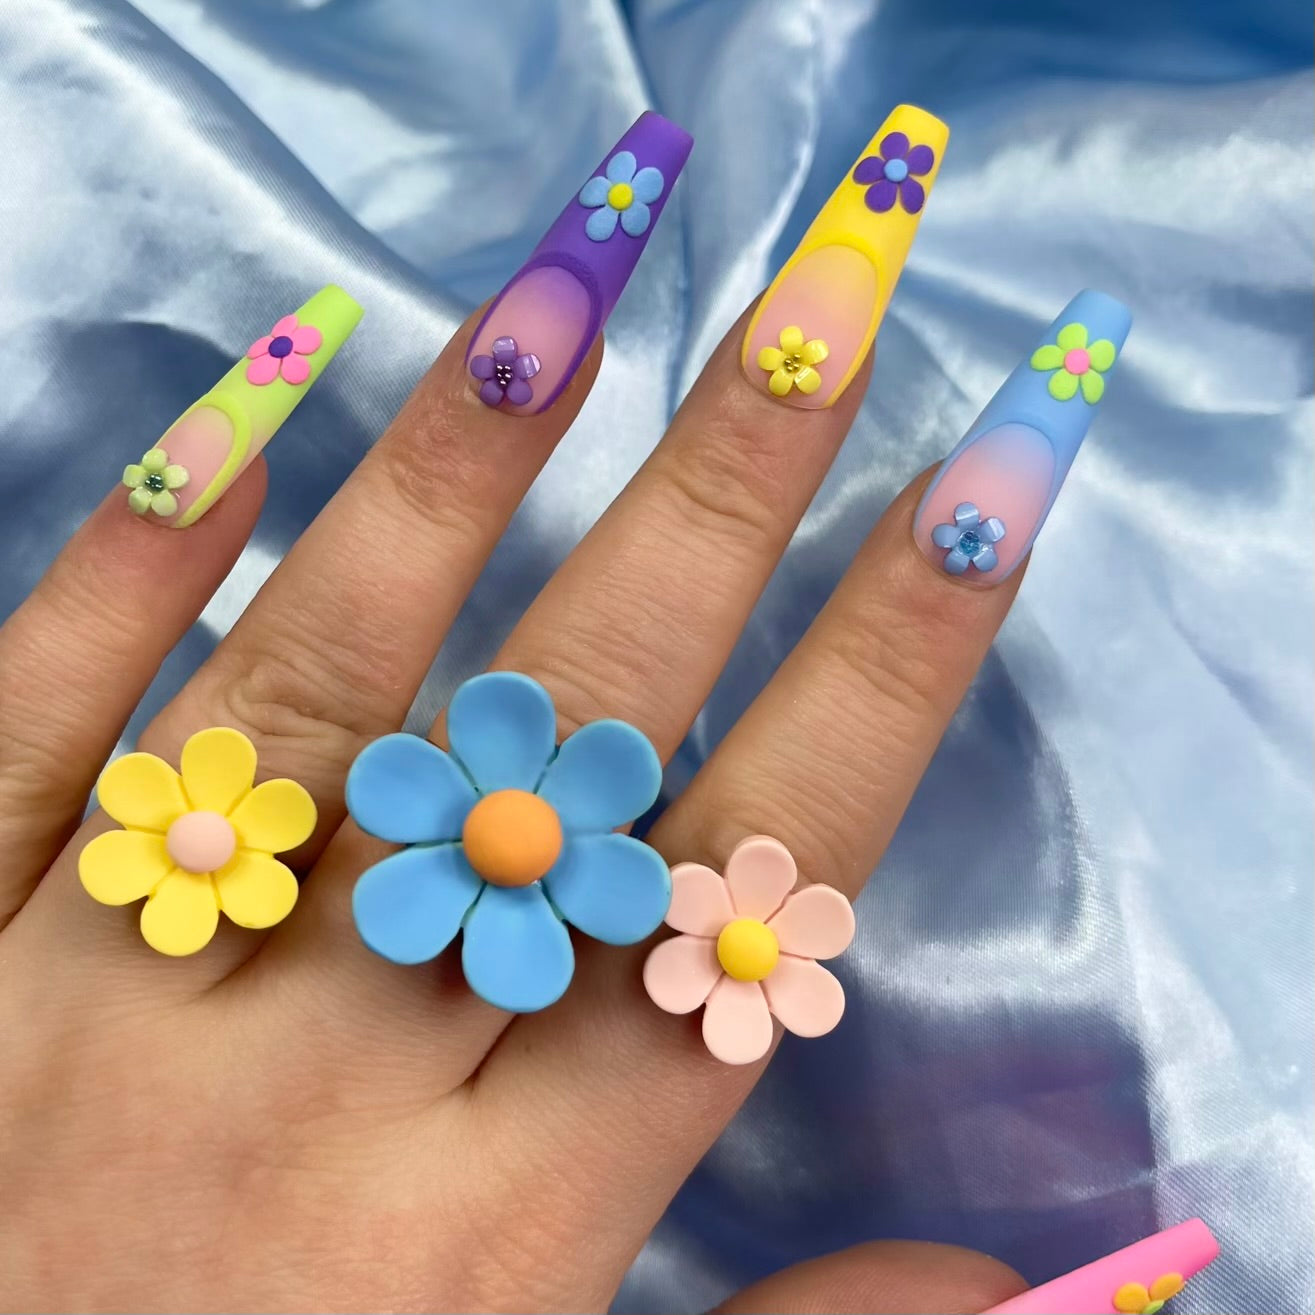
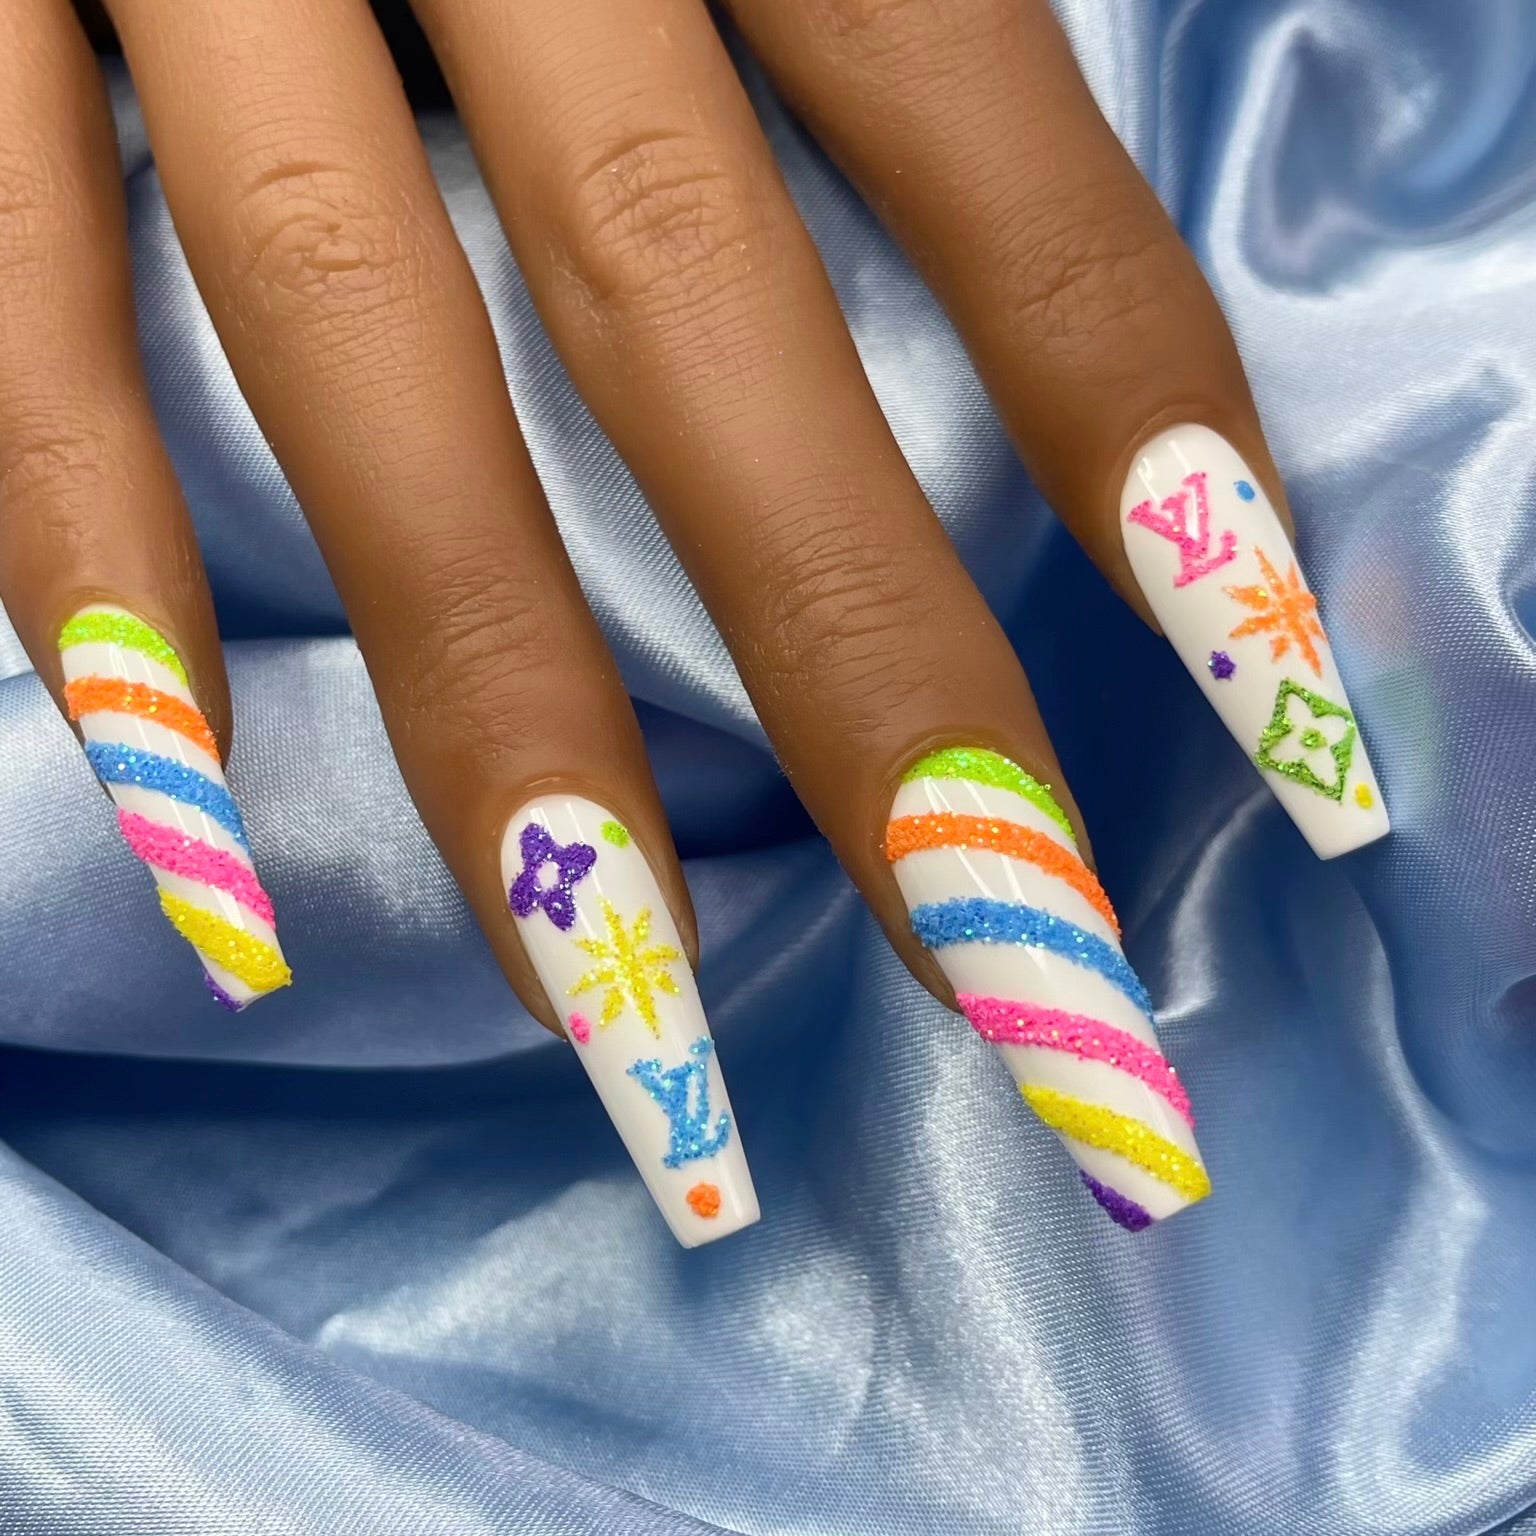
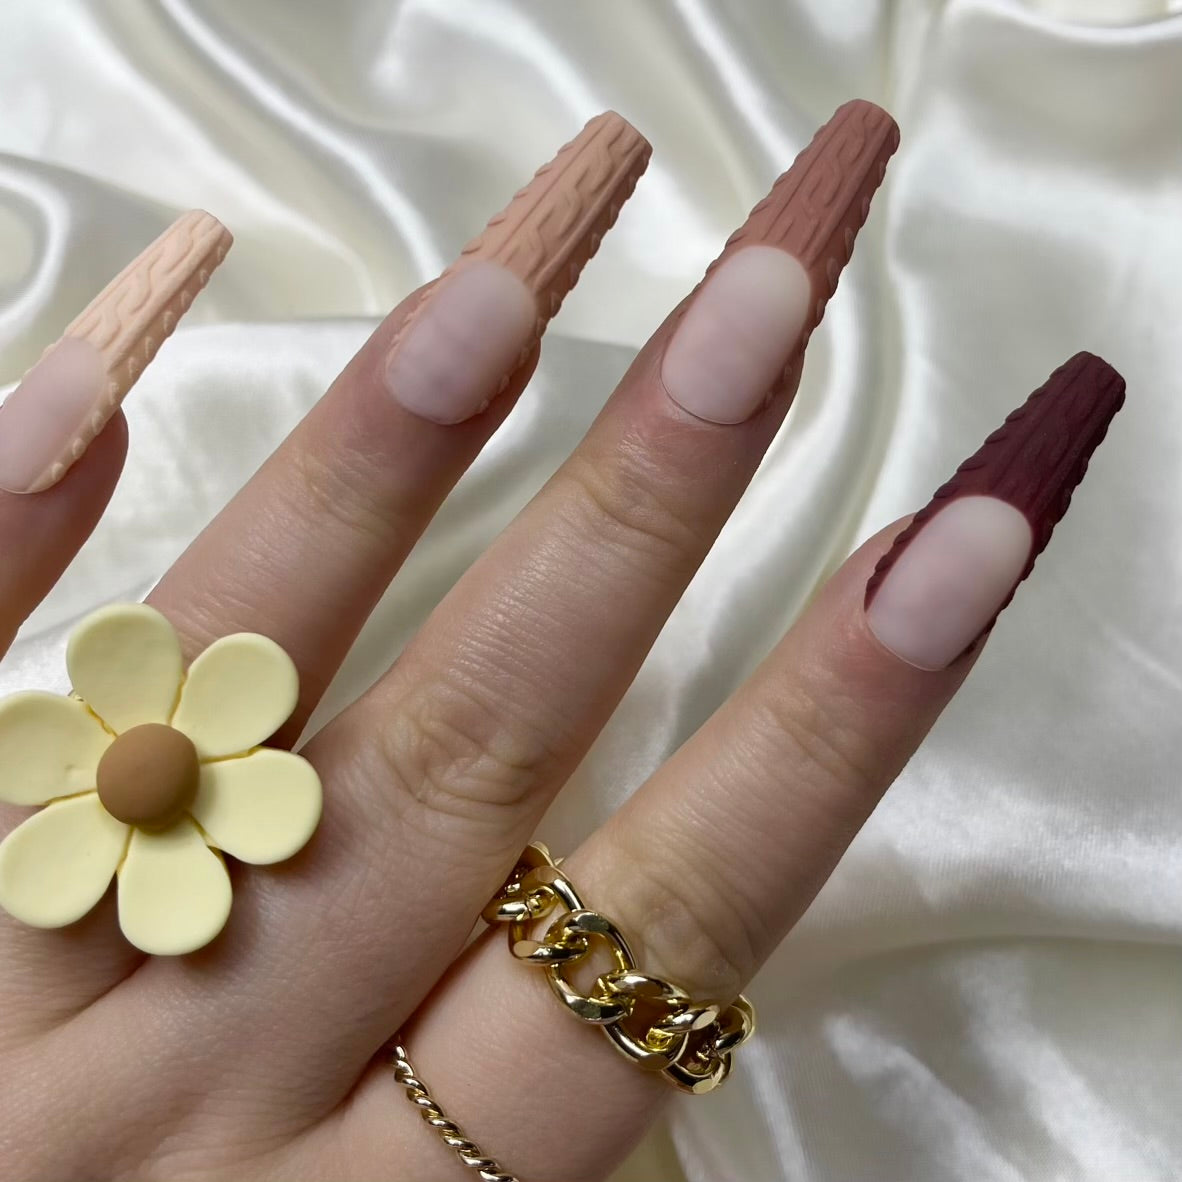
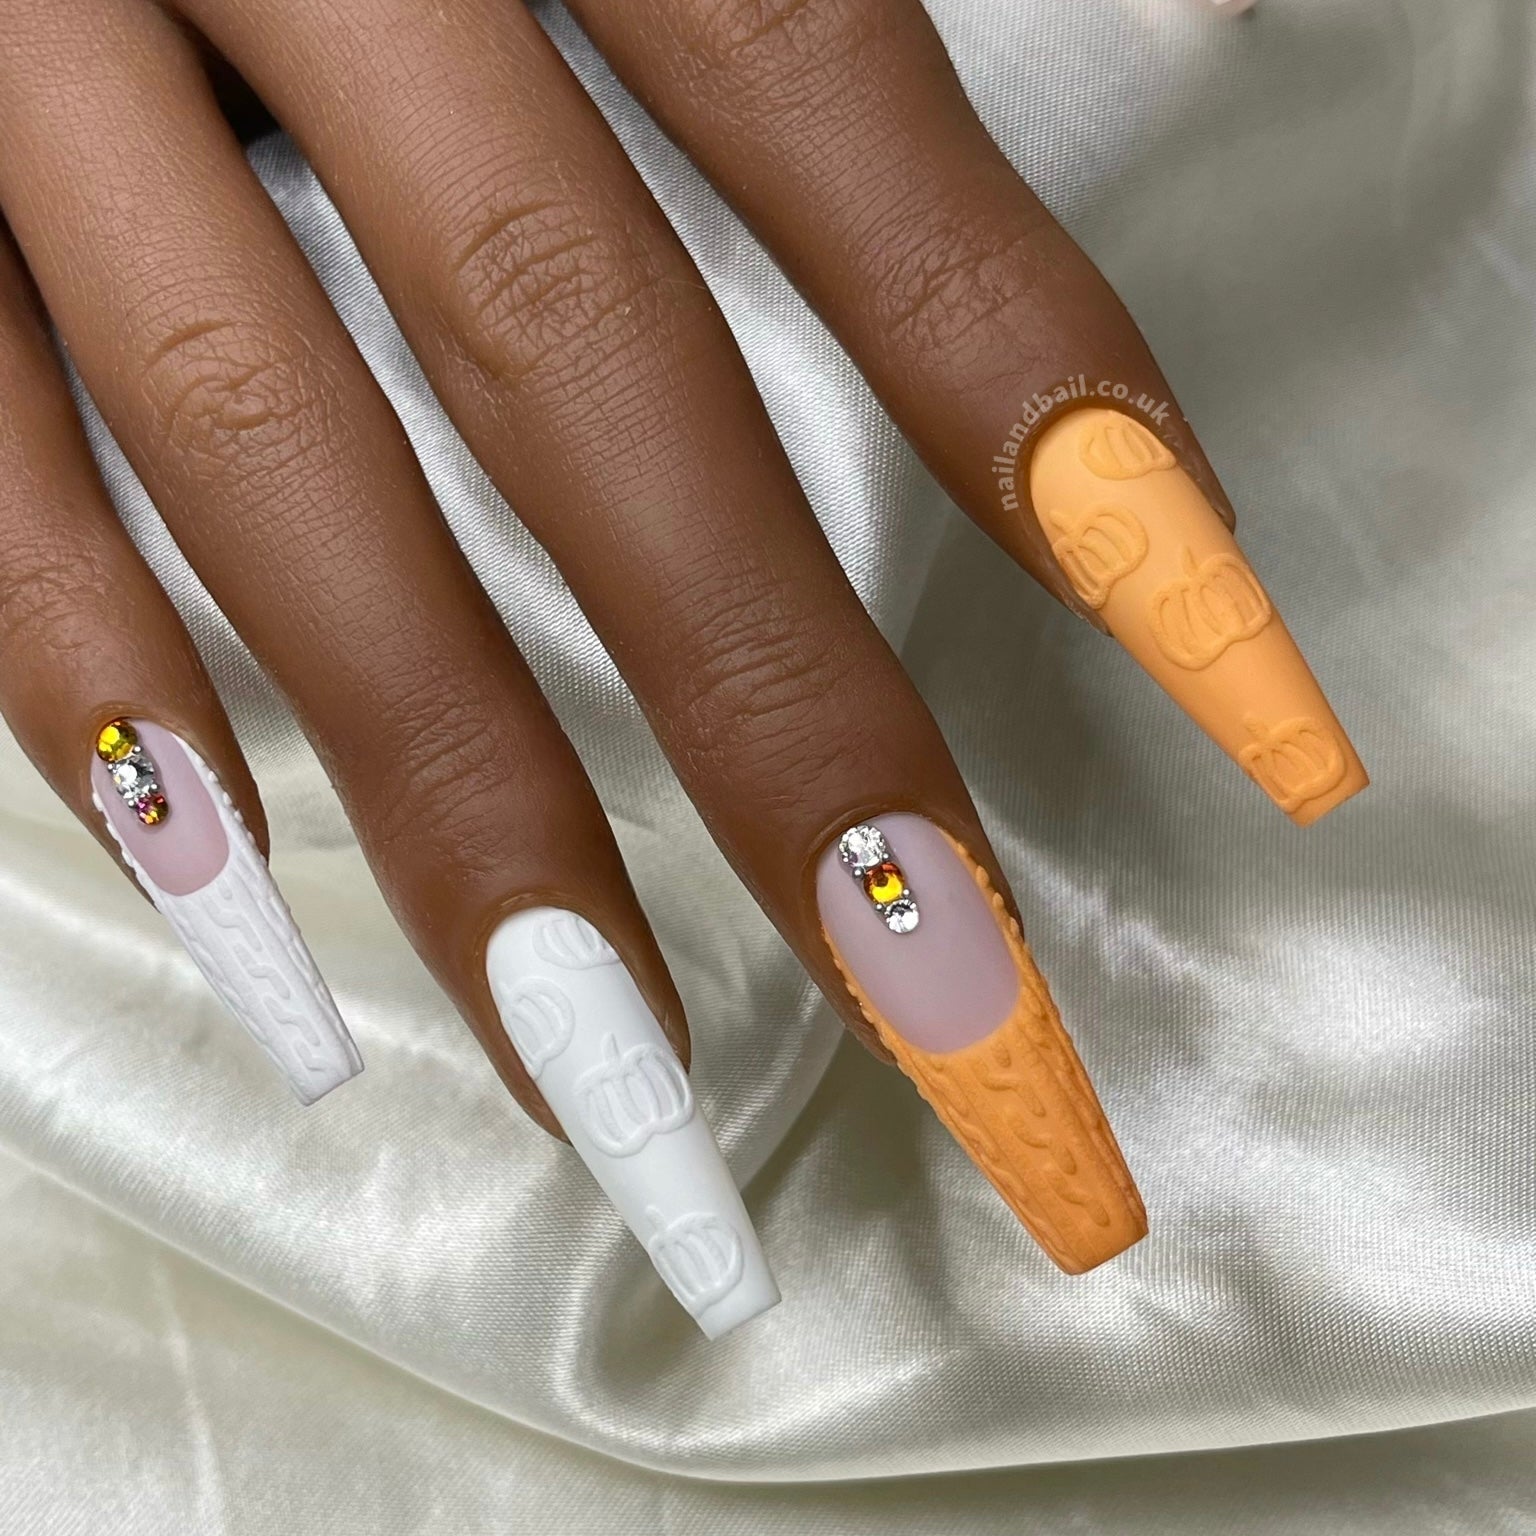
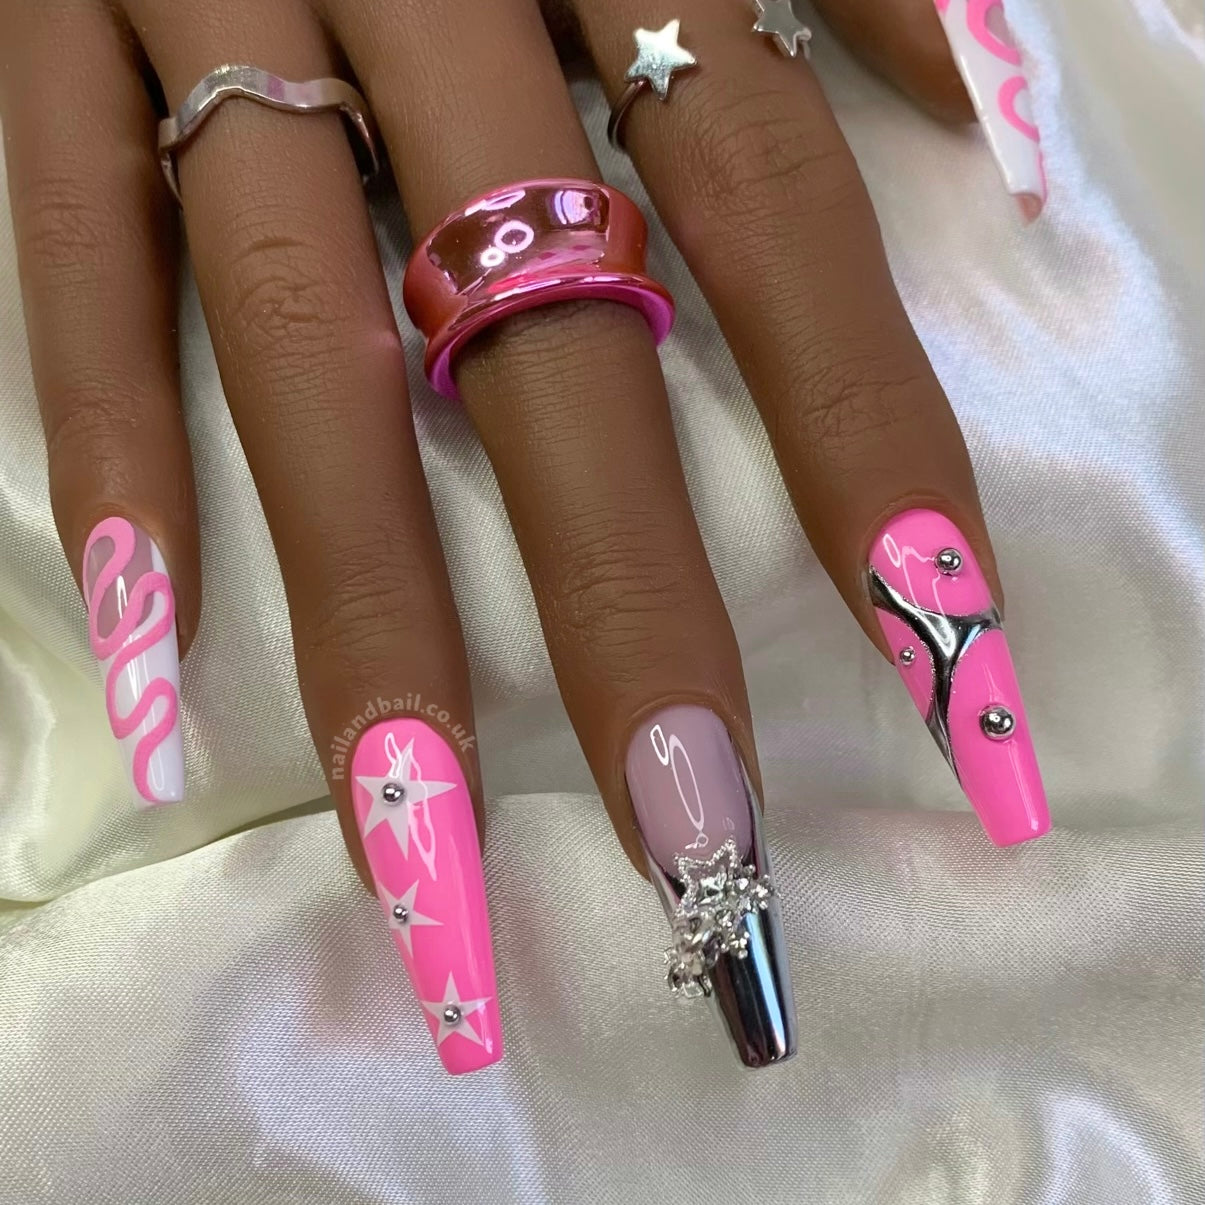
Switch It Up
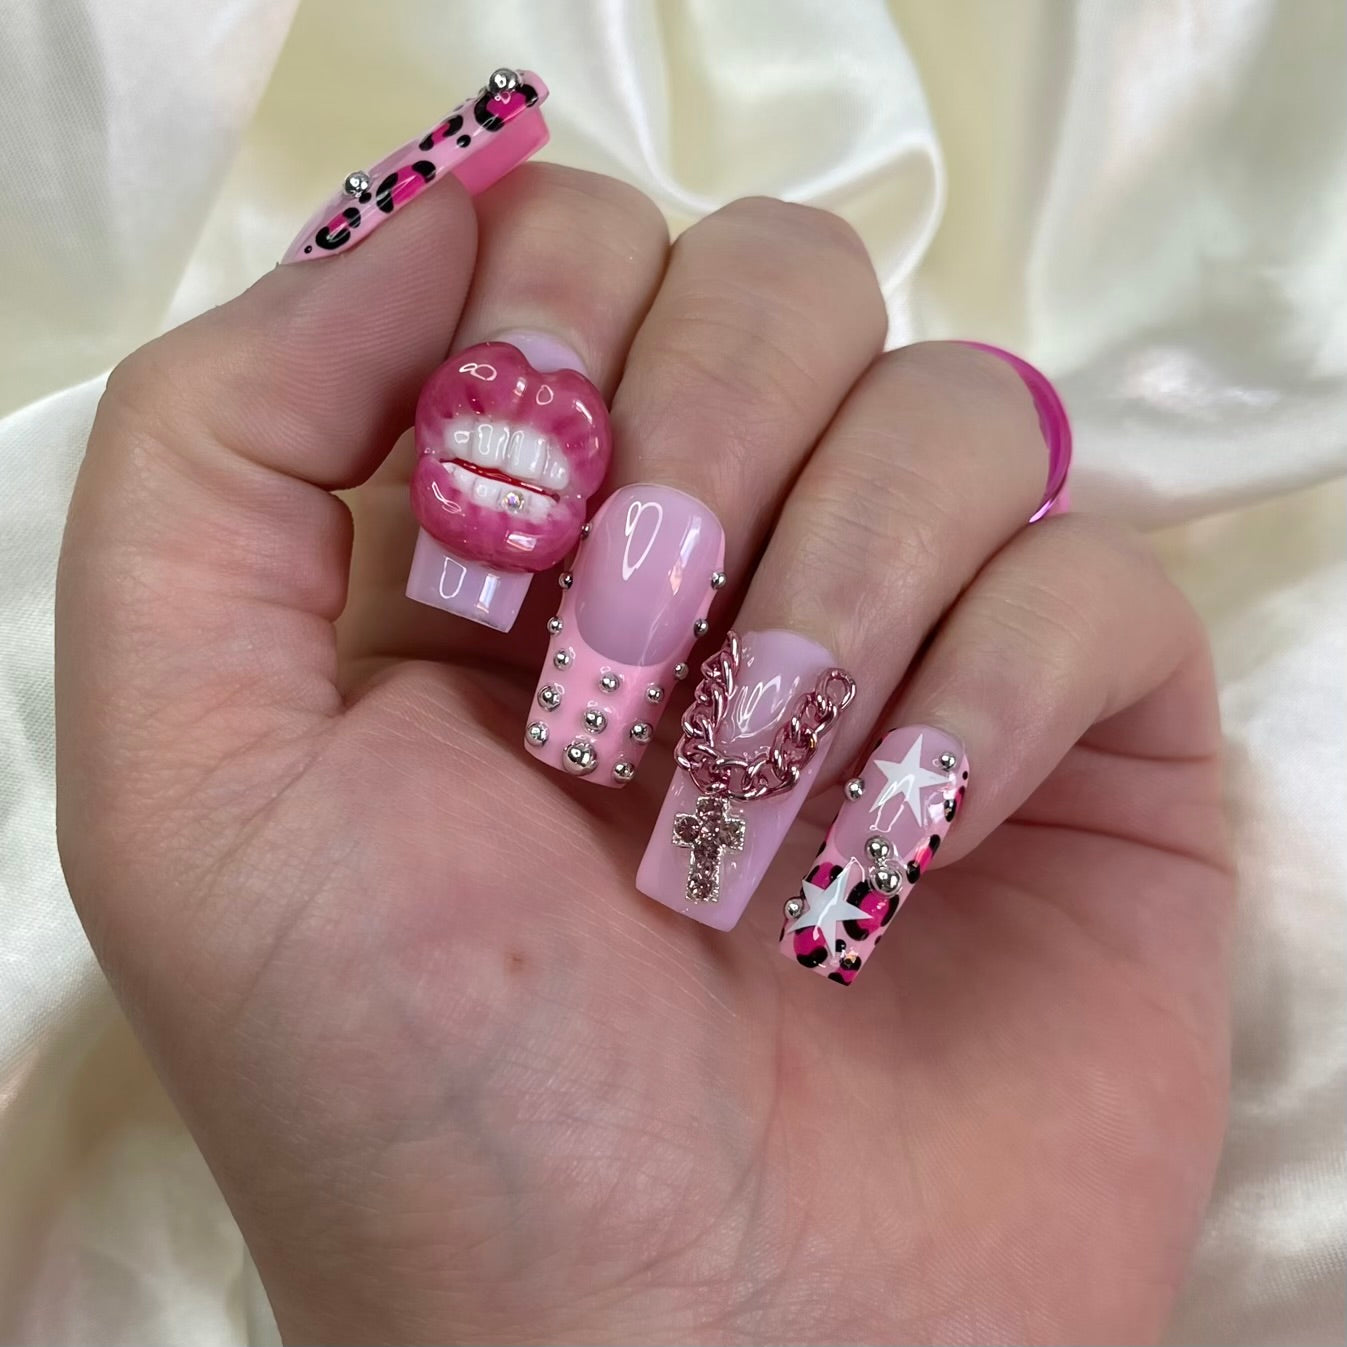
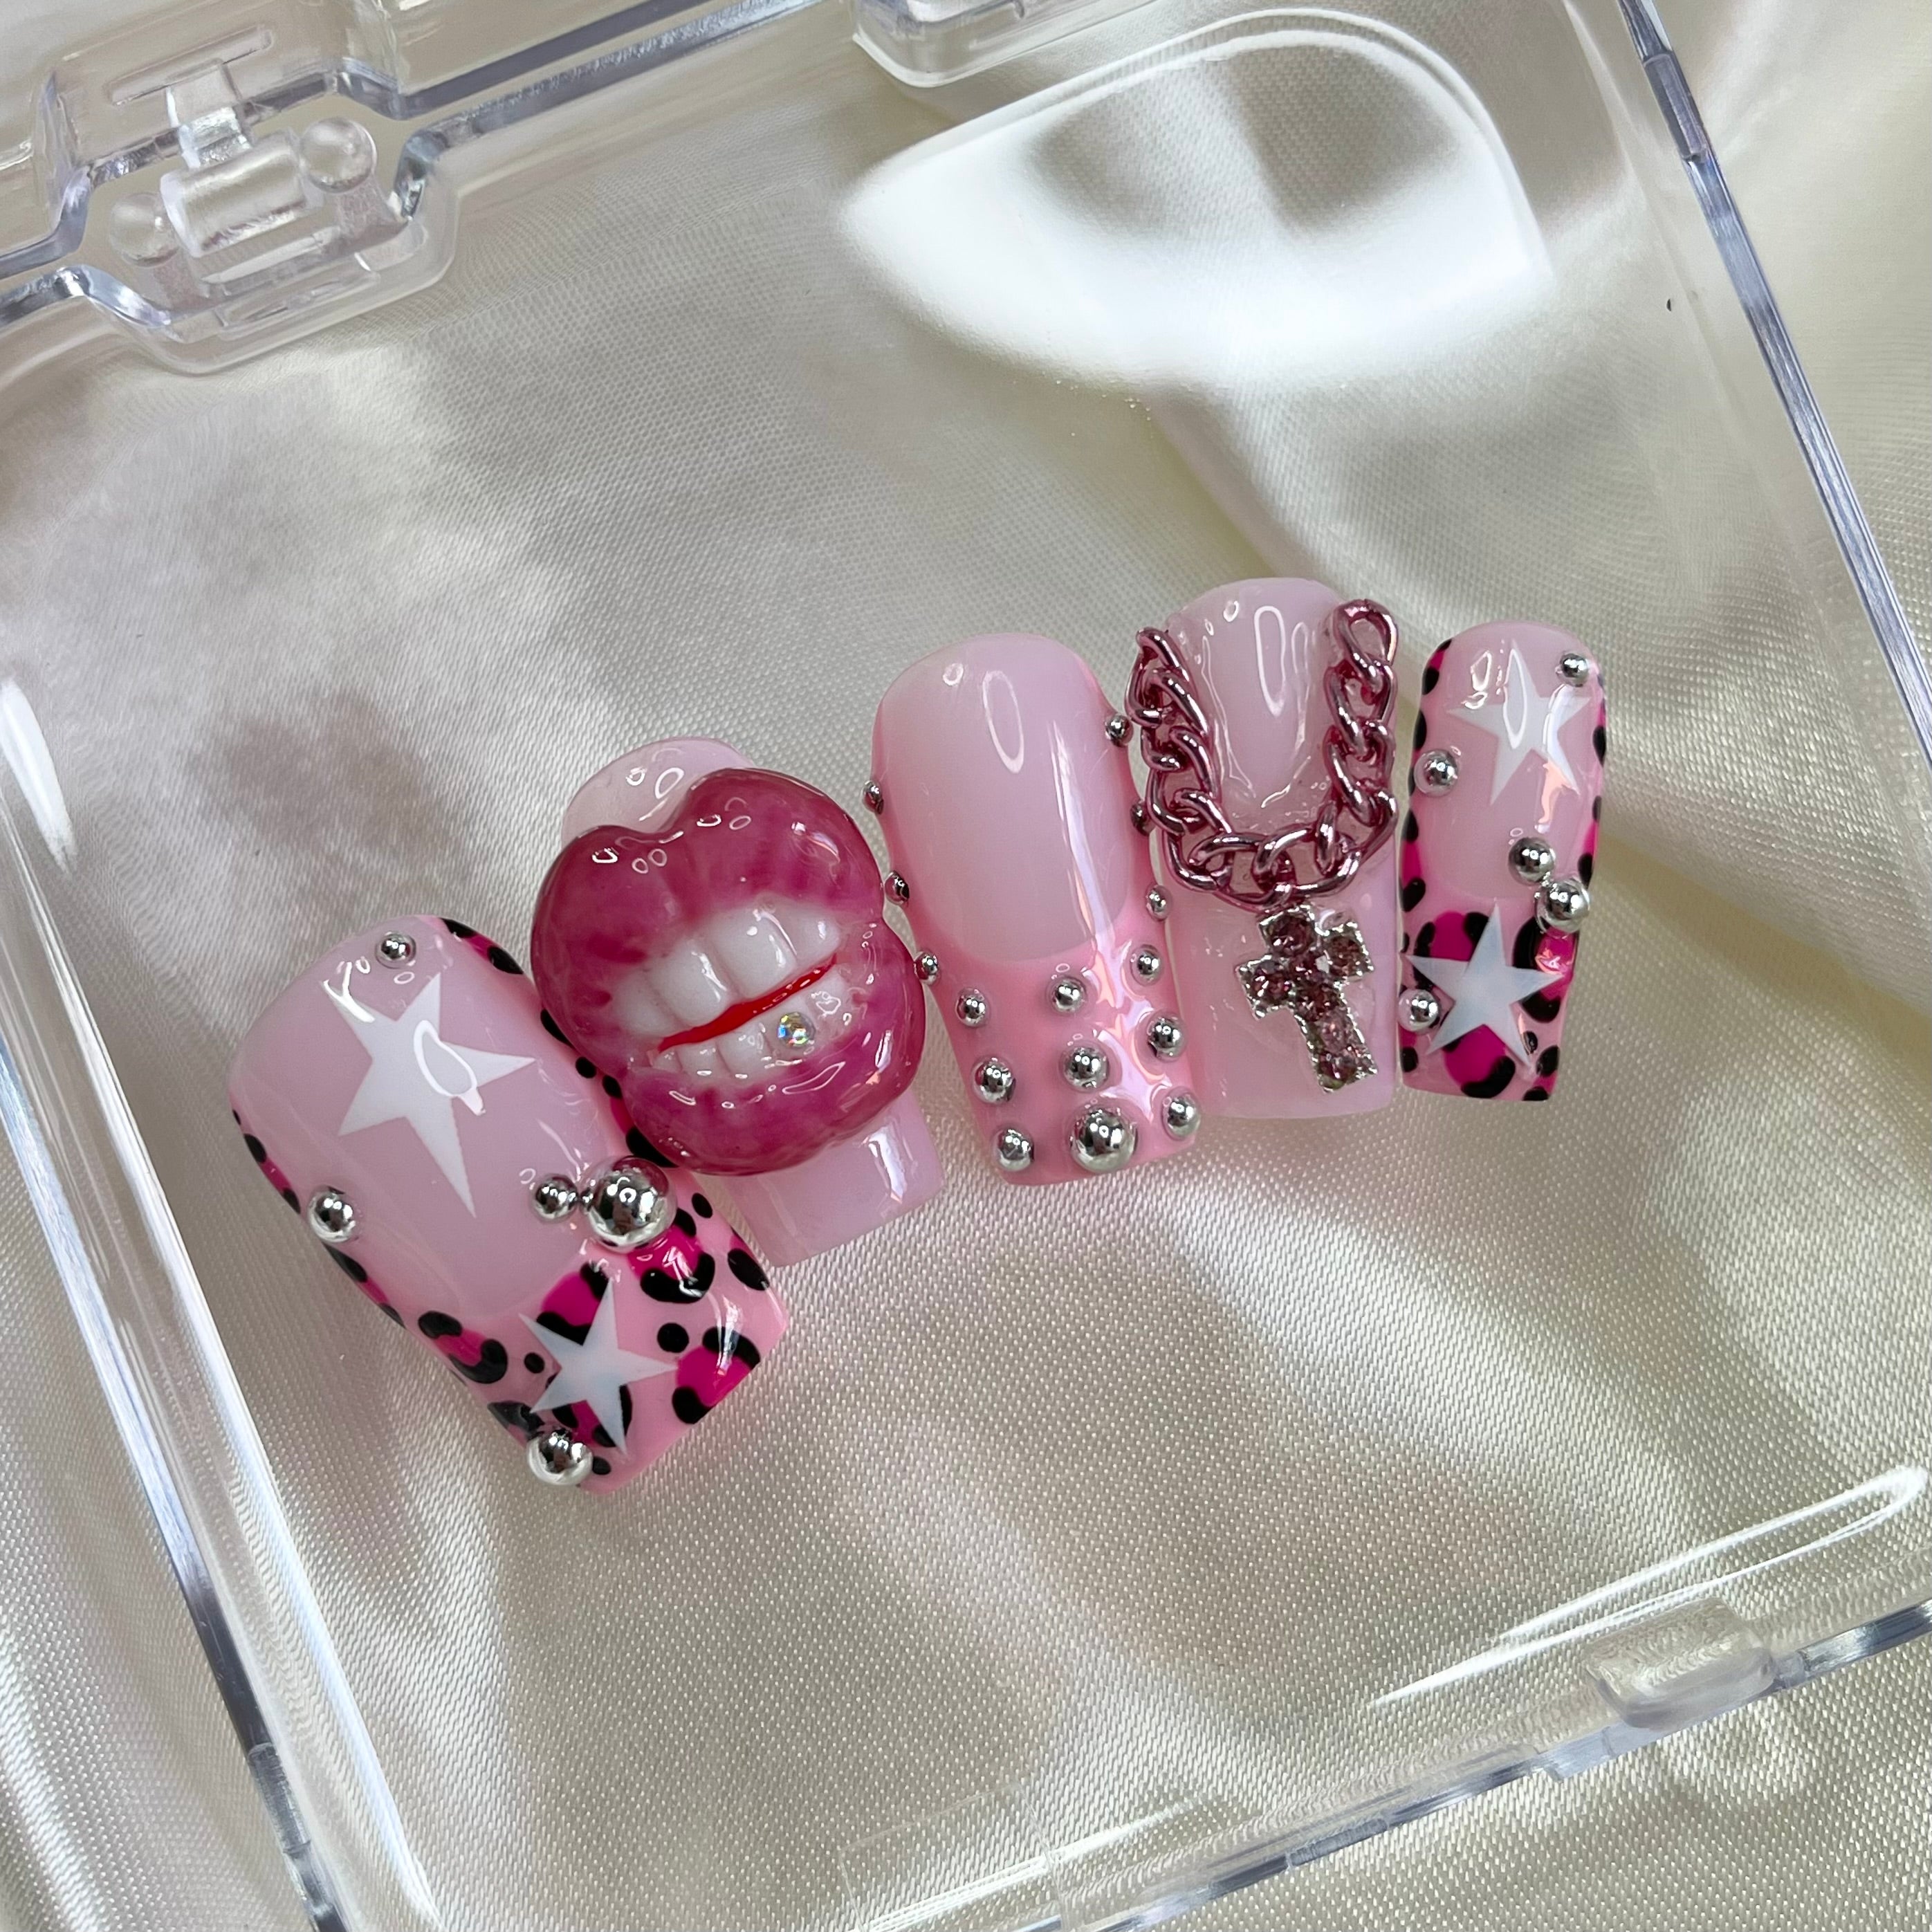
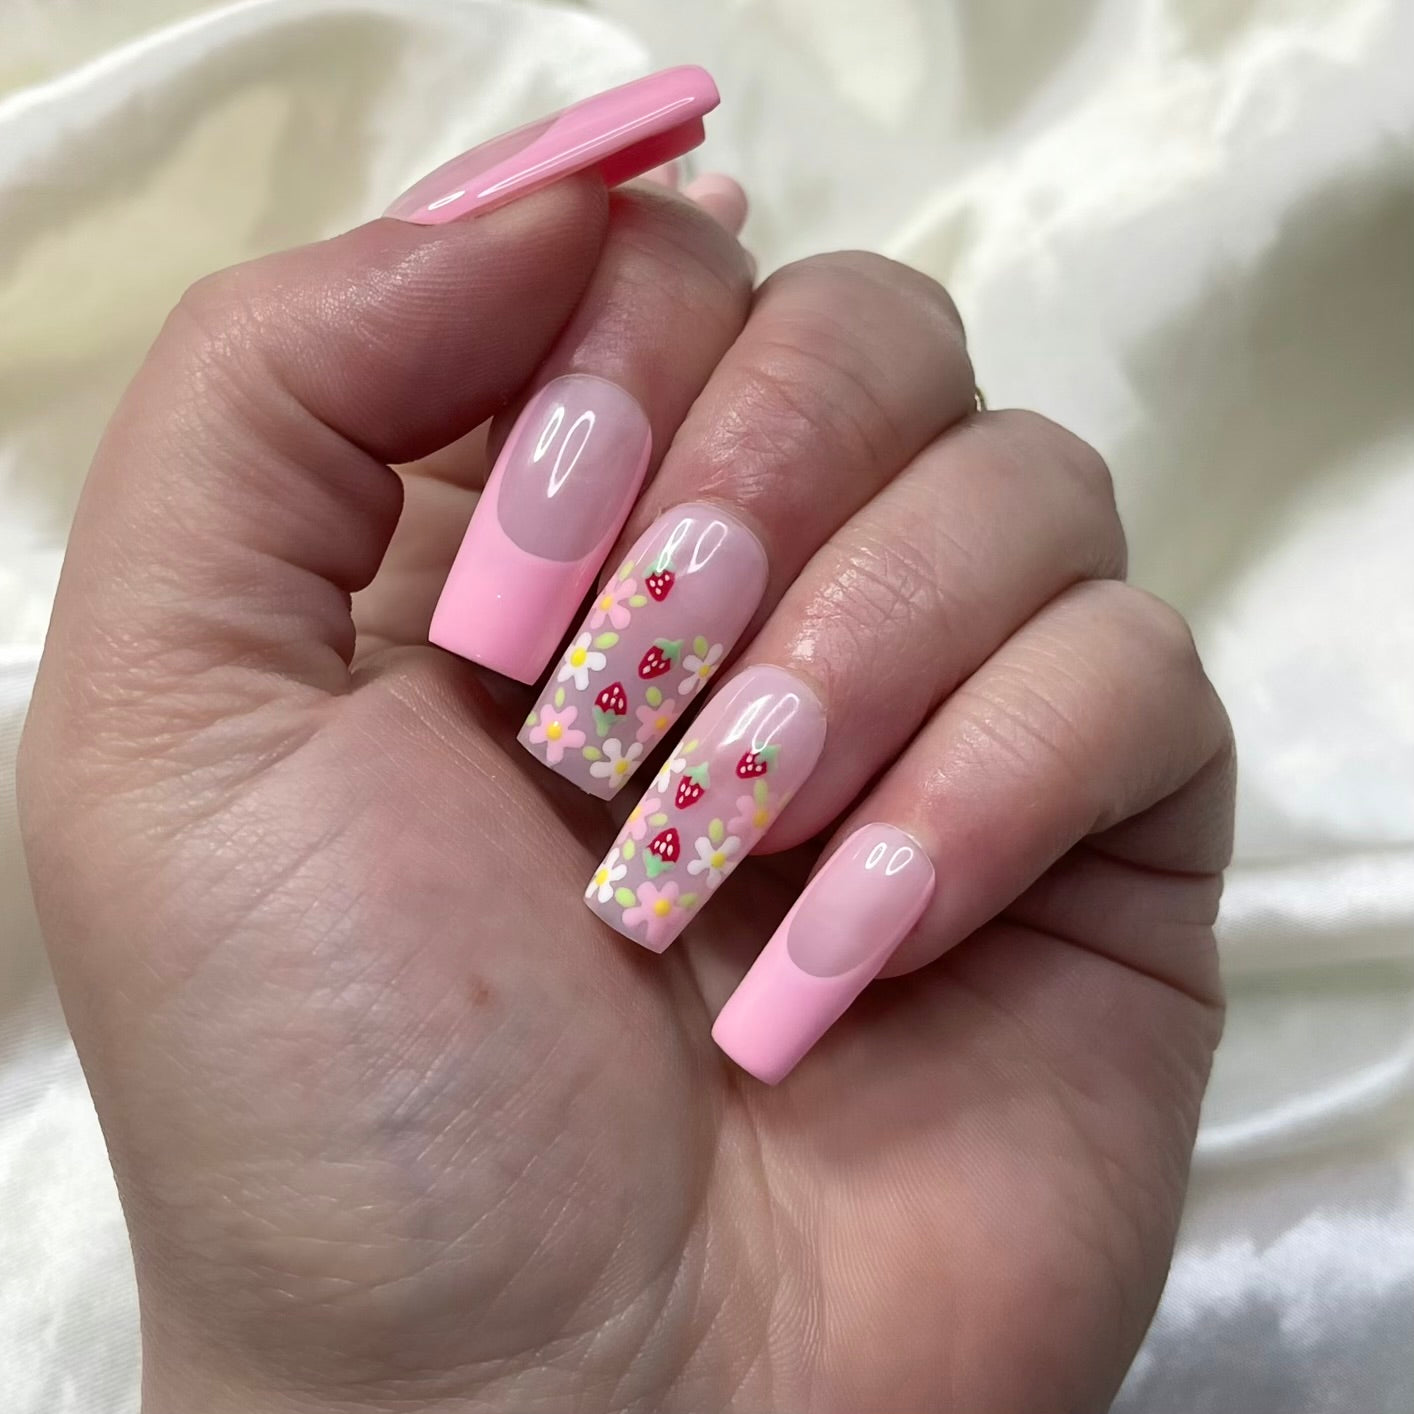
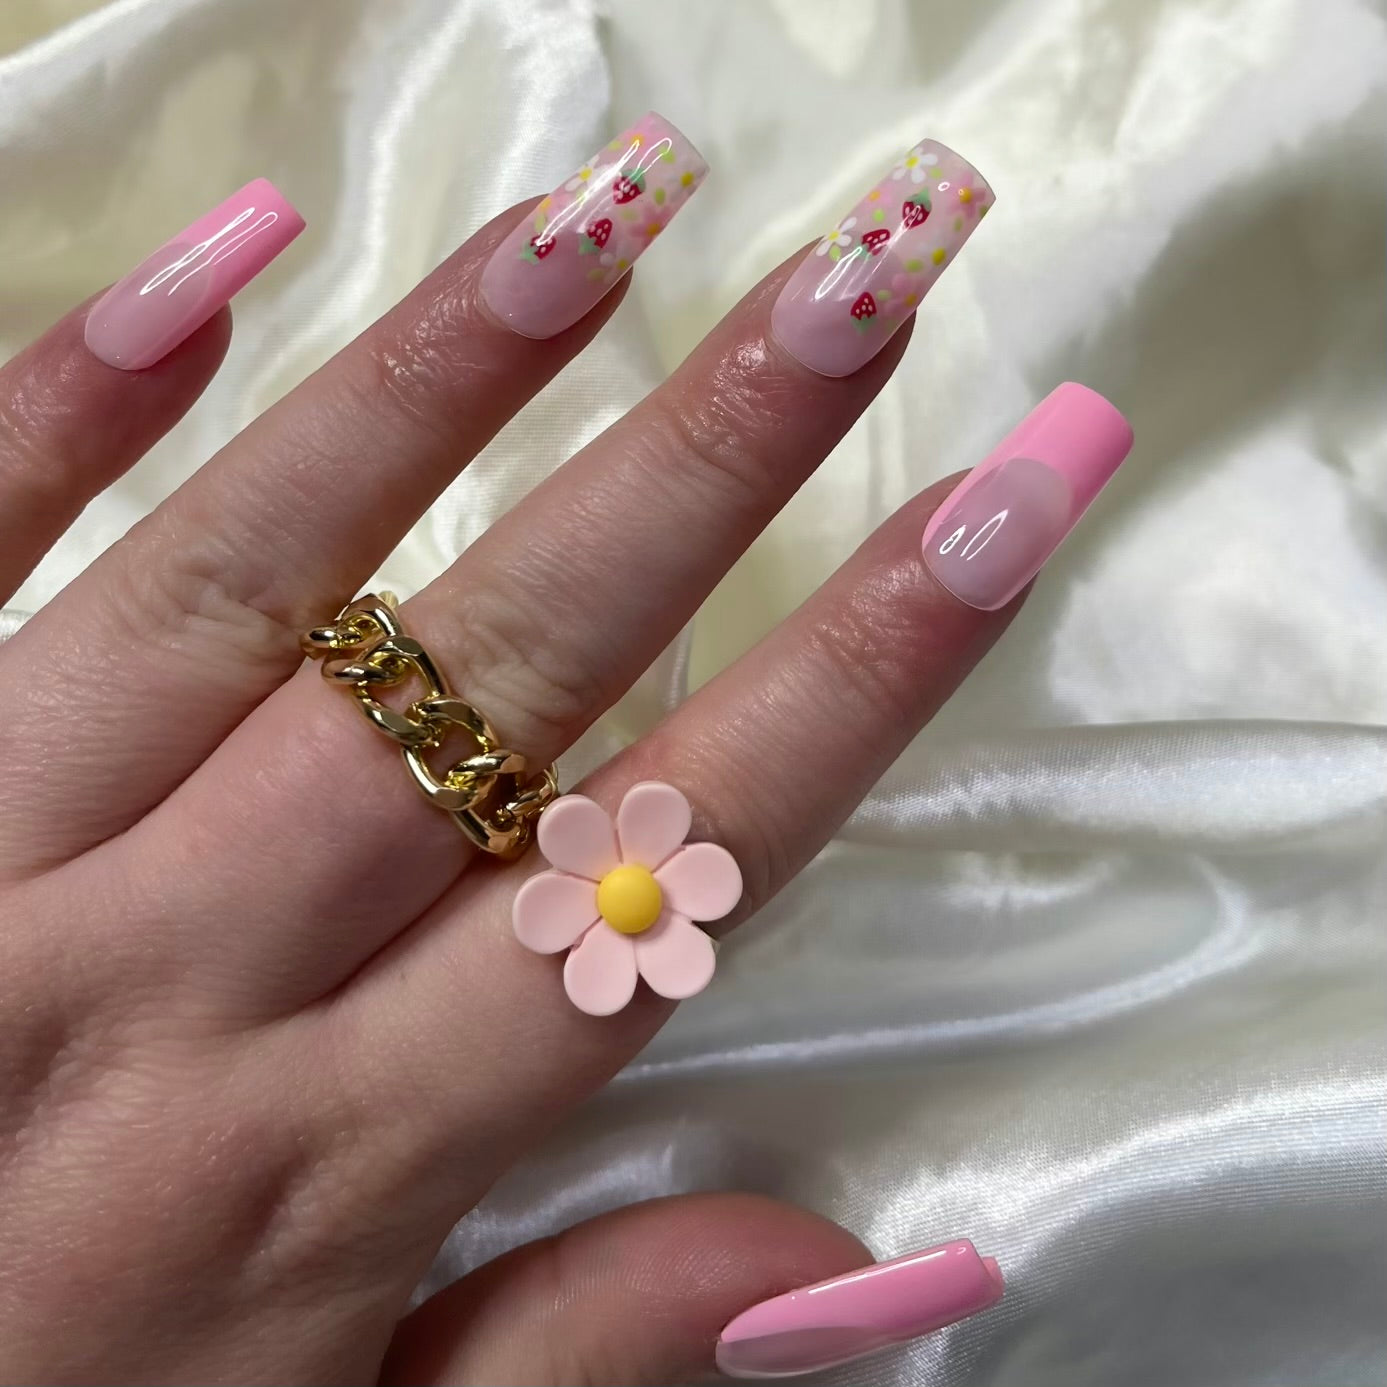
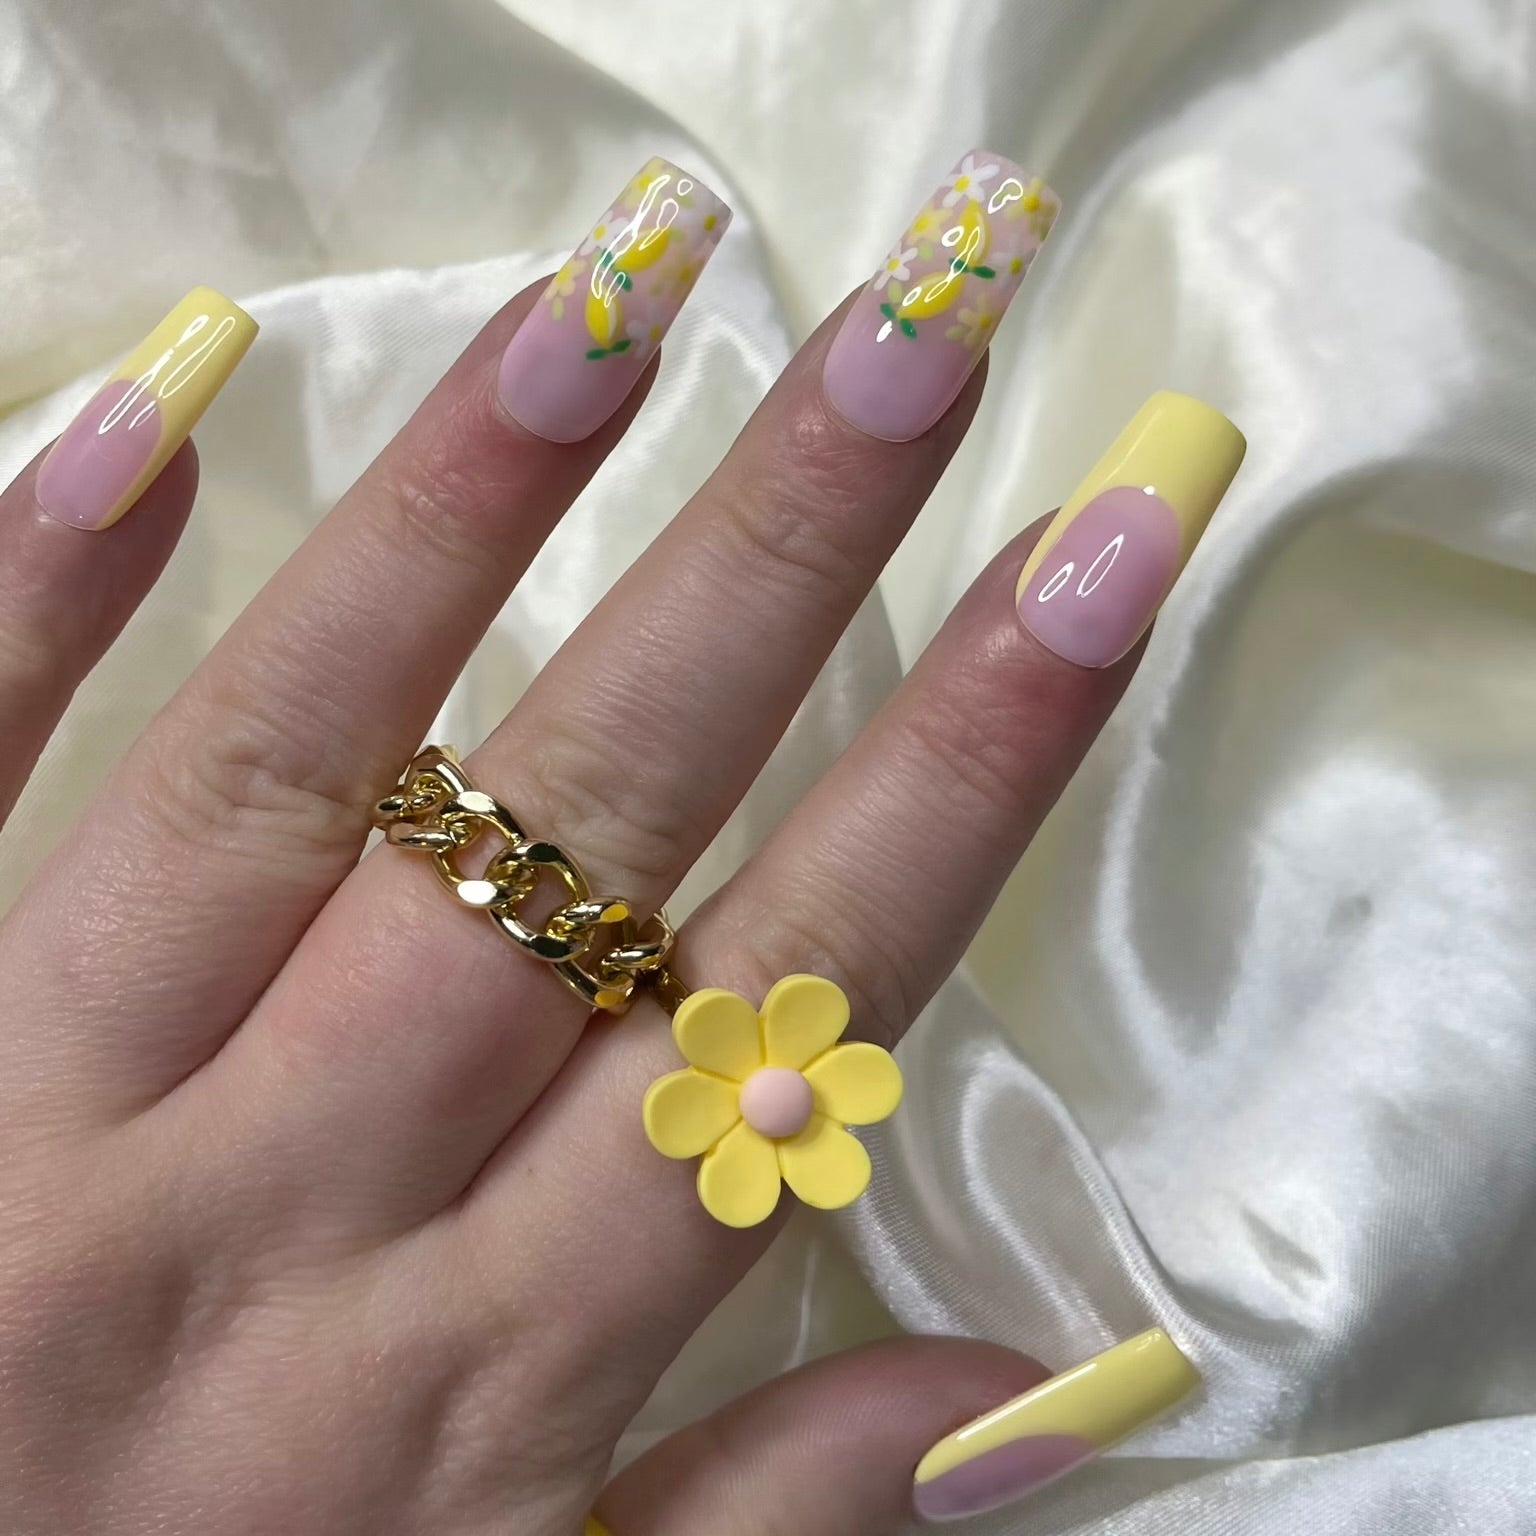
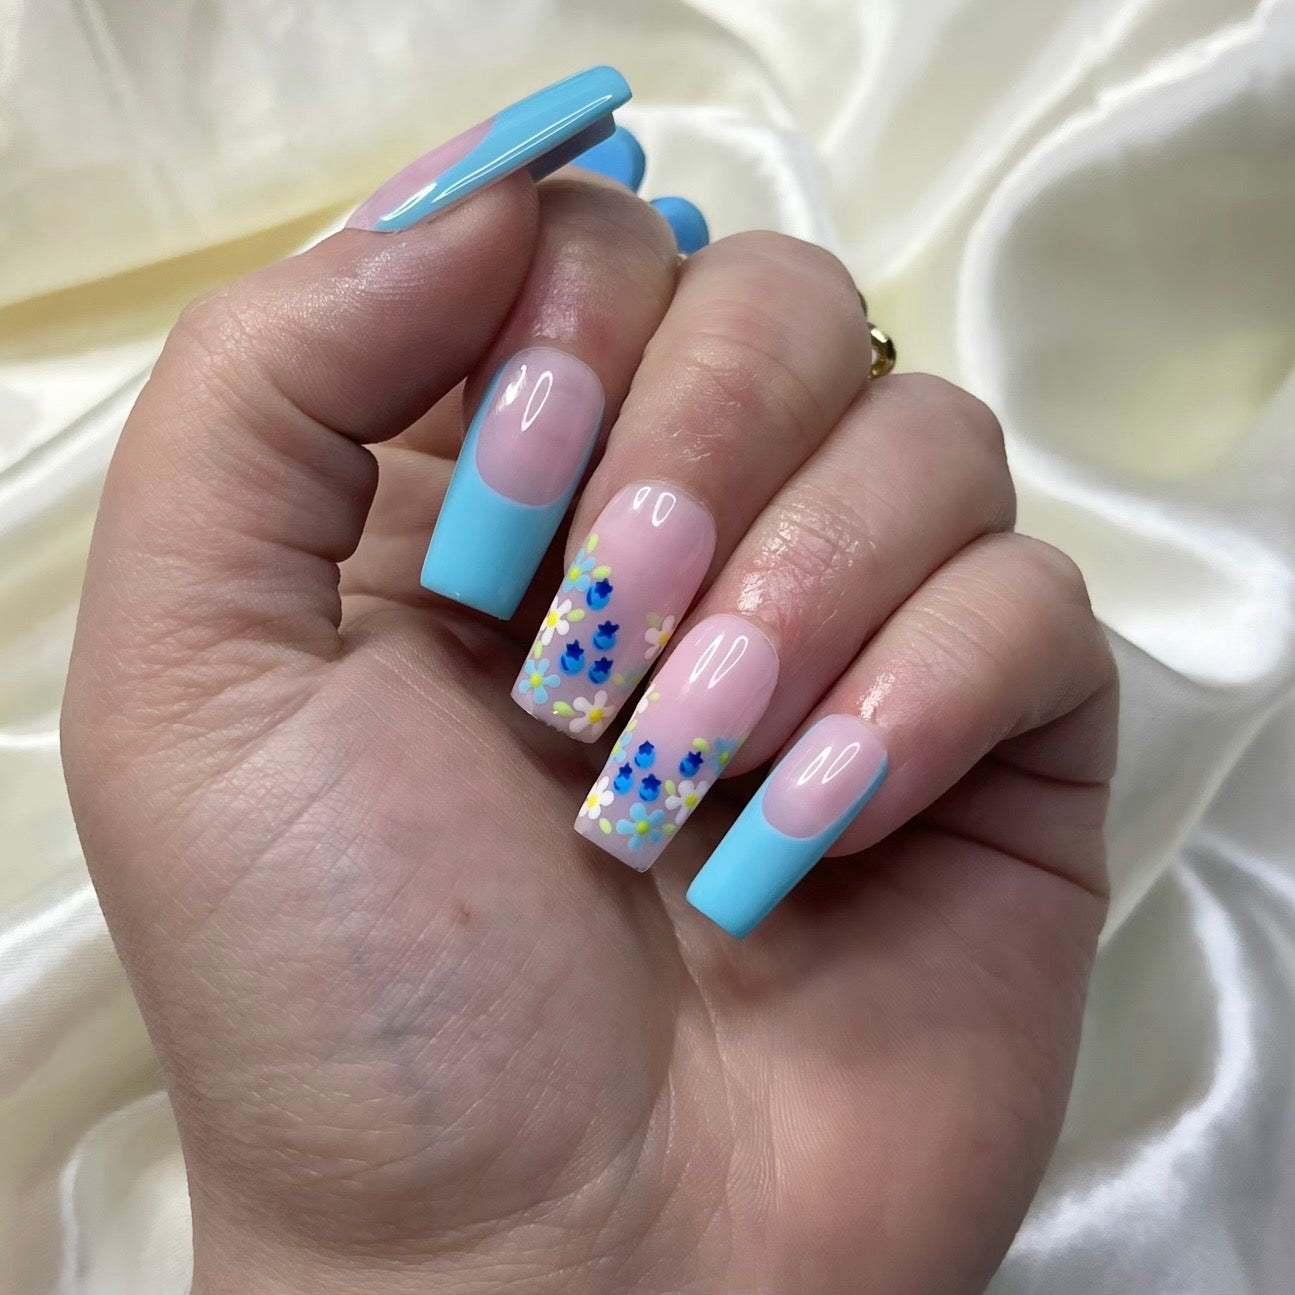
Let’s be real—press-on nails are the ultimate beauty hack. They’re quick, stylish, and totally reusable with the right care. That’s why it’s worth building a mini collection of different shapes, lengths, and designs. Whether you're feeling bold coffin tips, pastel almond vibes, or classic square Frenchies, there's a press-on for every occasion and every mood.
And the best part? You can switch up your style without wrecking your natural nails. That’s the beauty of reusable press-on nails—they give you the freedom to express yourself again and again.
step one
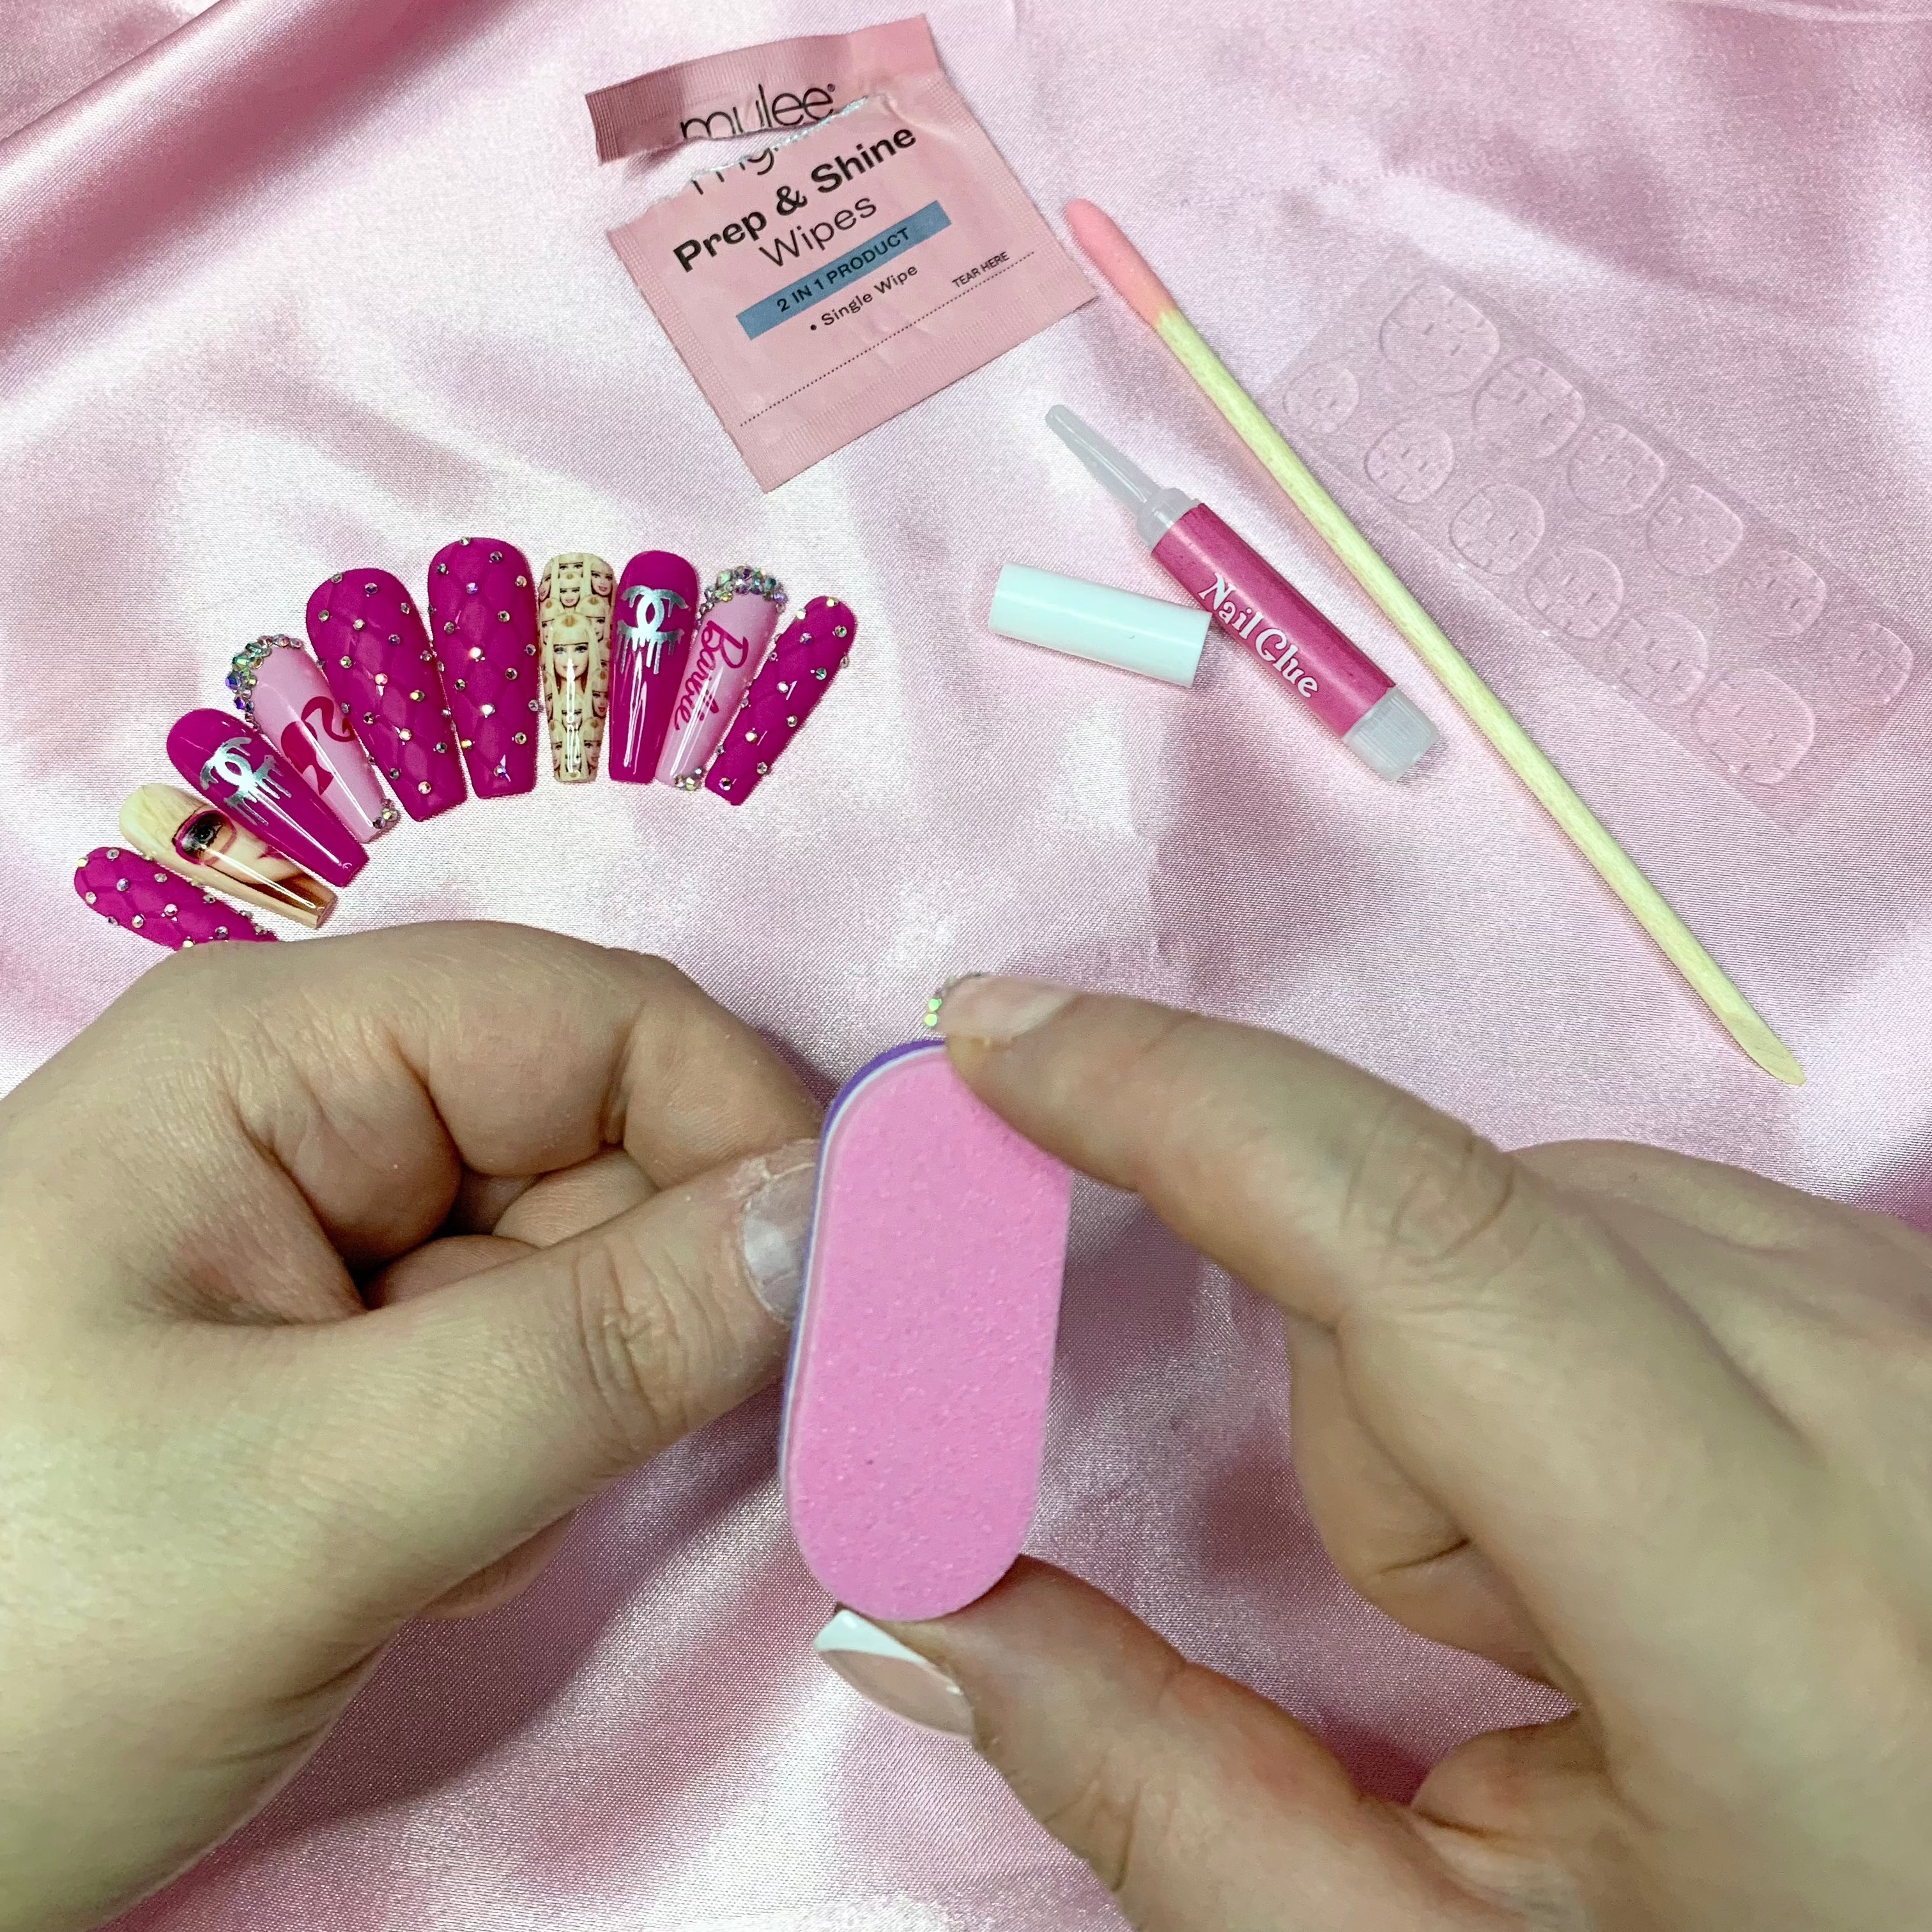
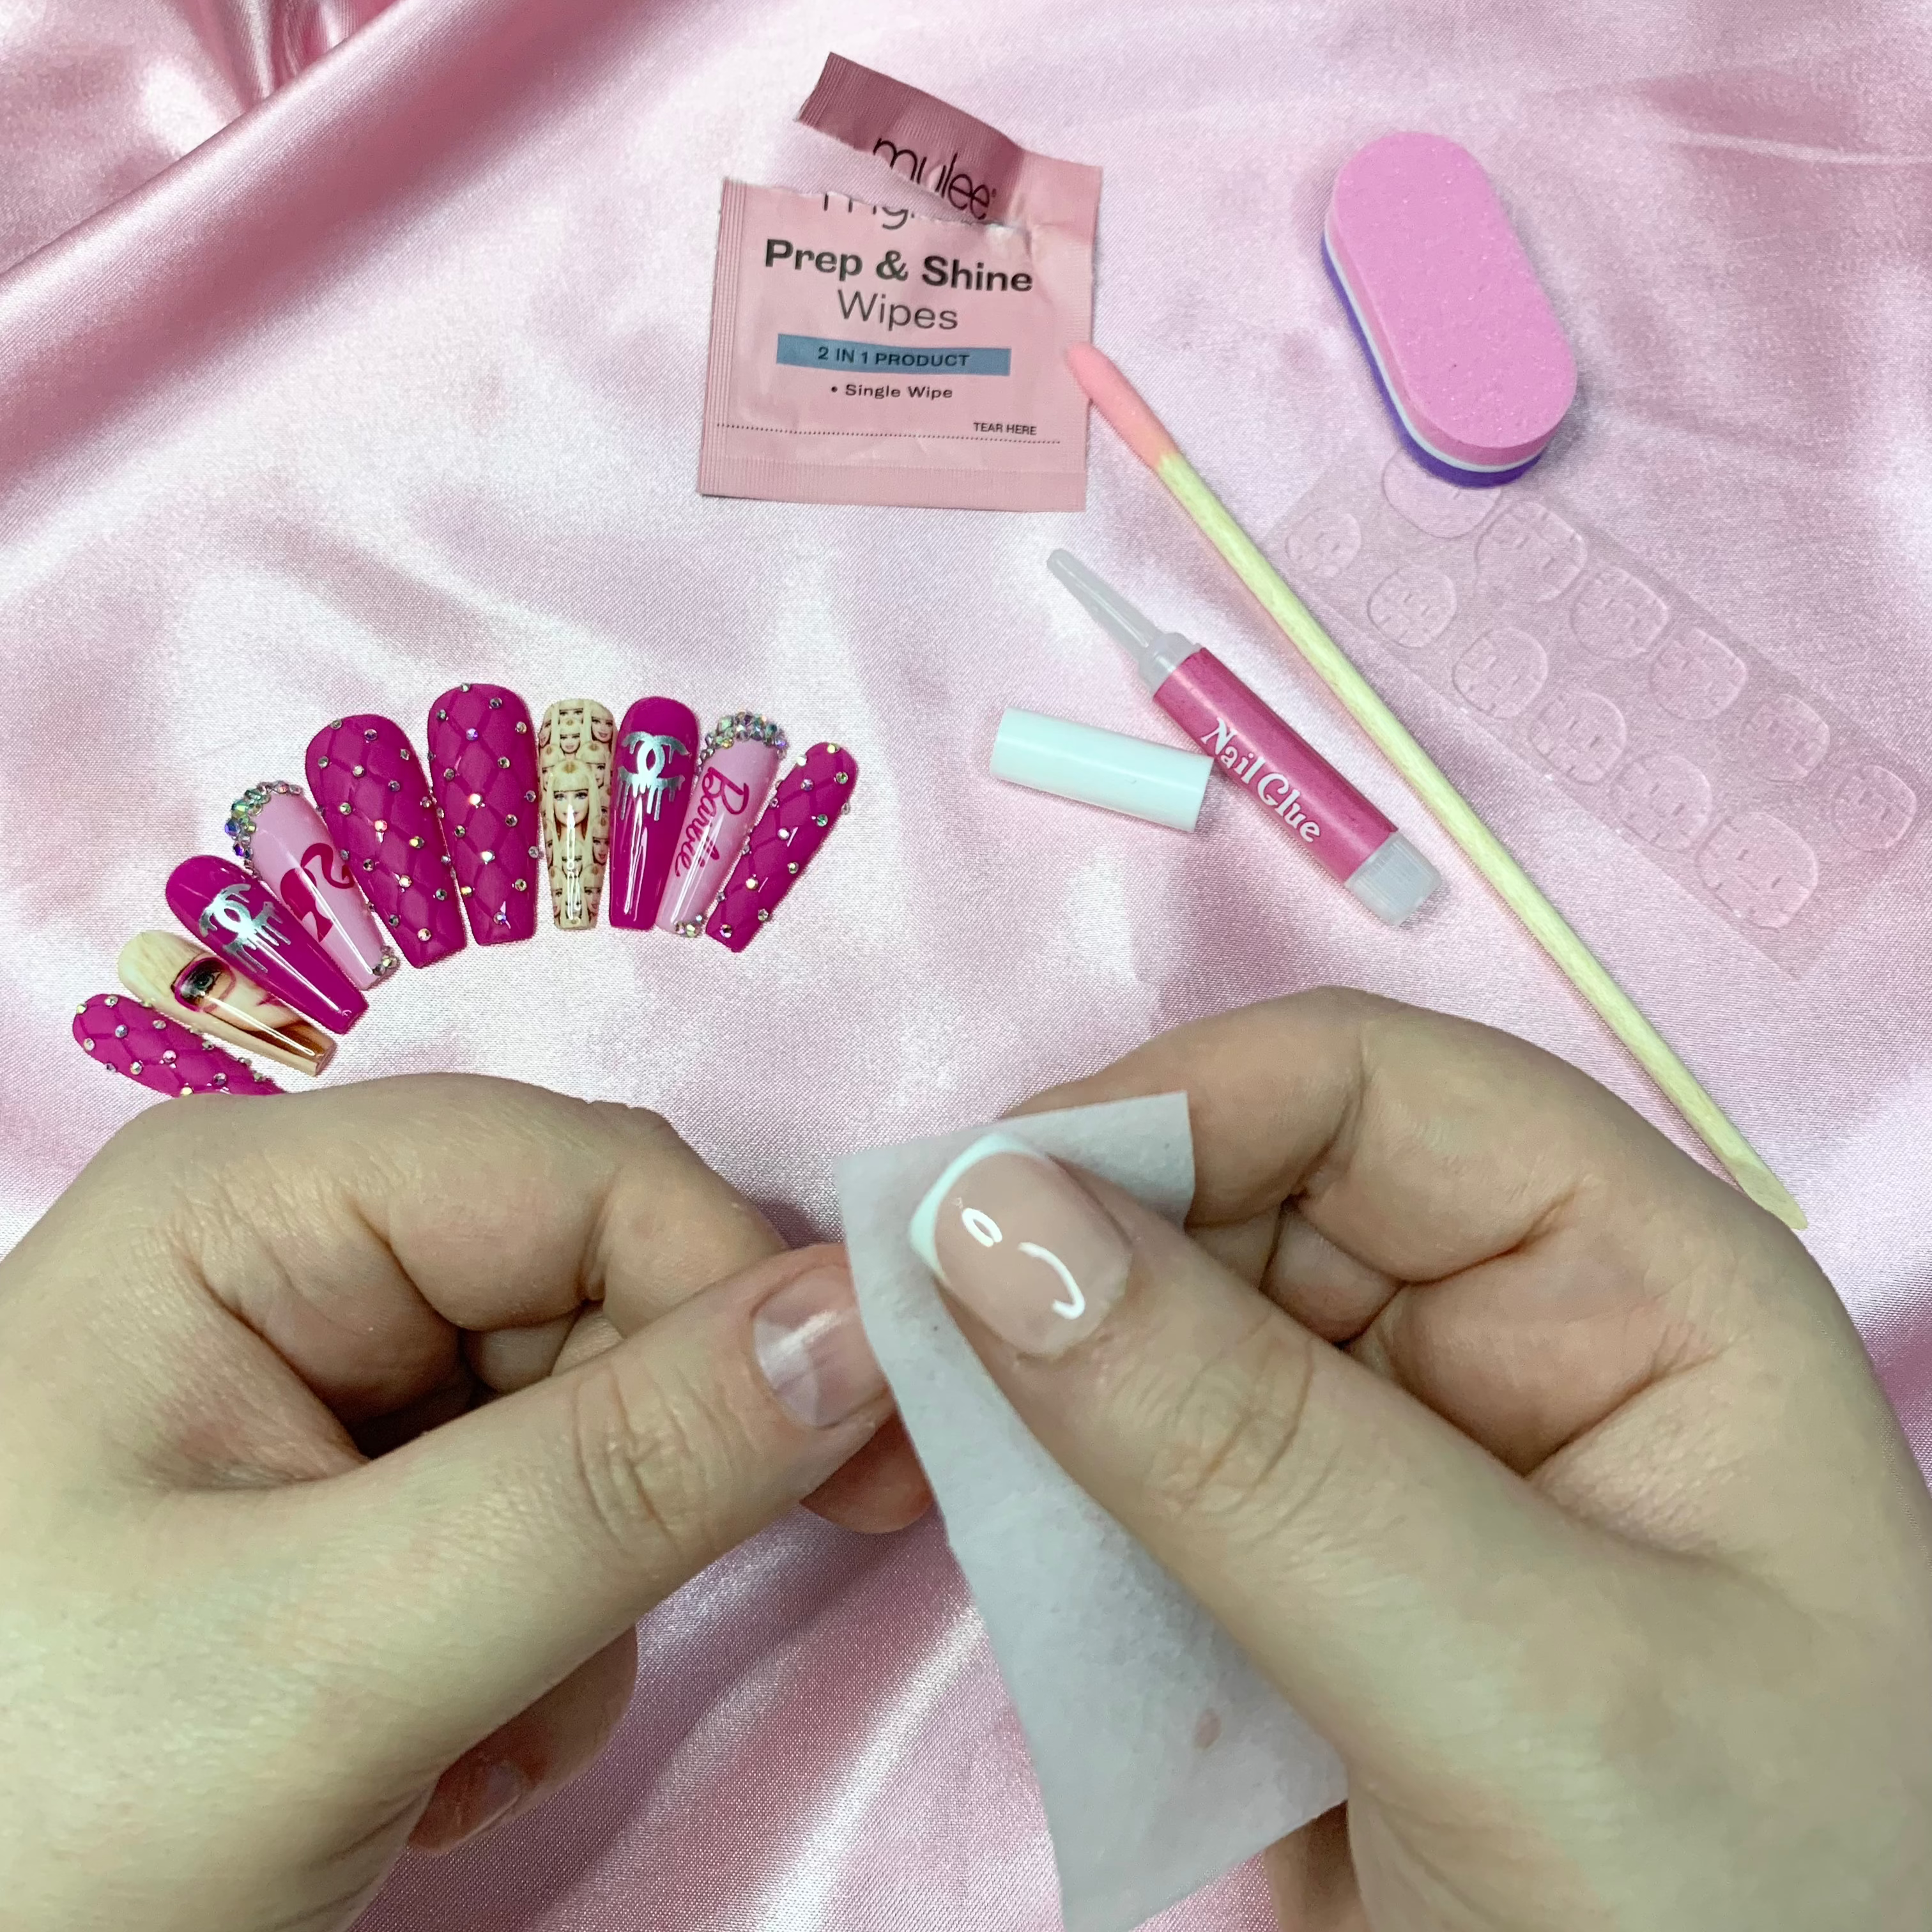
Prep Your Natural Nails Like a Boss
Prepping your nails properly is the key to making your press-ons last longer and reapply flawlessly.
- Wash your hands with warm water and soap to remove dirt and oils.
- Push back your cuticles gently with a wooden stick to make room for the press-on.
- Buff your natural nail plate until the surface looks matte.
- Use an alcohol wipe to cleanse the nail and eliminate any lingering oils or dust.
This clean, dry surface gives your glue or adhesive the best chance of holding strong-and keeps lifting at bay.

step two
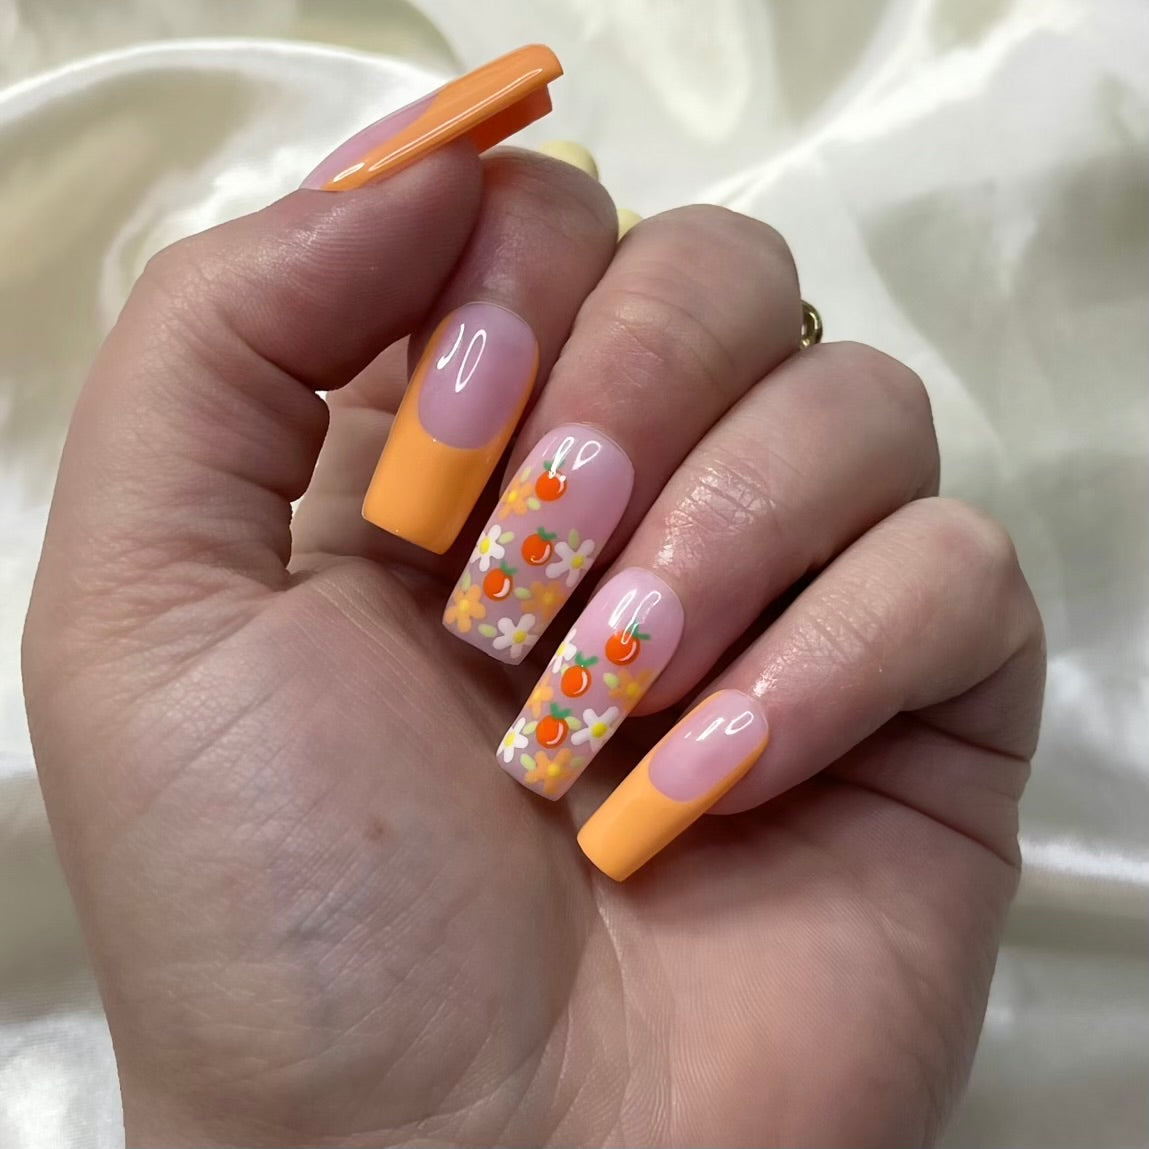
Find Your Perfect Fit
When reusing press-on nails, make sure each one still matches the size of your natural nail. A proper fit prevents lifting, snagging, and accidental pop-offs.
Too small? It’ll press uncomfortably against your skin.
Too big? It might not stick well and could peel at the edges.
Some press-on sets come in a box and in order so if you saved them, match them up easily. If not, take a moment to re-measure each nail. You can gently file the sides of the nail if needed to create a perfect fit.
step three
Reapply Your Press-Ons
Whether you’re a nail glue girlie or love the convenience of adhesive tabs, here’s how to reattach your nails so they actually stay put.
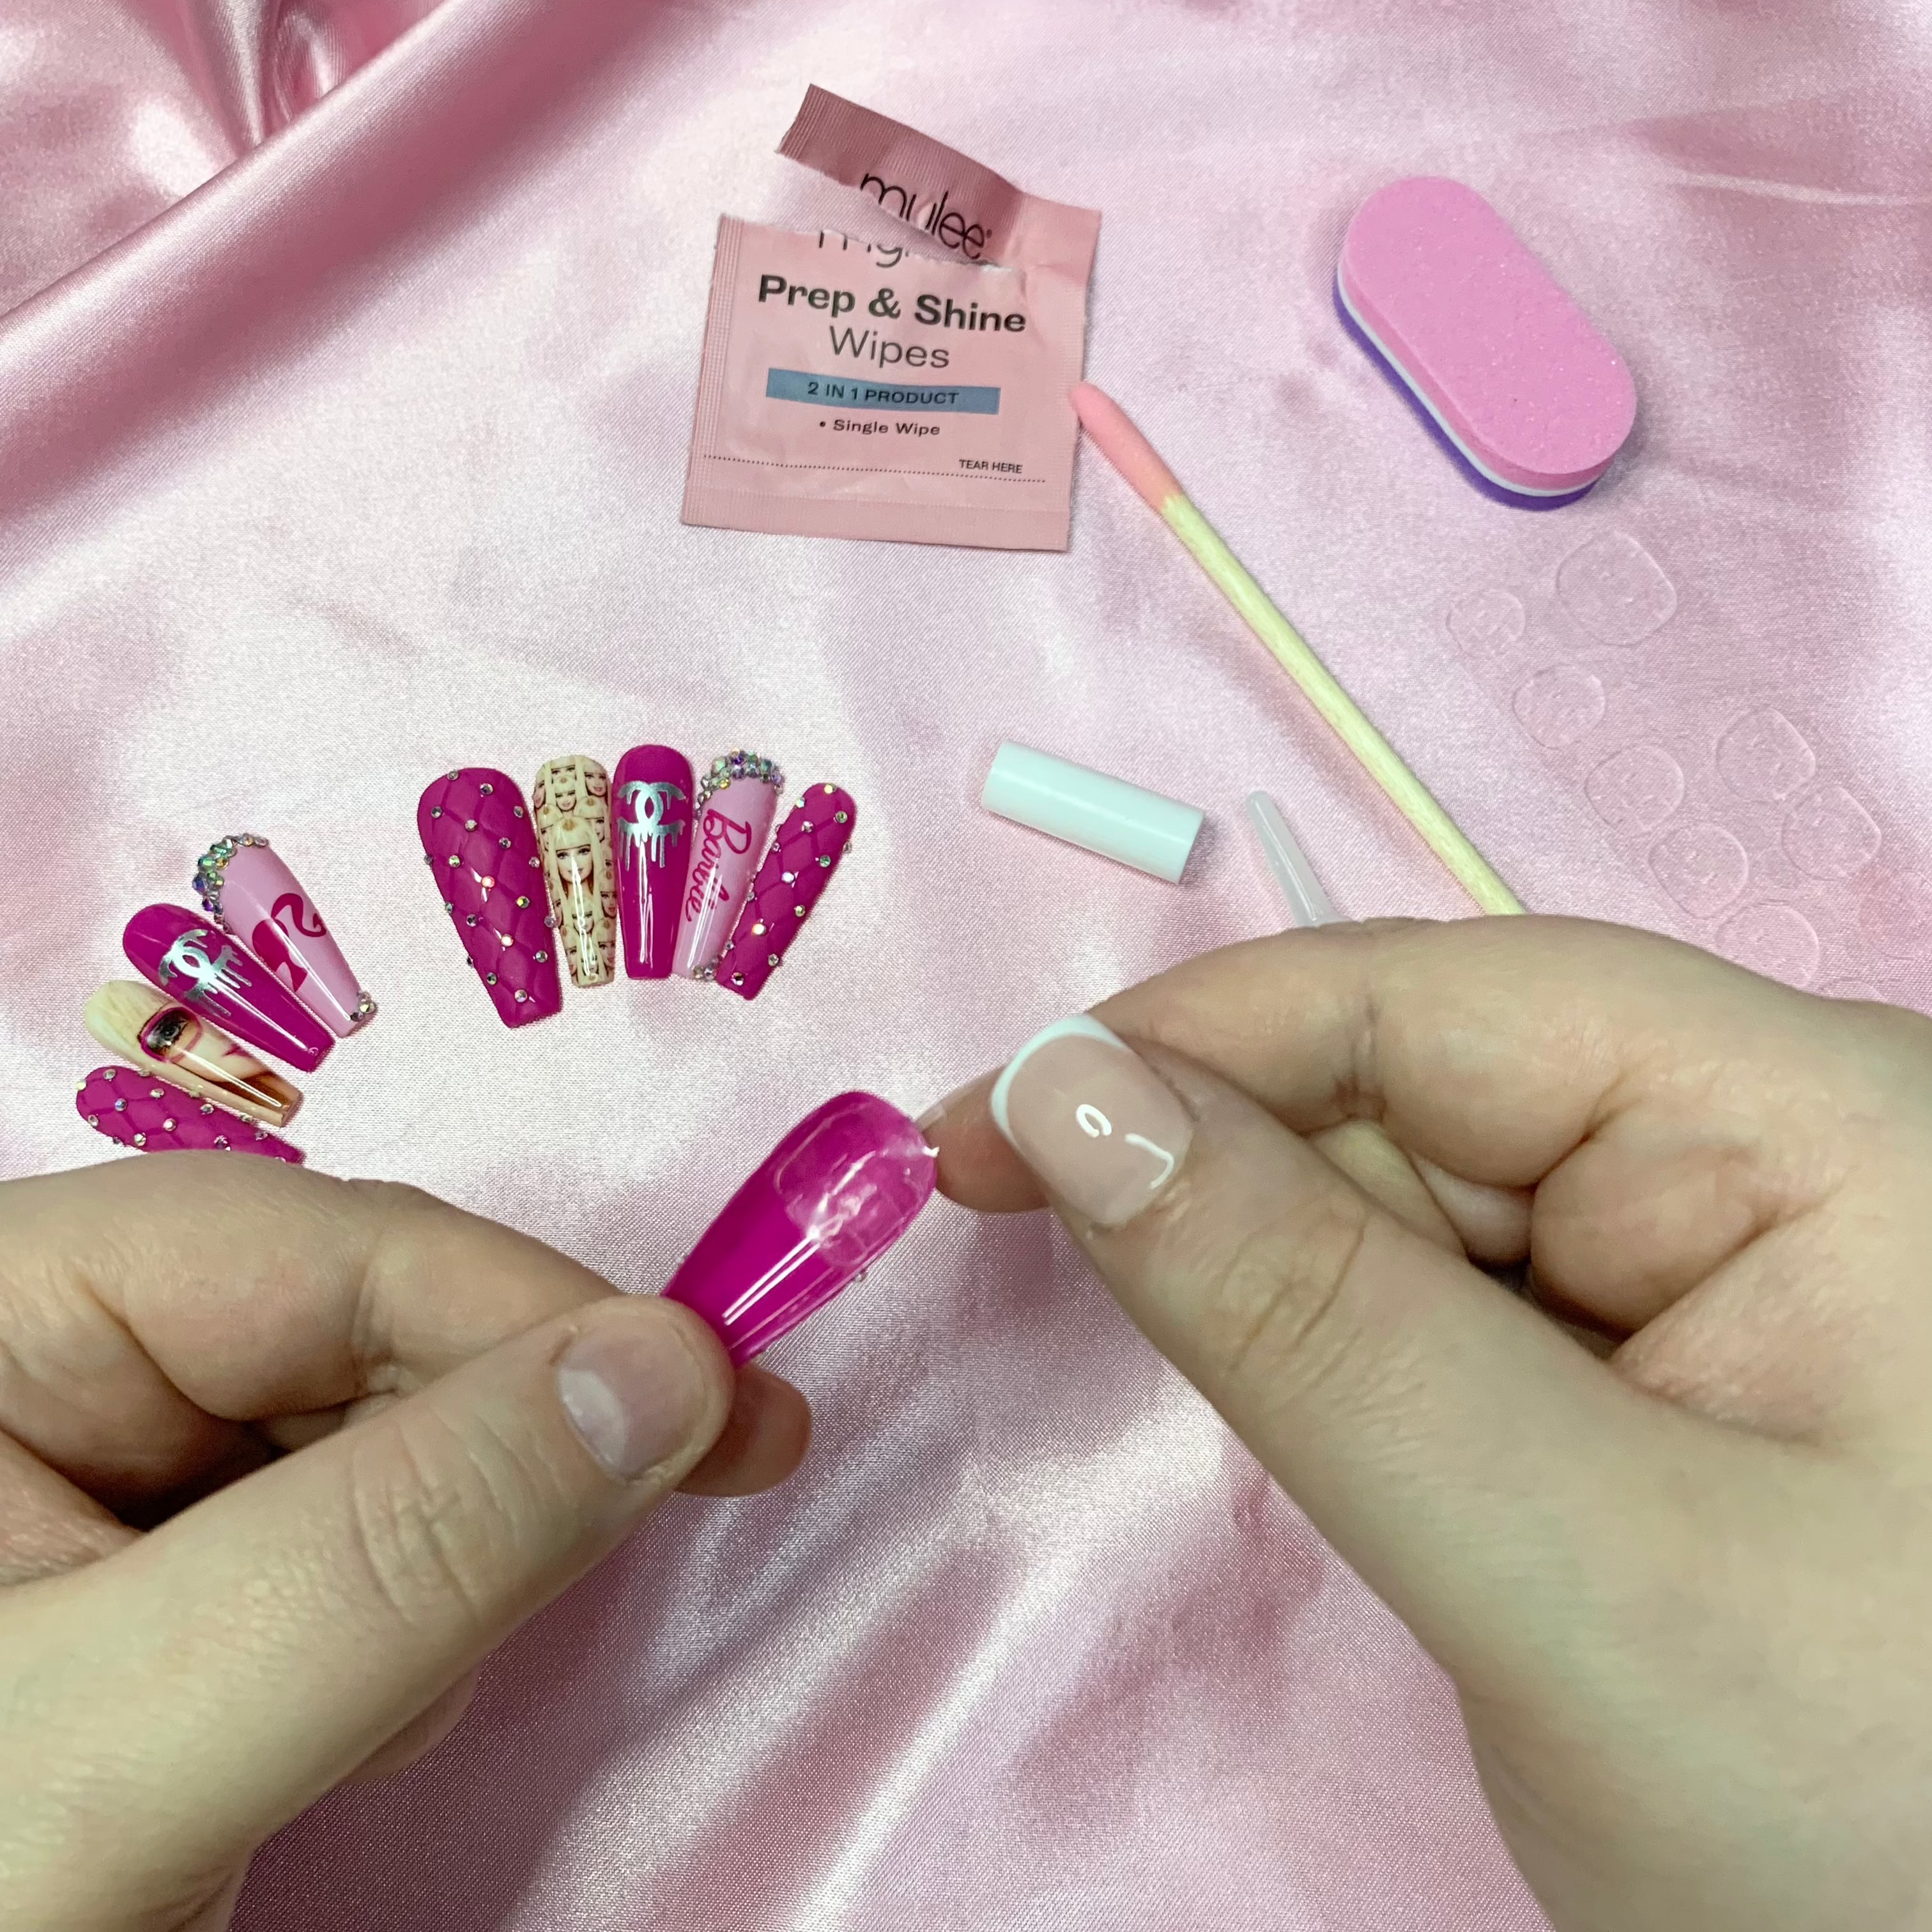
If Using Adhesive Tabs:
- Choose a tab that matches your nail width.
- Stick it onto the underside of the press-on nail.
- Remove the protective film, then press the nail firmly onto your natural nail for at least 30 seconds.
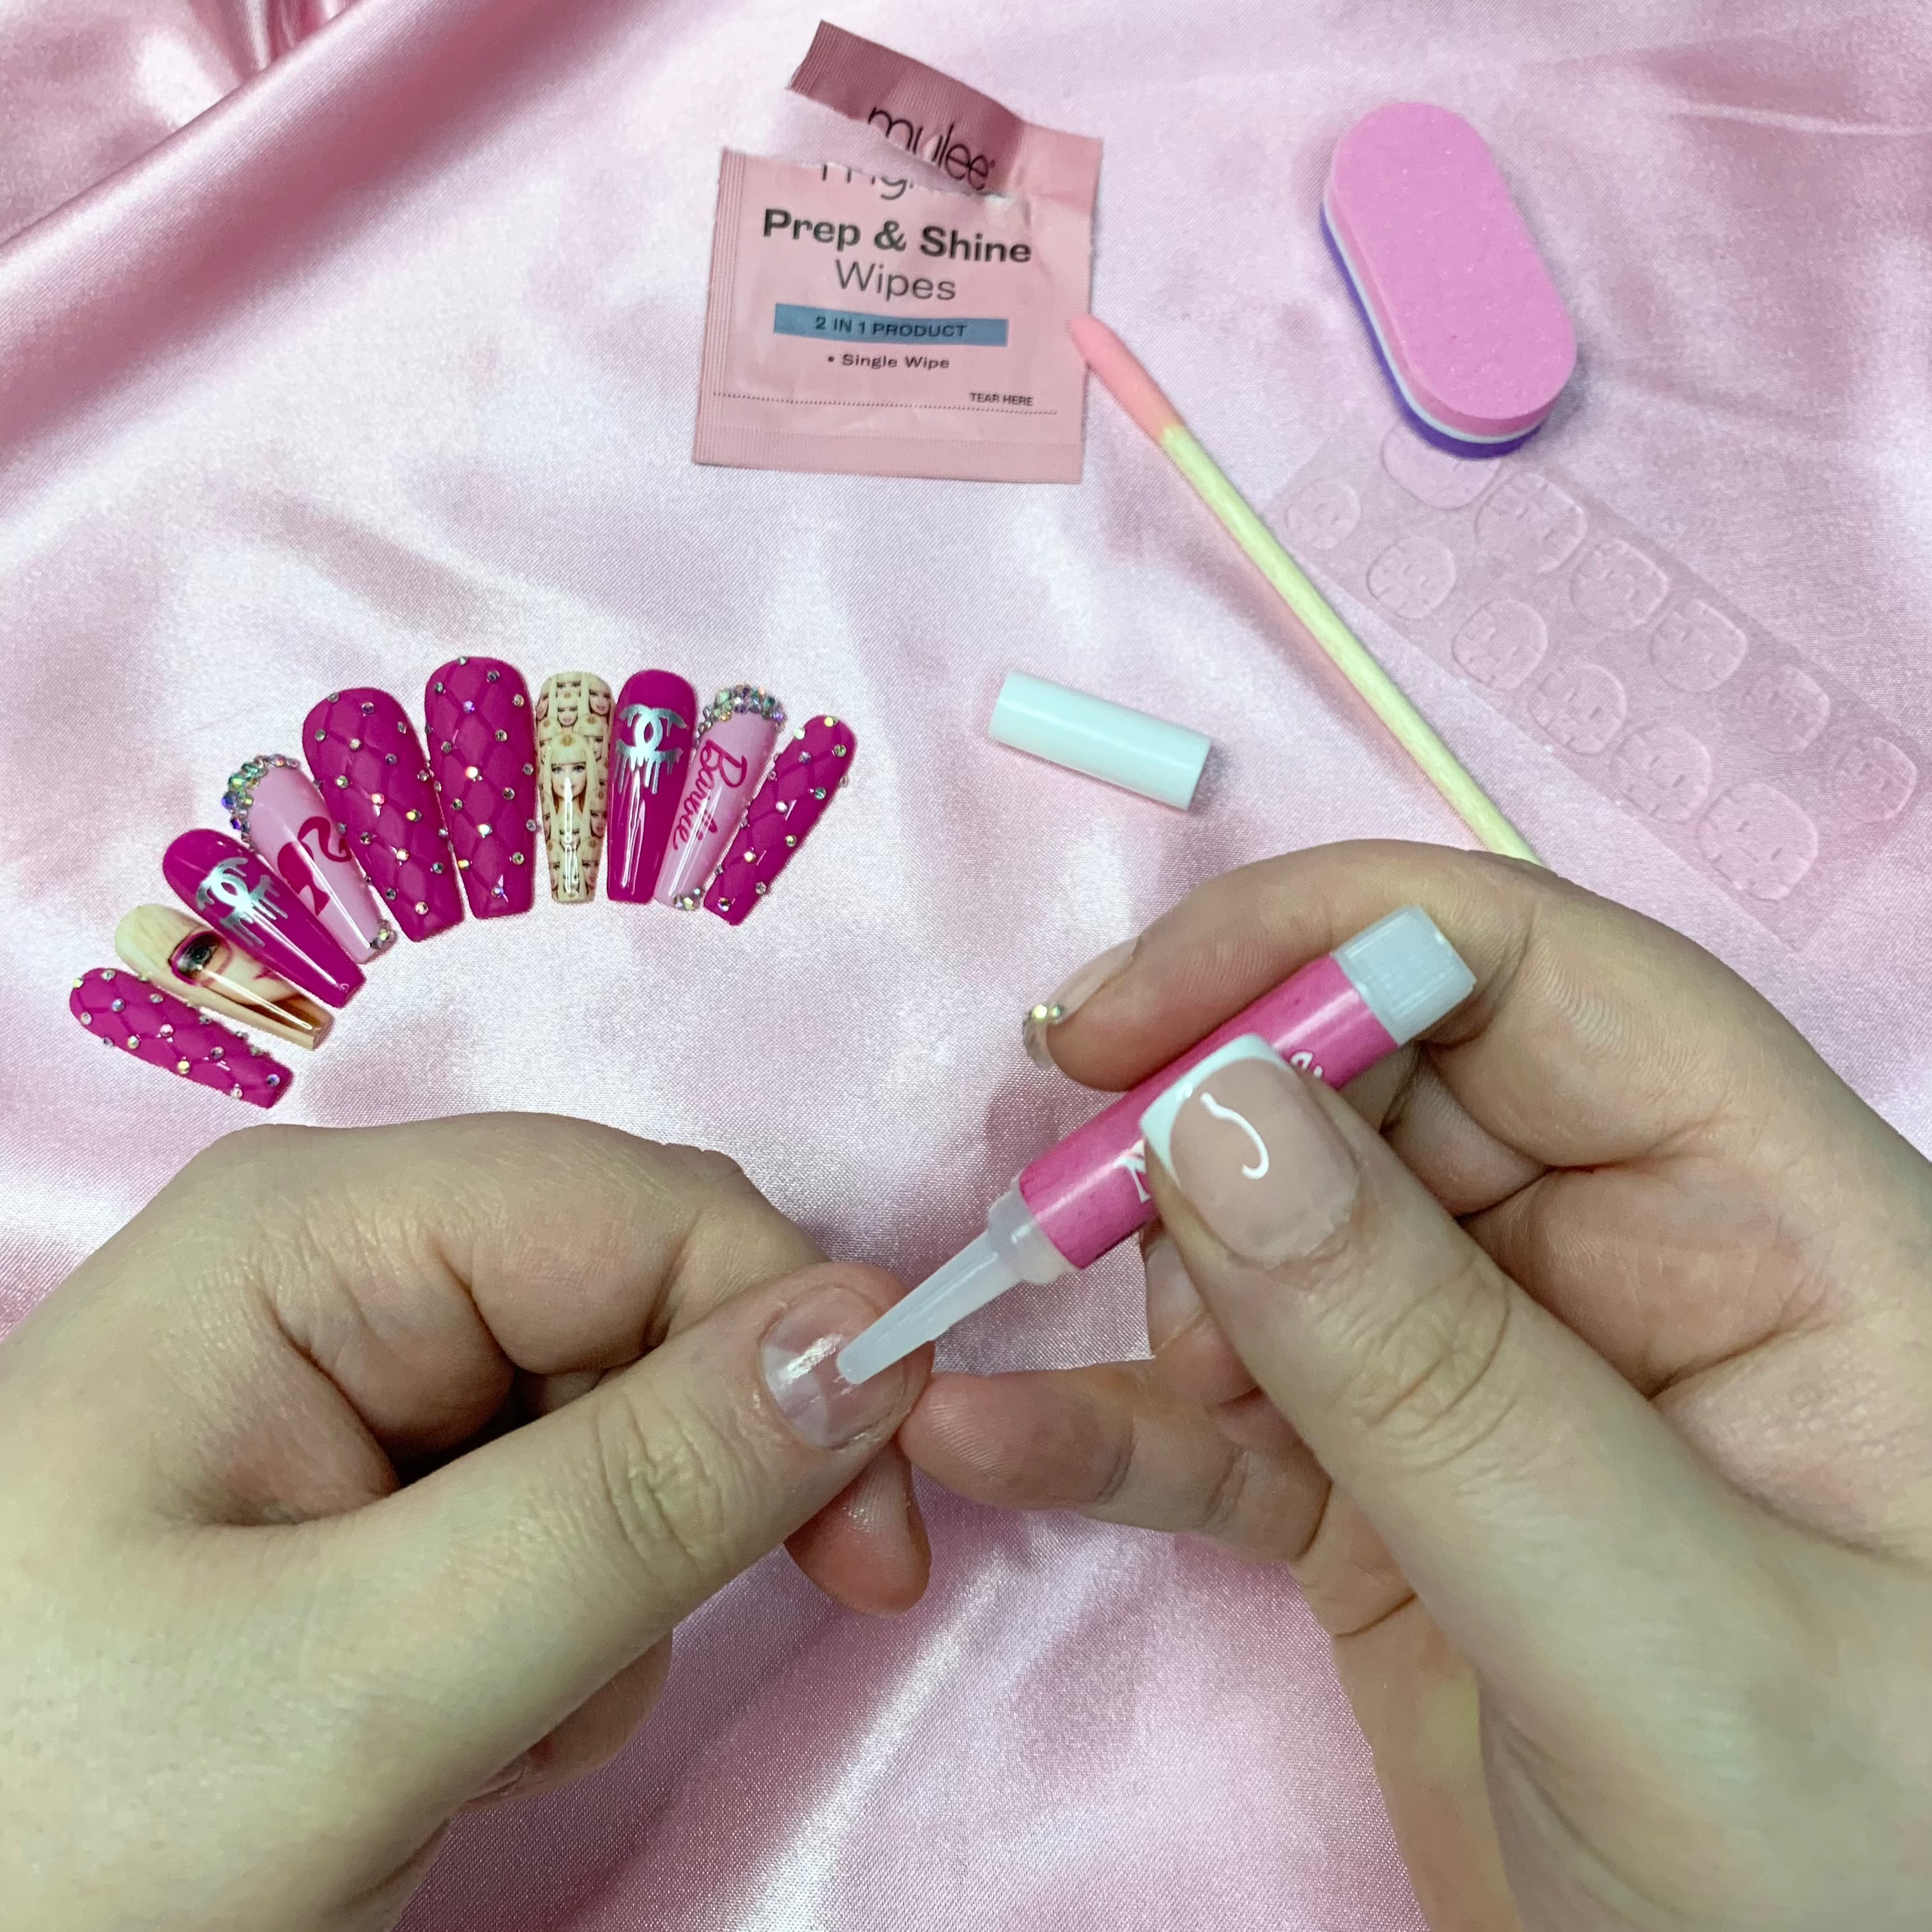
If Using Nail Glue:
- Apply a thin, even layer of glue onto your natural nail or the back of the press-on.
- Start by aligning the false nail at a 45° angle to the cuticle, then press down firmly for 10–15 seconds.
- Avoid water and oil-based products for at least an hour to help the bond set properly.
Pro Tip: If a nail starts to lift or pop off during the week, don’t stress—just re-glue and press it back into place. Boom. Crisis averted.
step four
Remove & Store
Eventually, even the fiercest manicure needs to come off. But don’t rip them off (we see you)—protect your natural nails and your press-ons by removing them the right way:
- Soak your nails in warm, soapy water for 10–15 minutes to loosen the glue or adhesive.
- Gently lift the edges using a cuticle stick—never force them off.
- Once removed, clean the underside of your press-ons and pop them back in their box for future use.
Treat them well, and you’ll get multiple wears out of each set—saving time and money while keeping your nails on point.
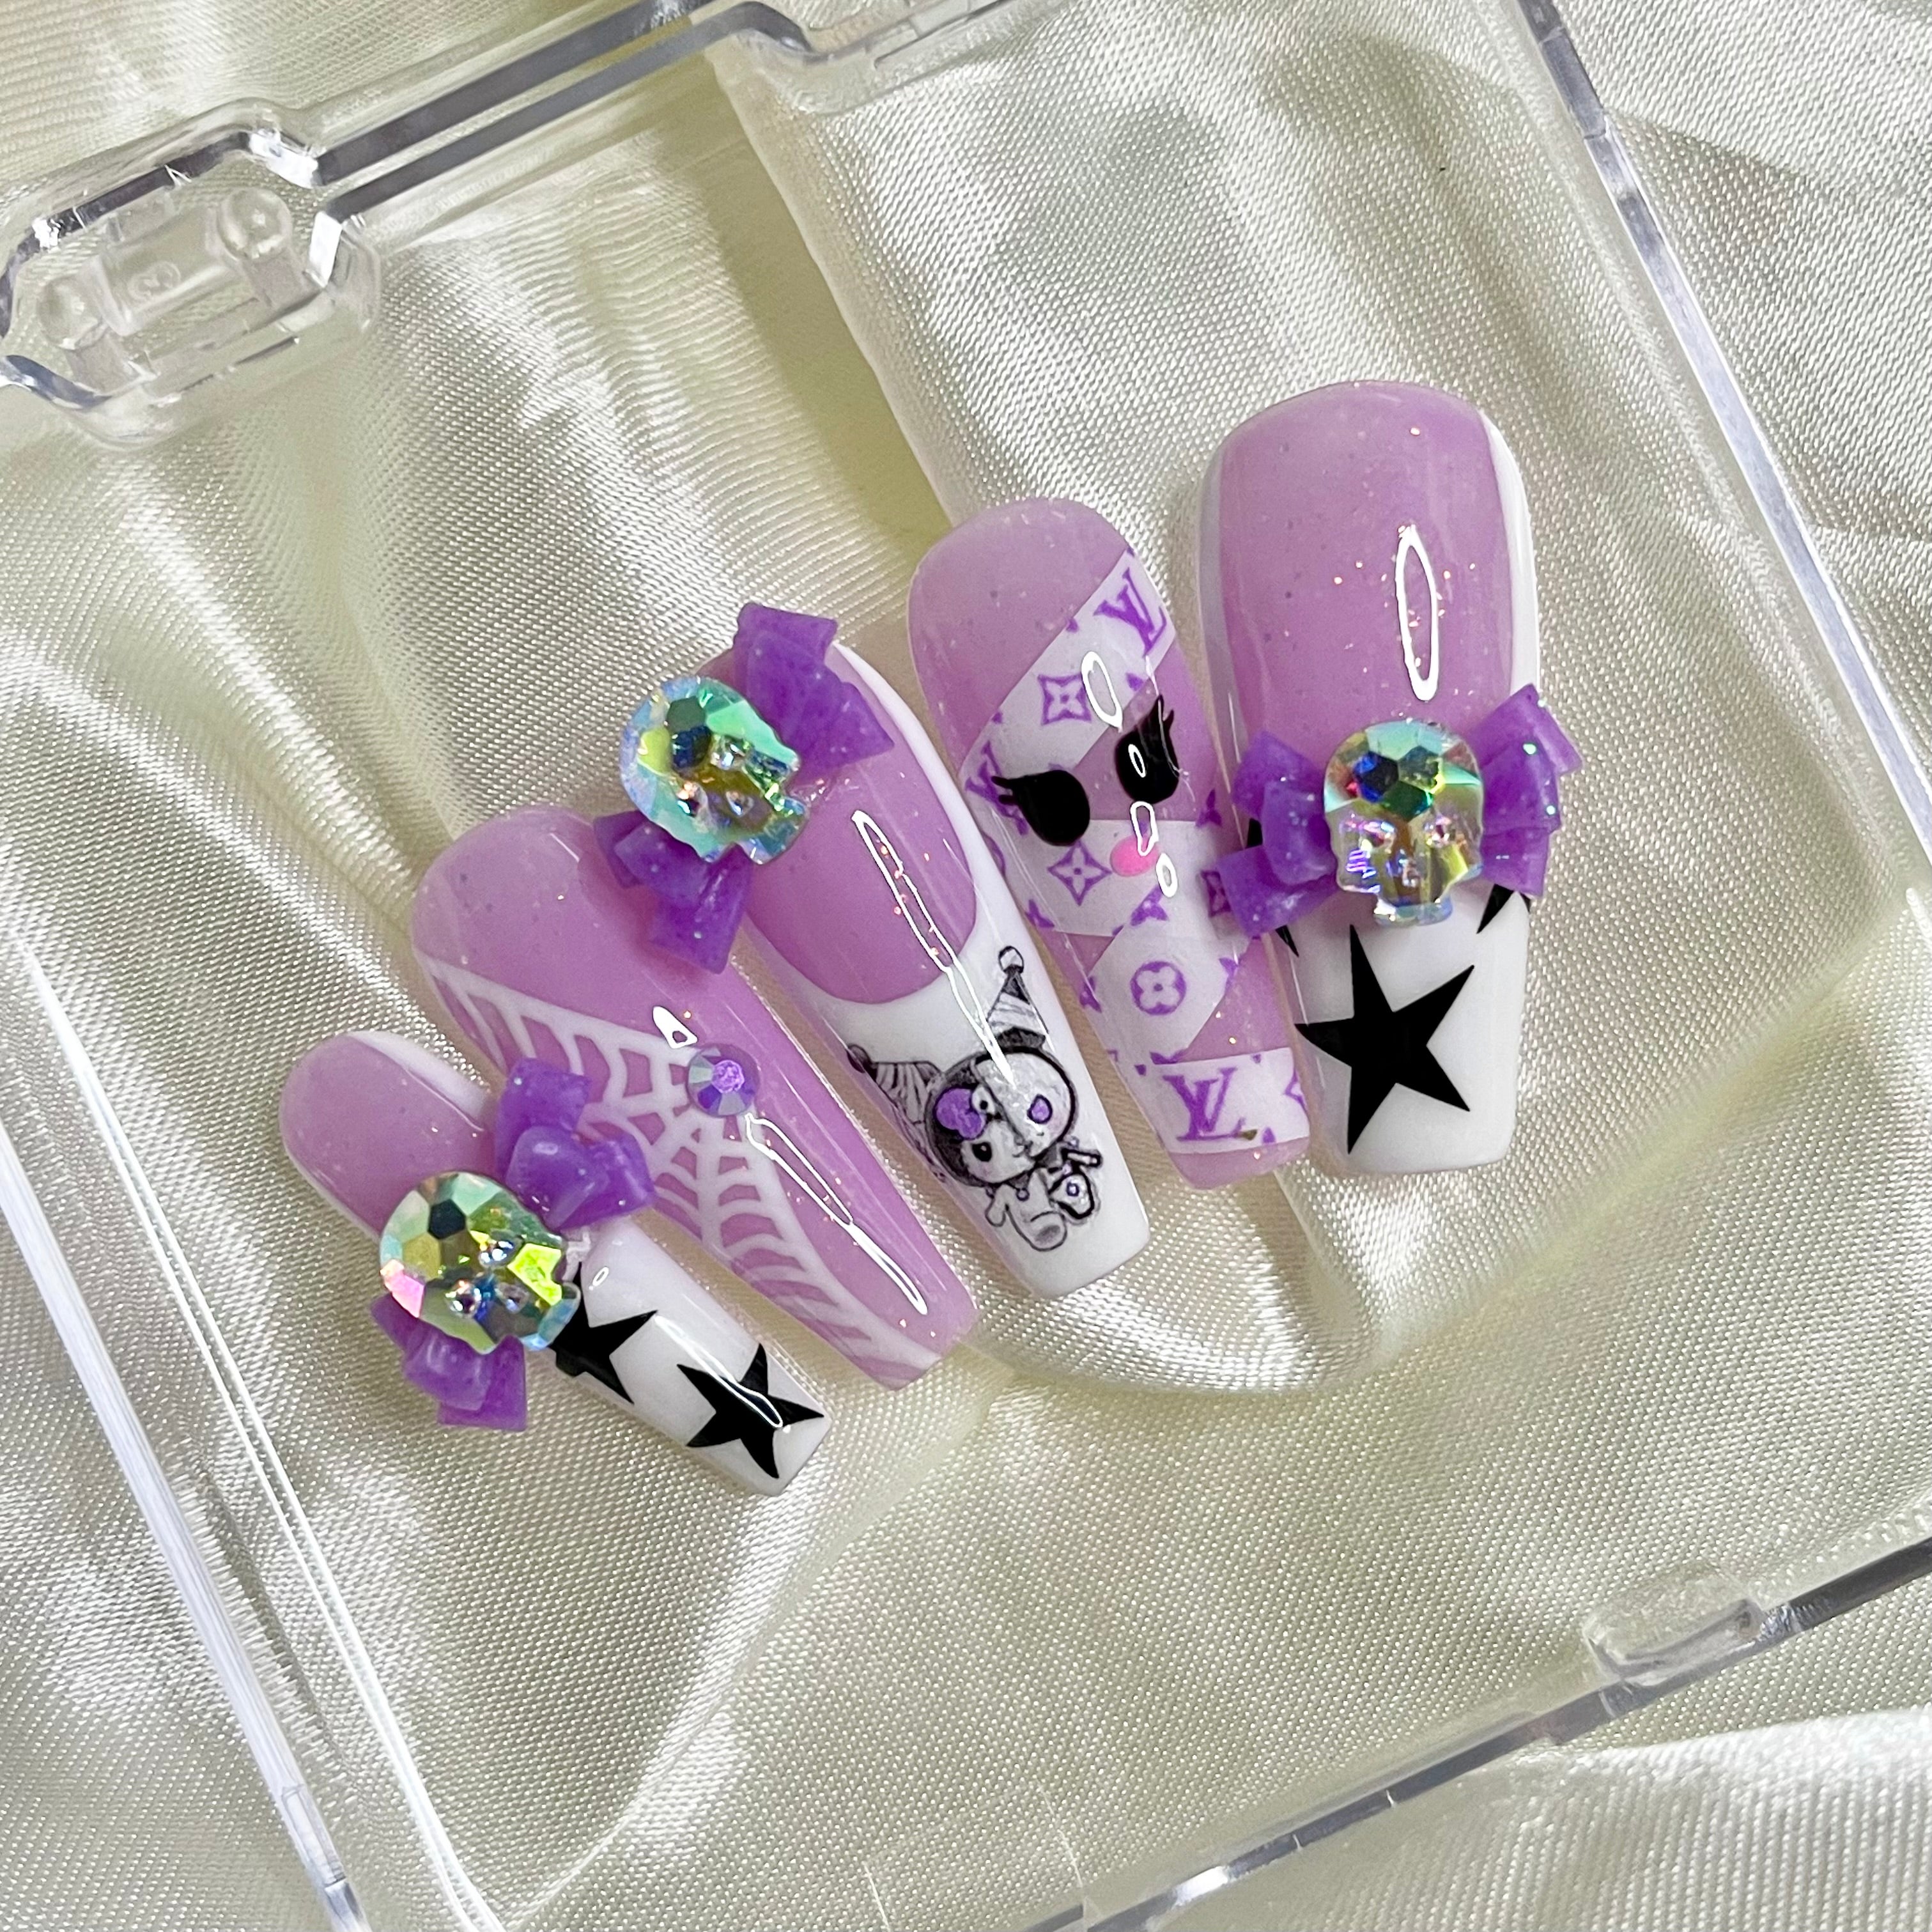
With the right prep, tools, and a little TLC, you can absolutely reuse your press-on nails and keep them looking flawless every single time. From cleaning and sizing to gluing and removing, you’re now fully equipped to rock press-ons like a total pro.
So go on—switch it up, reuse your faves, and let your nails be the ultimate accessory to your vibe. Whether you're all about spooky glam, pastel cuteness, or bold AF designs, your next manicure is just a re-glue away.
Ready to try it for yourself?
👉 Shop Our Reusable Press-On Nail Collection and find your next favourite set!
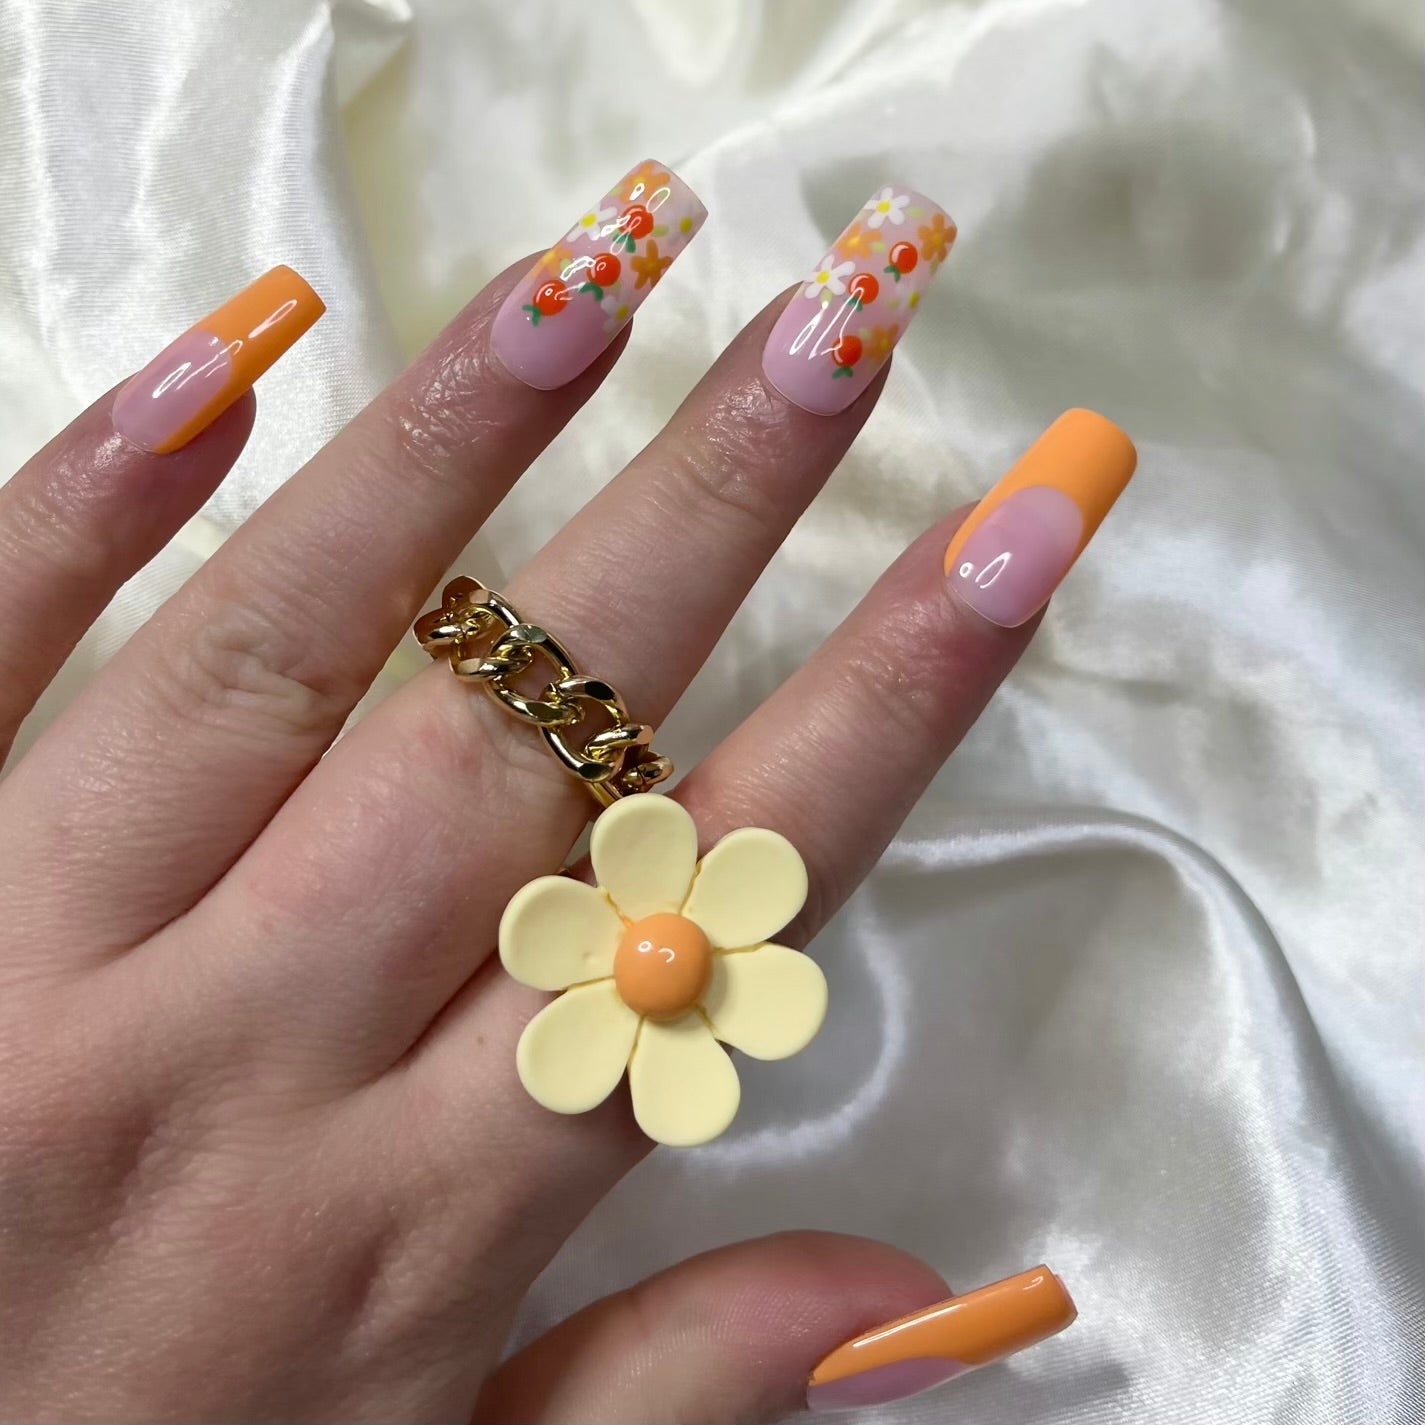
Styles for Every Vibe
Explore Our Press On Nails


Keep the Nail Vibes Going
Explore More Blog Posts
From nail care hacks to design inspo, our blog’s got everything you need to keep your nails on point.