Carrito
0
A Step-by-Step Guide
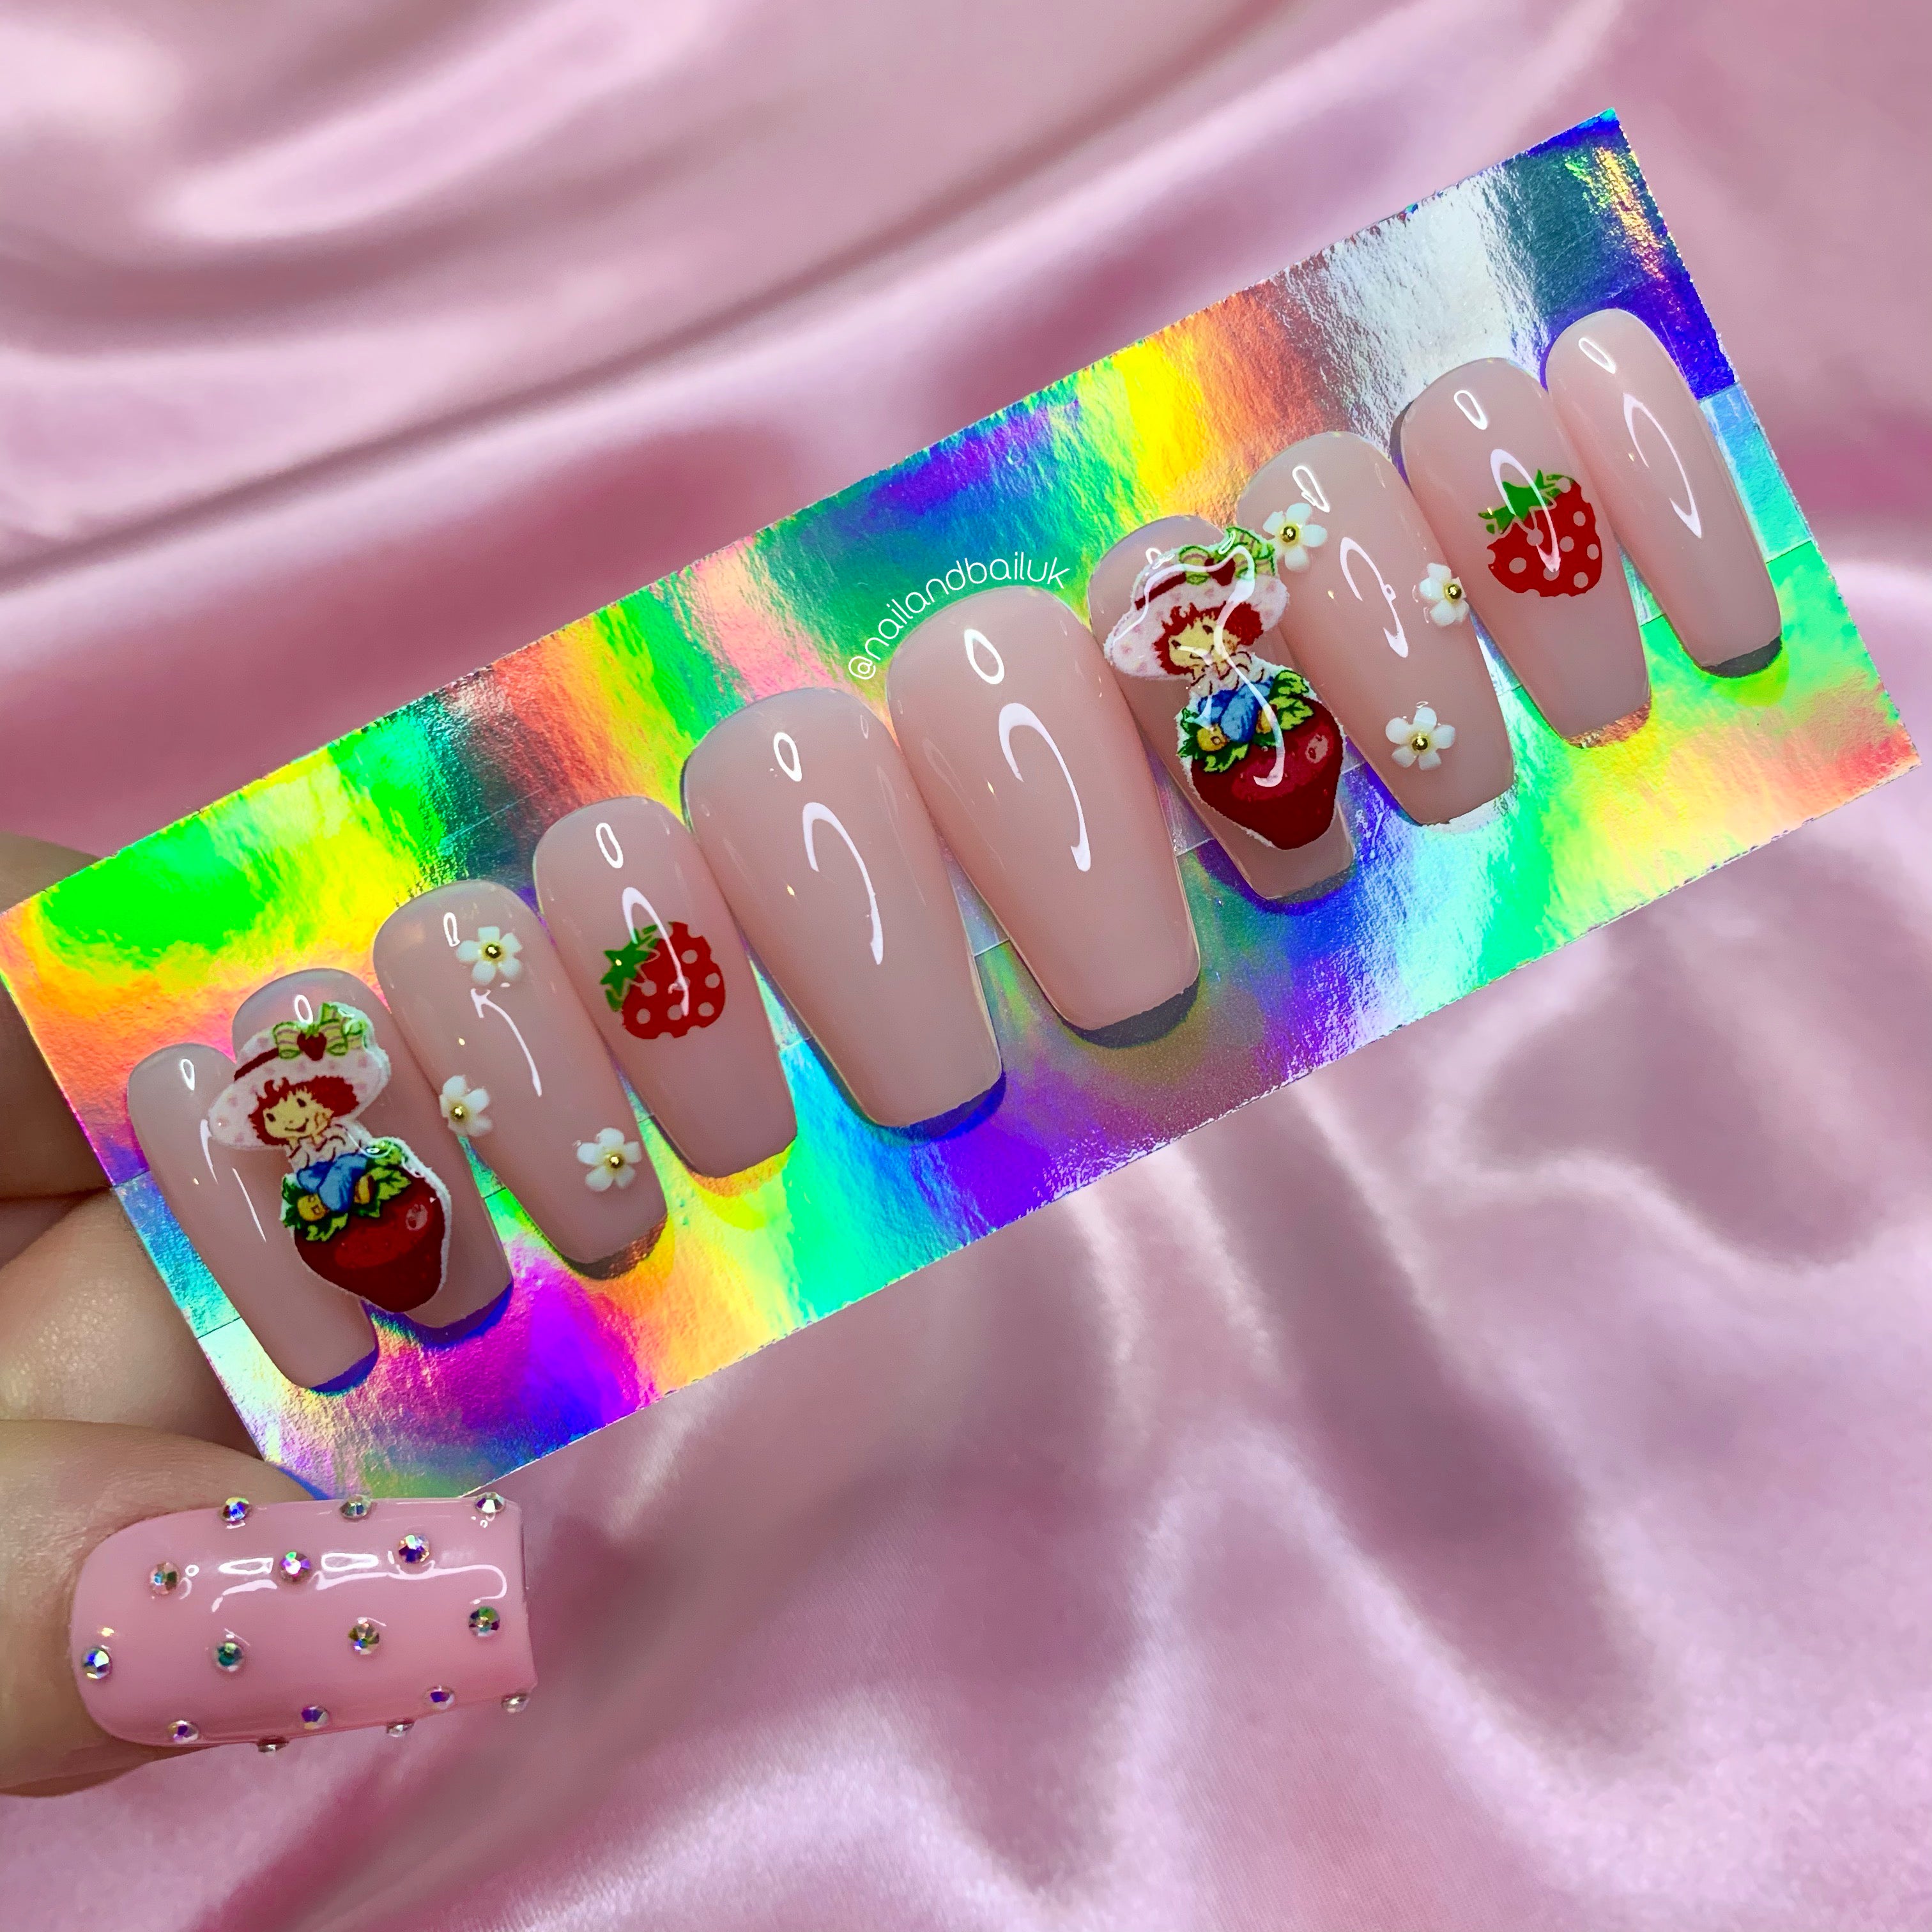
How To Apply Nail Charms
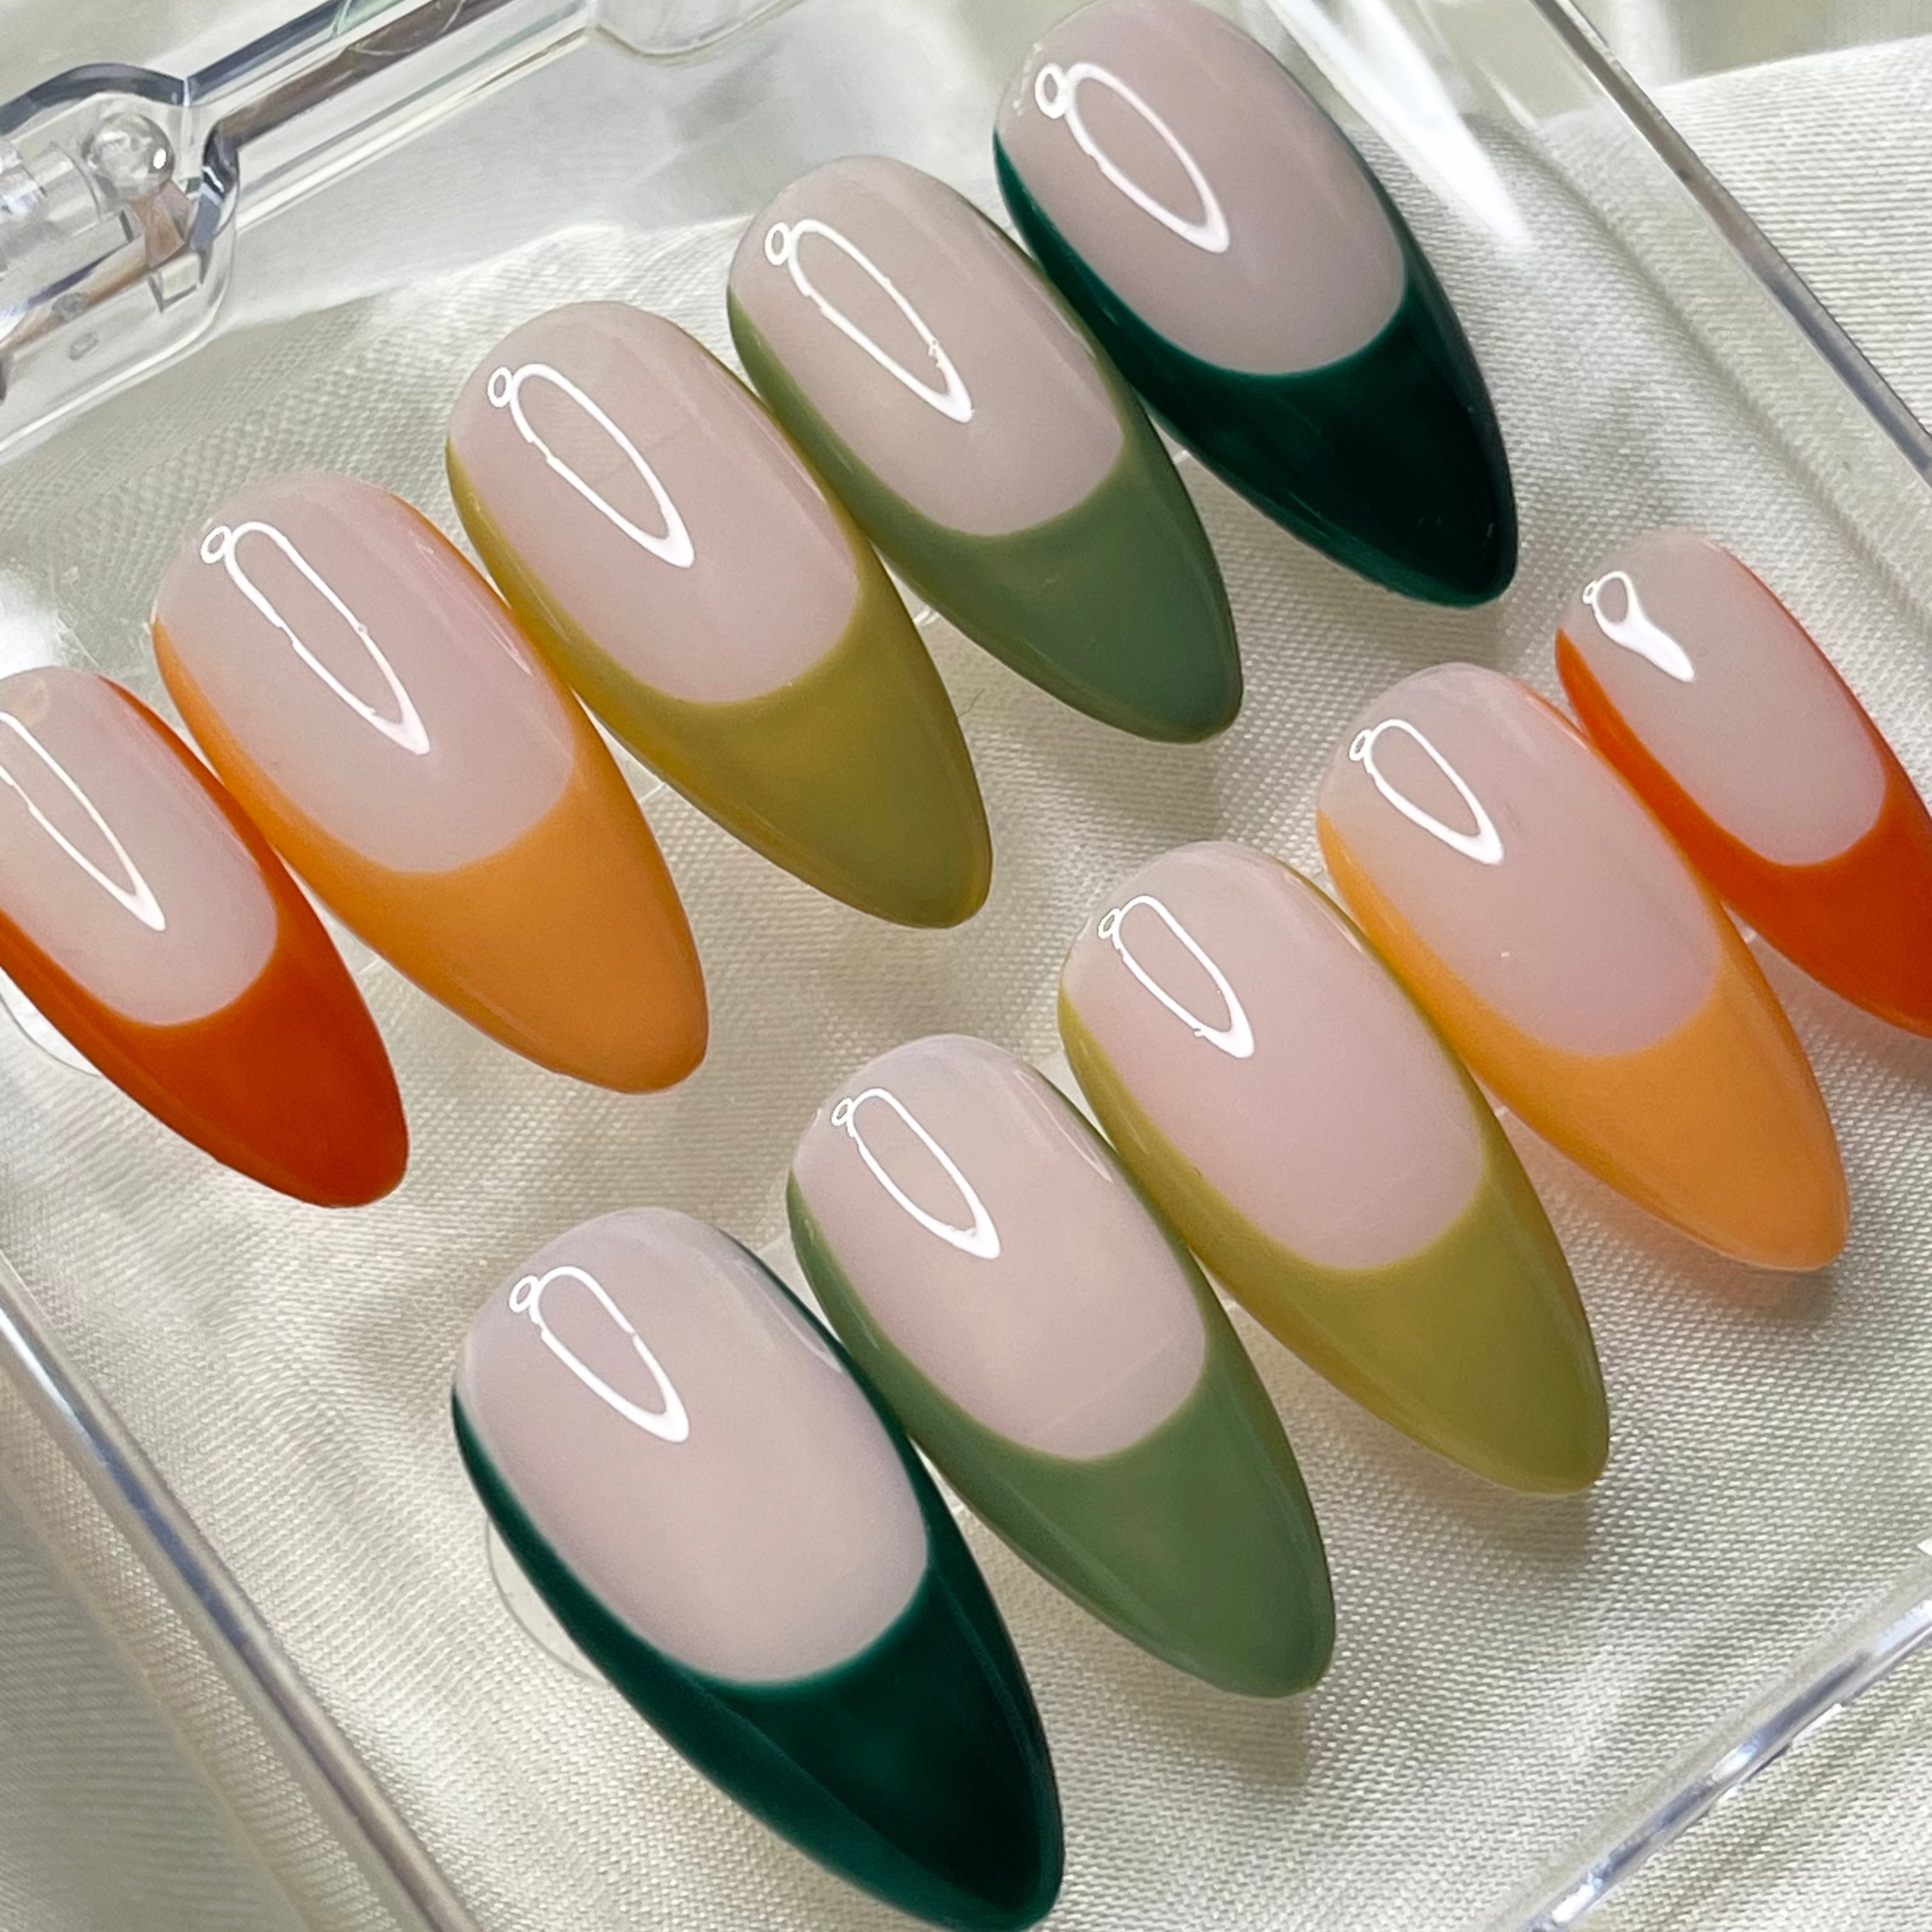
Feeling bored with your nails? Nail charms are the perfect way to elevate your manicure! Whether you love playful dangles or elegant designs, there’s a charm for every style. Ready to apply them like a pro? Let’s dive into the steps!
Add Movement and Fun
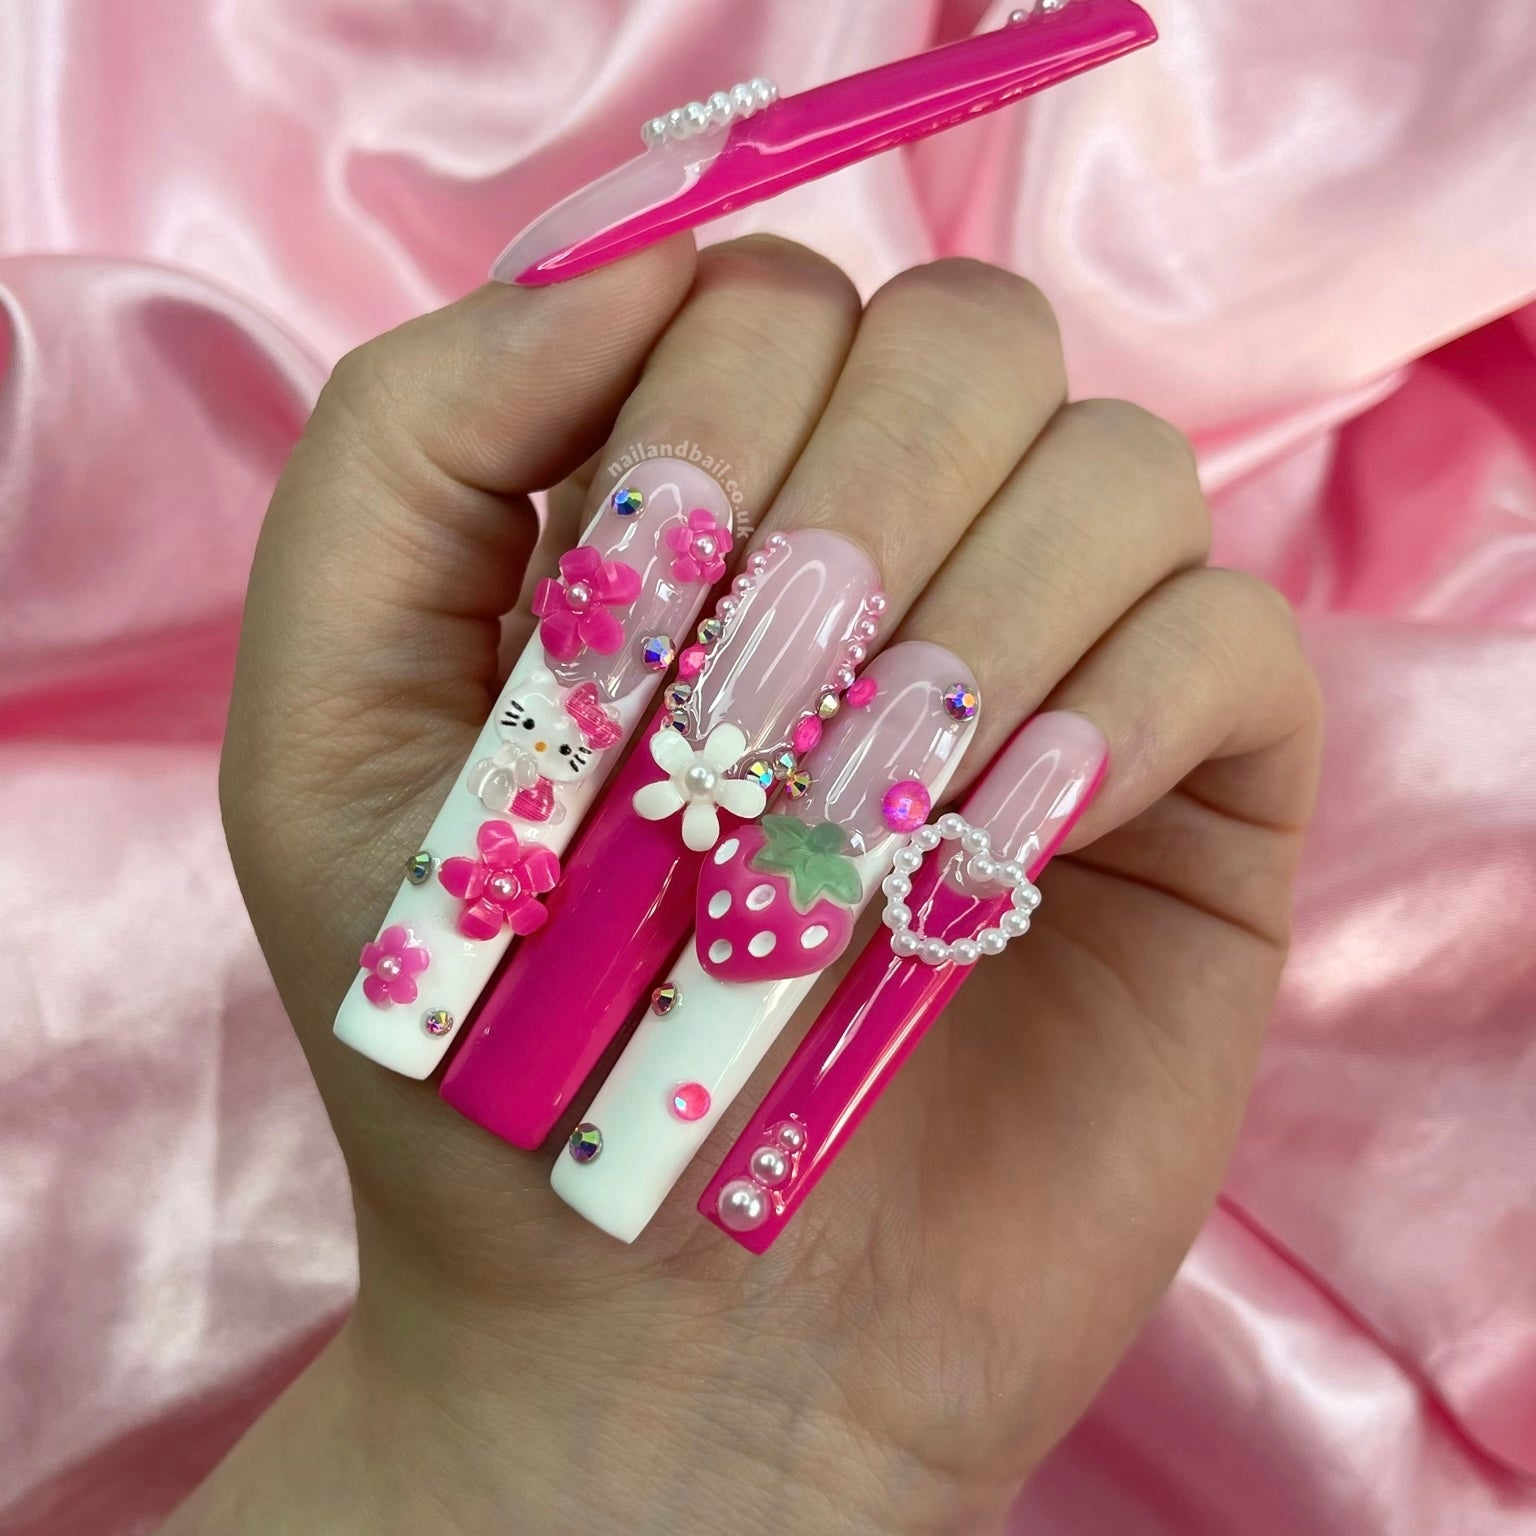
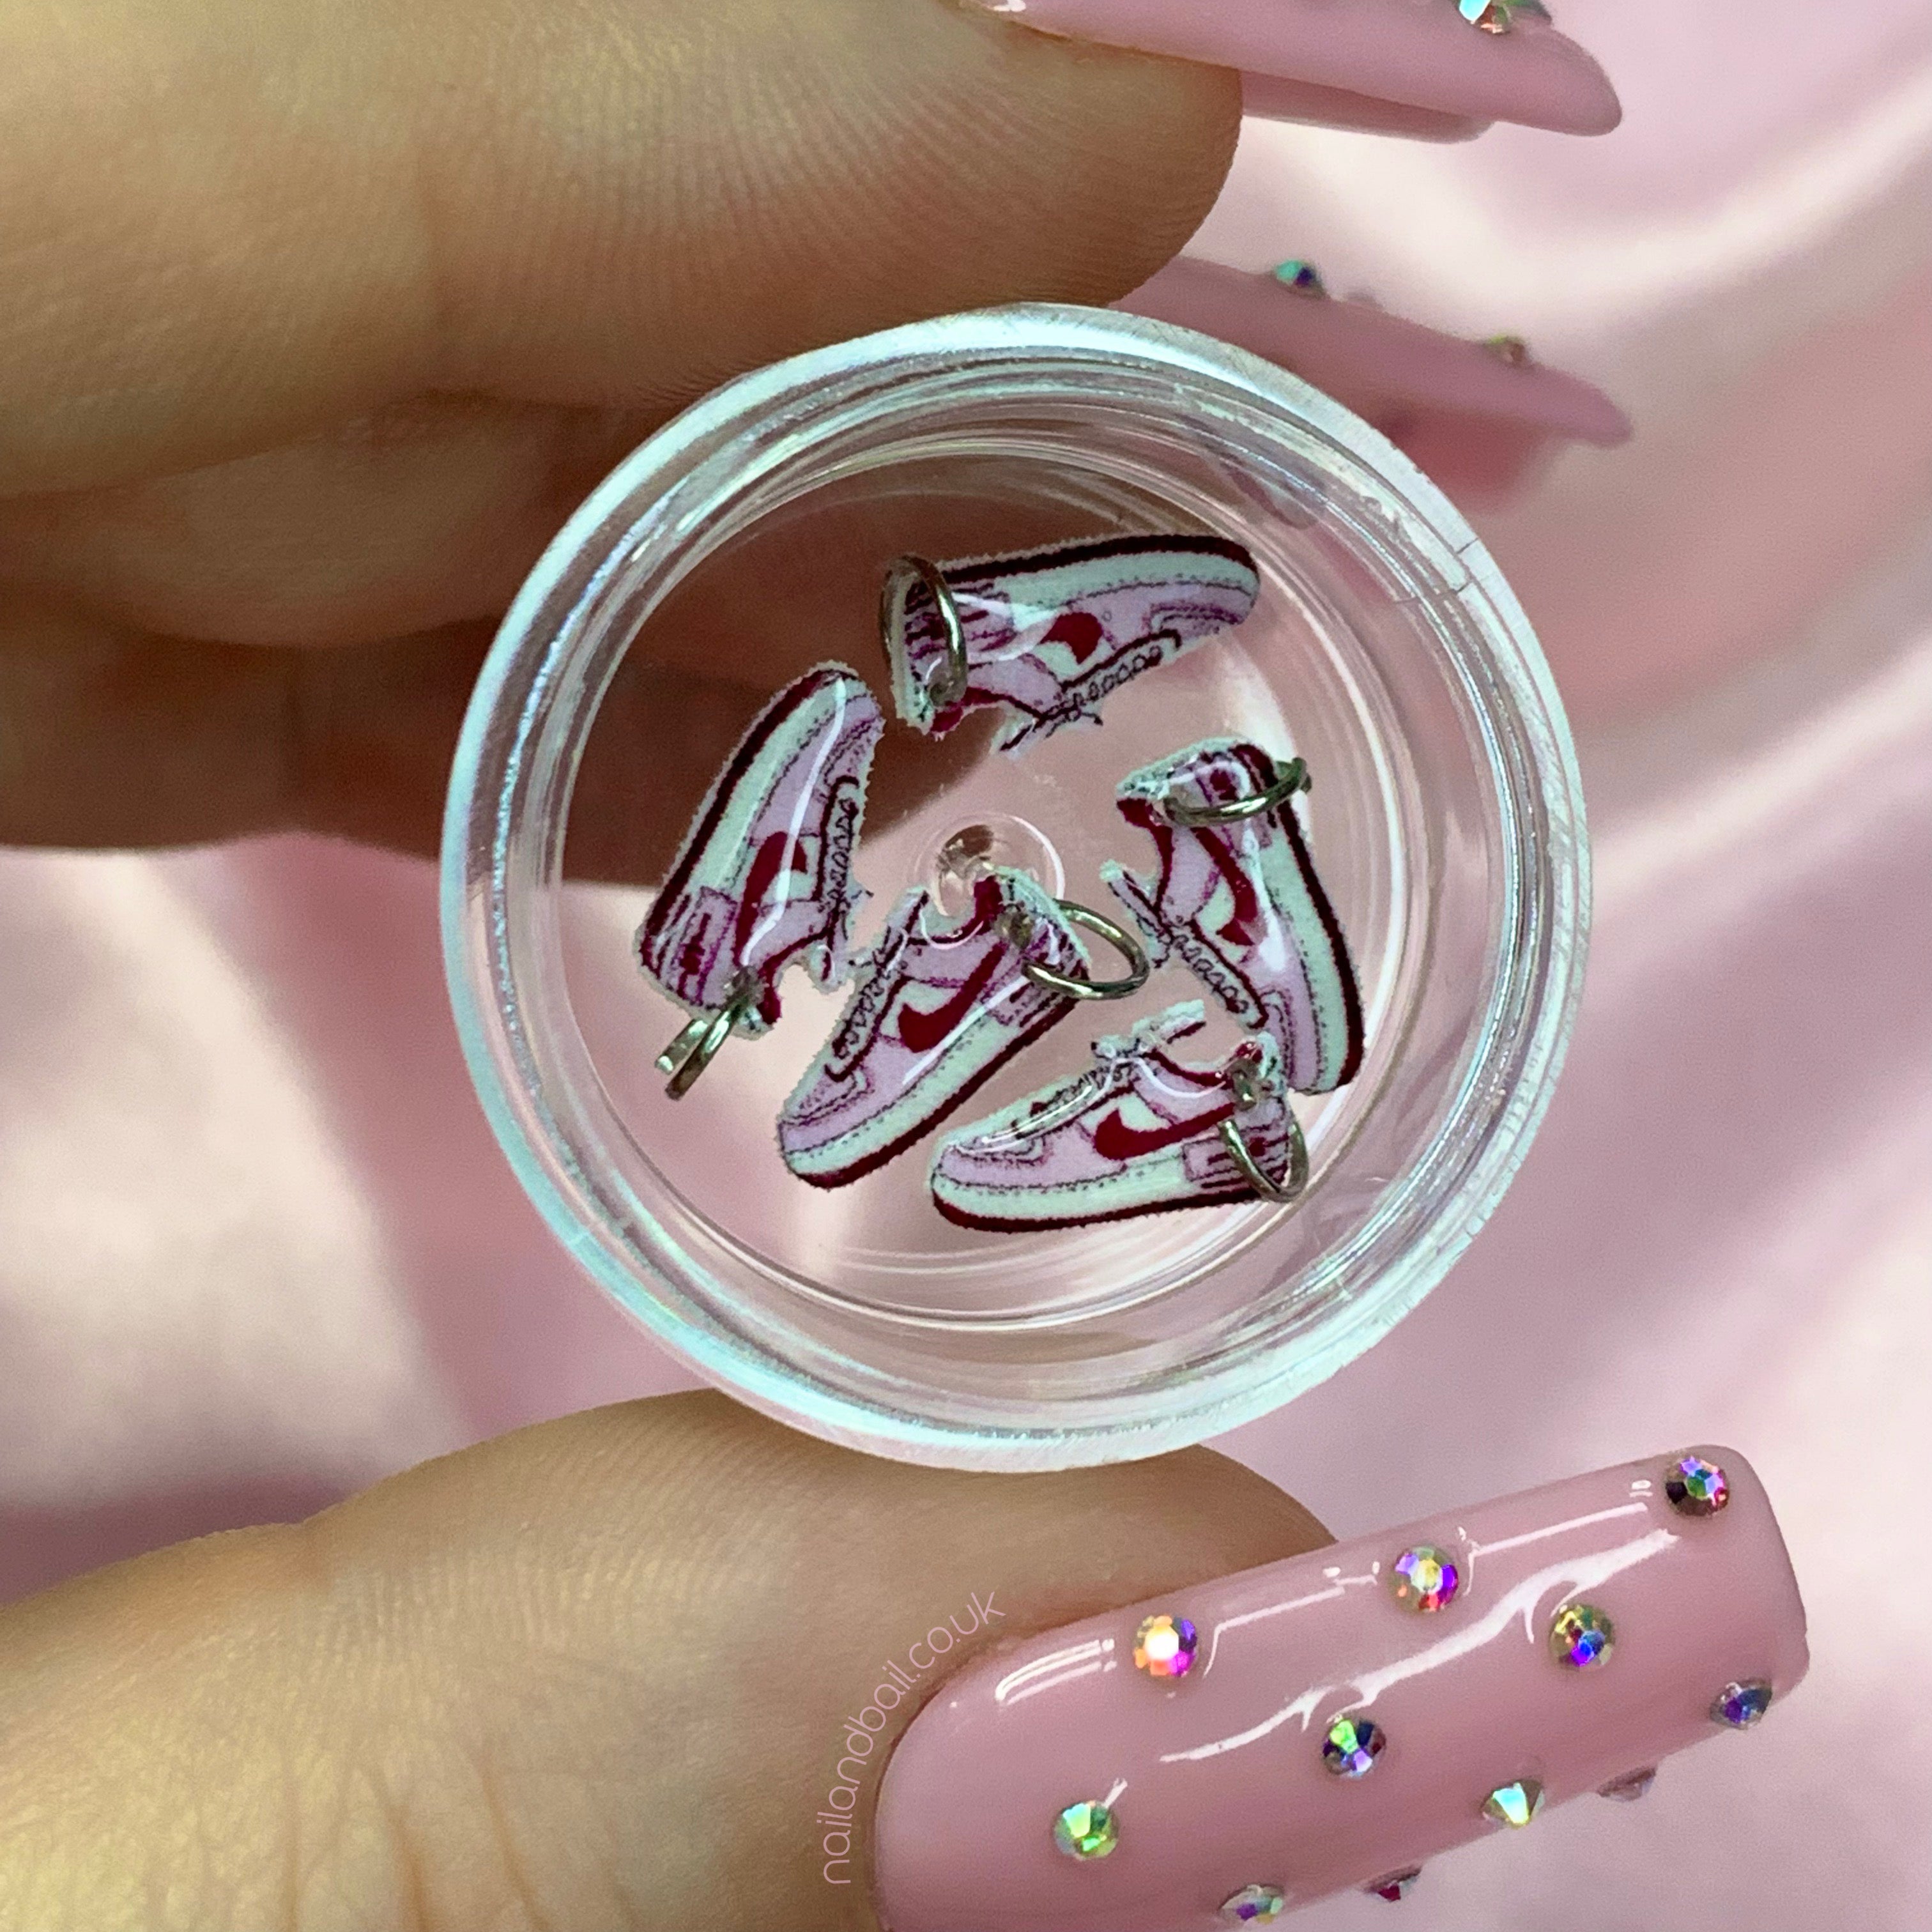
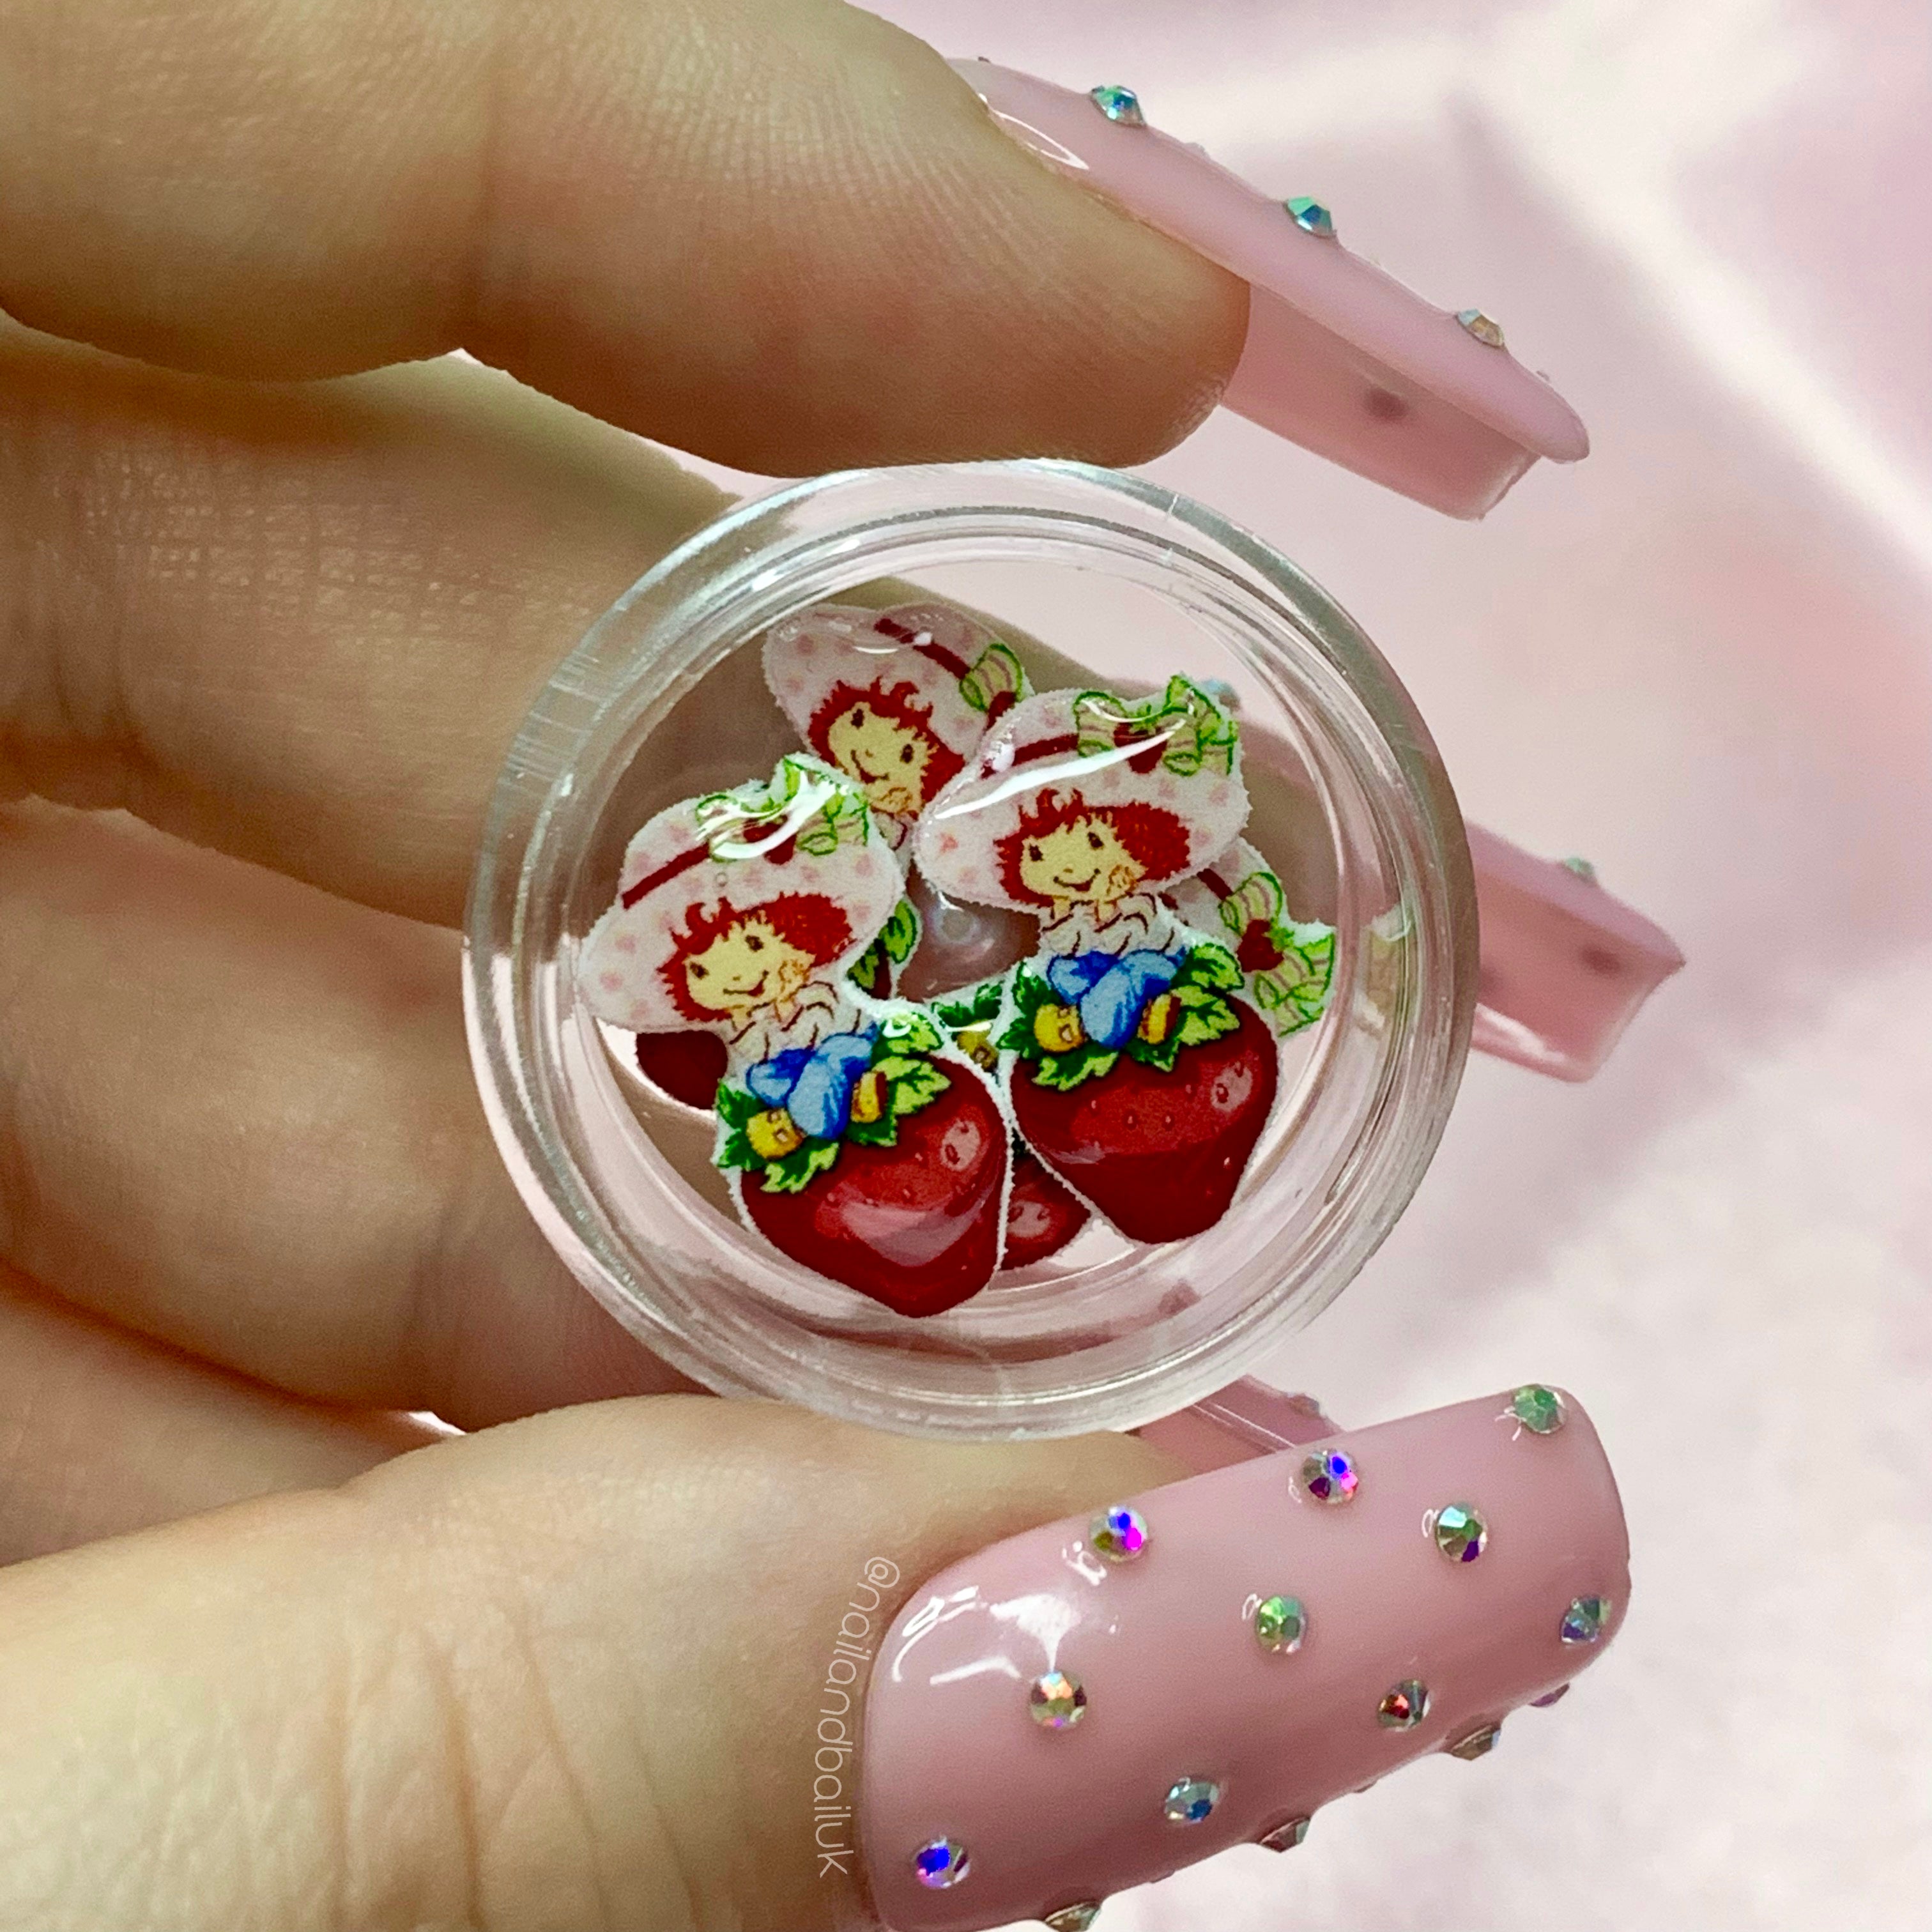
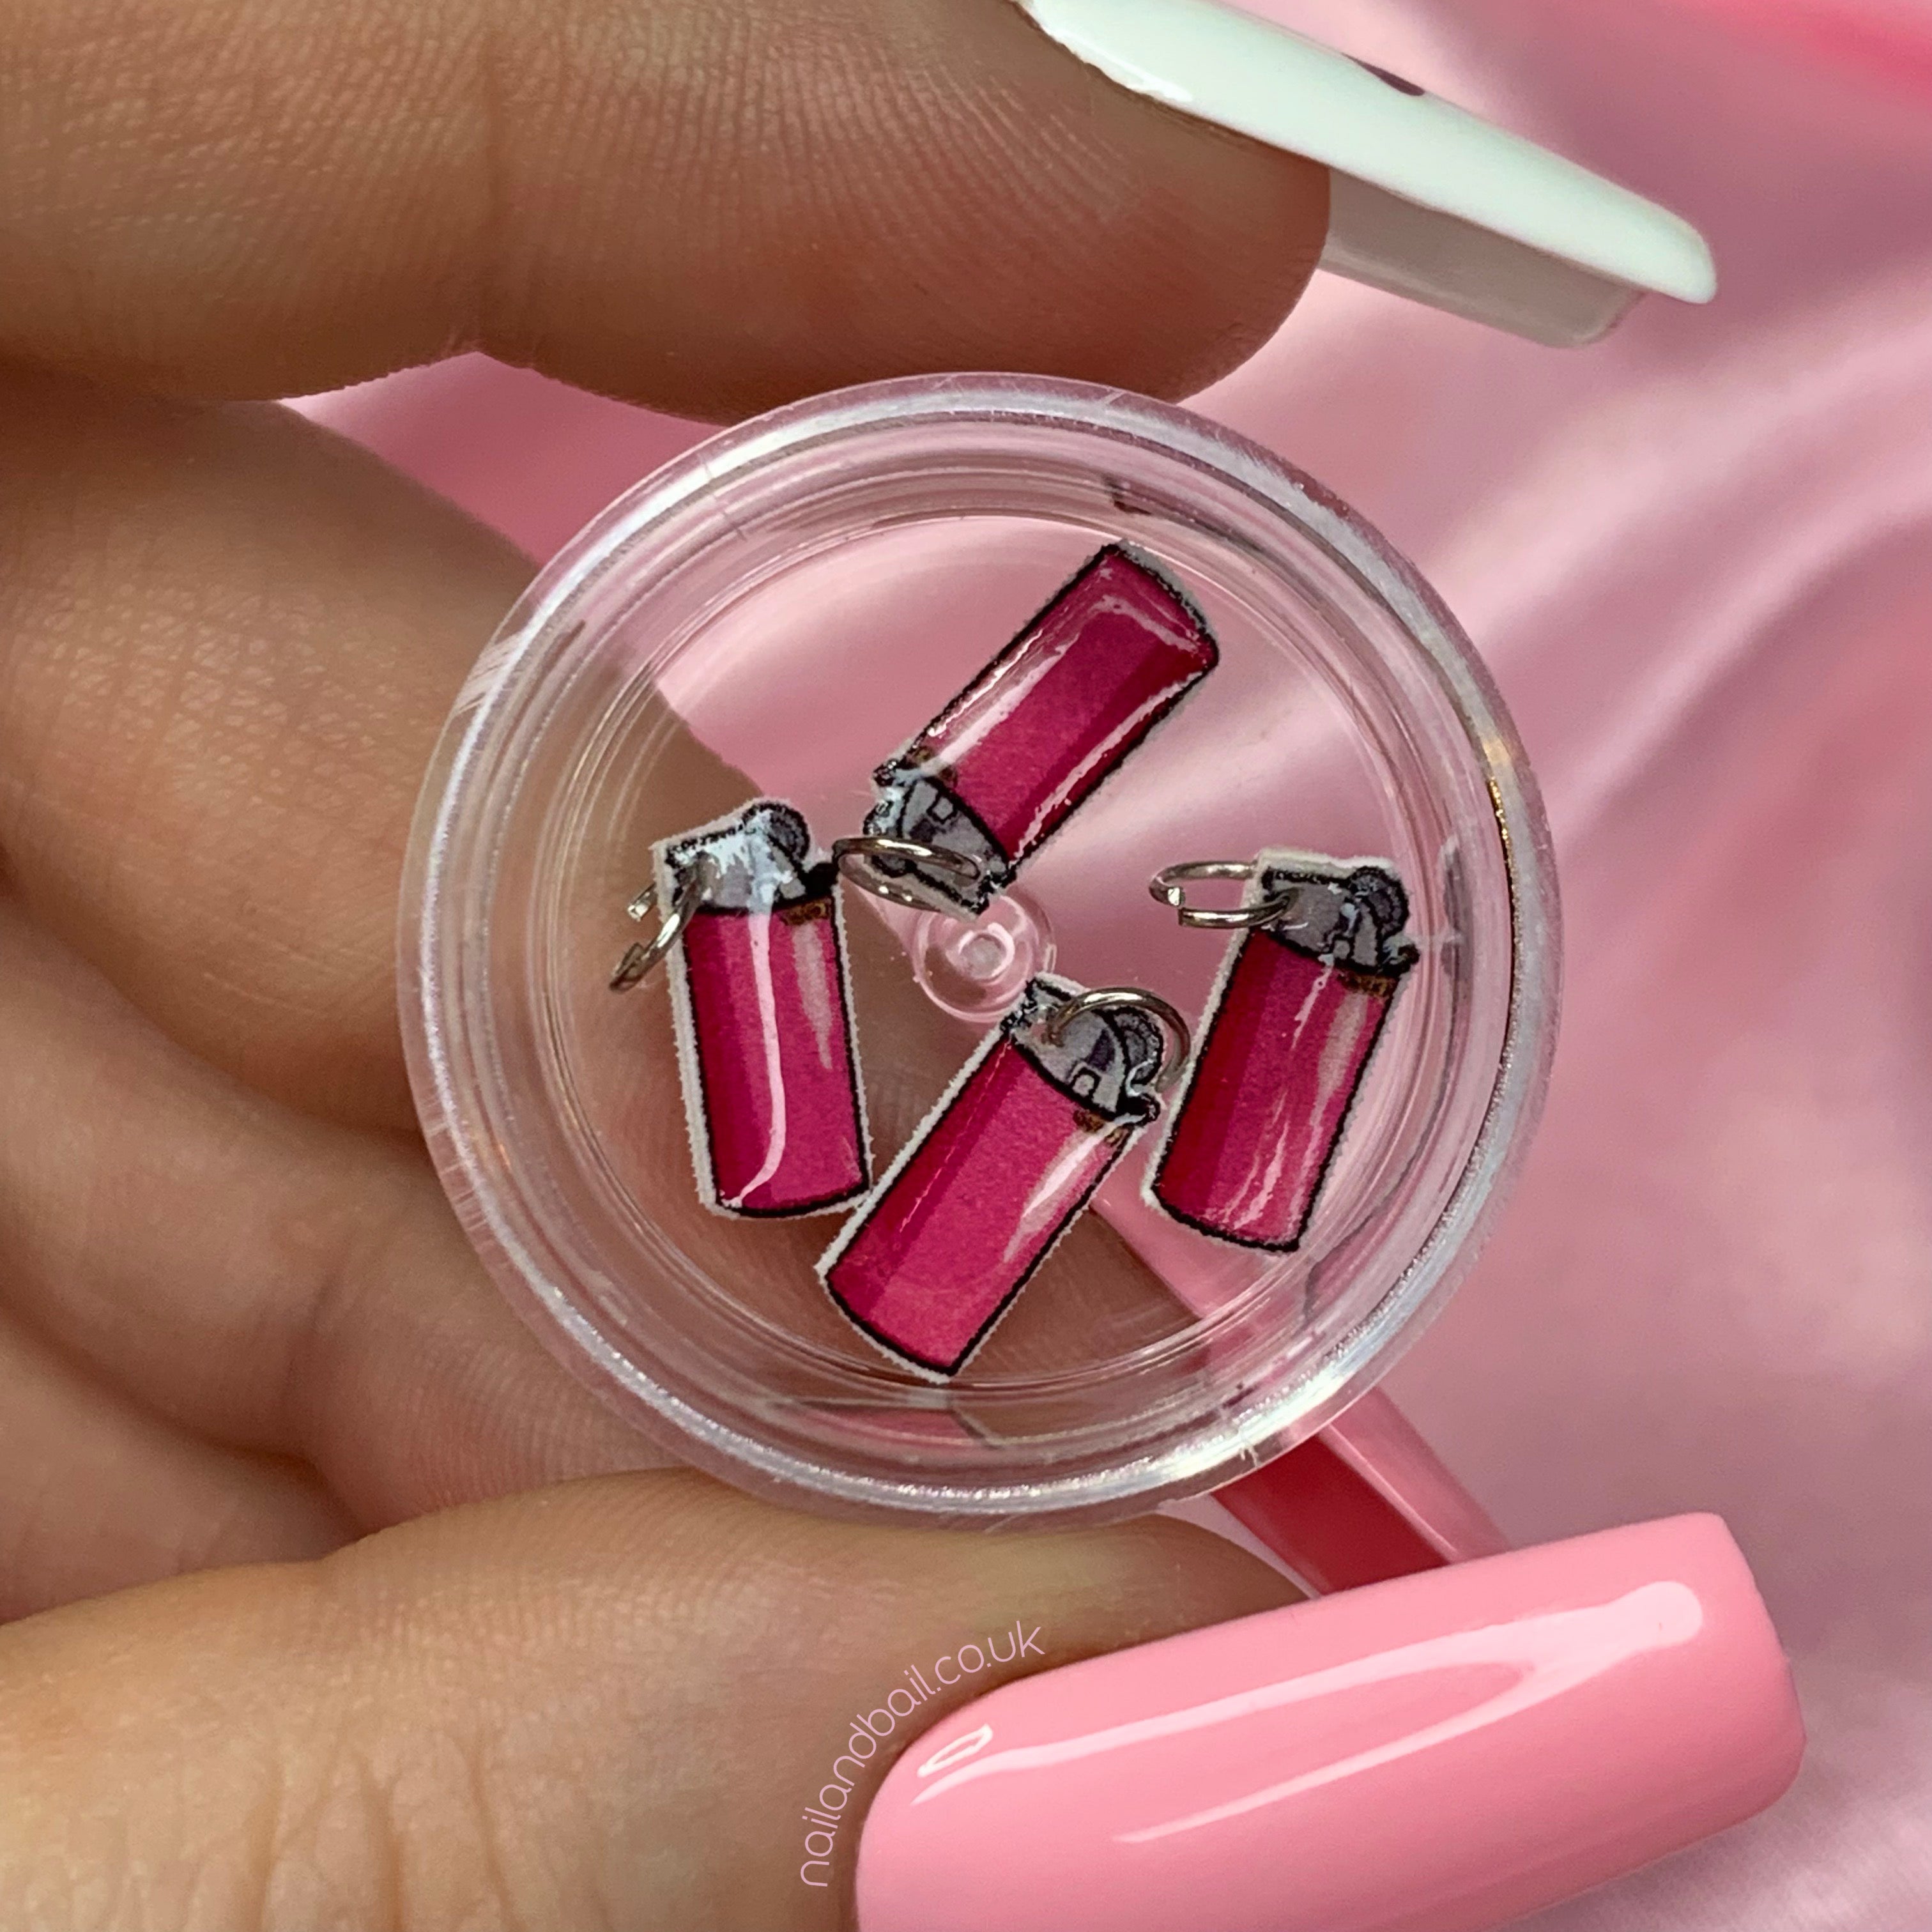
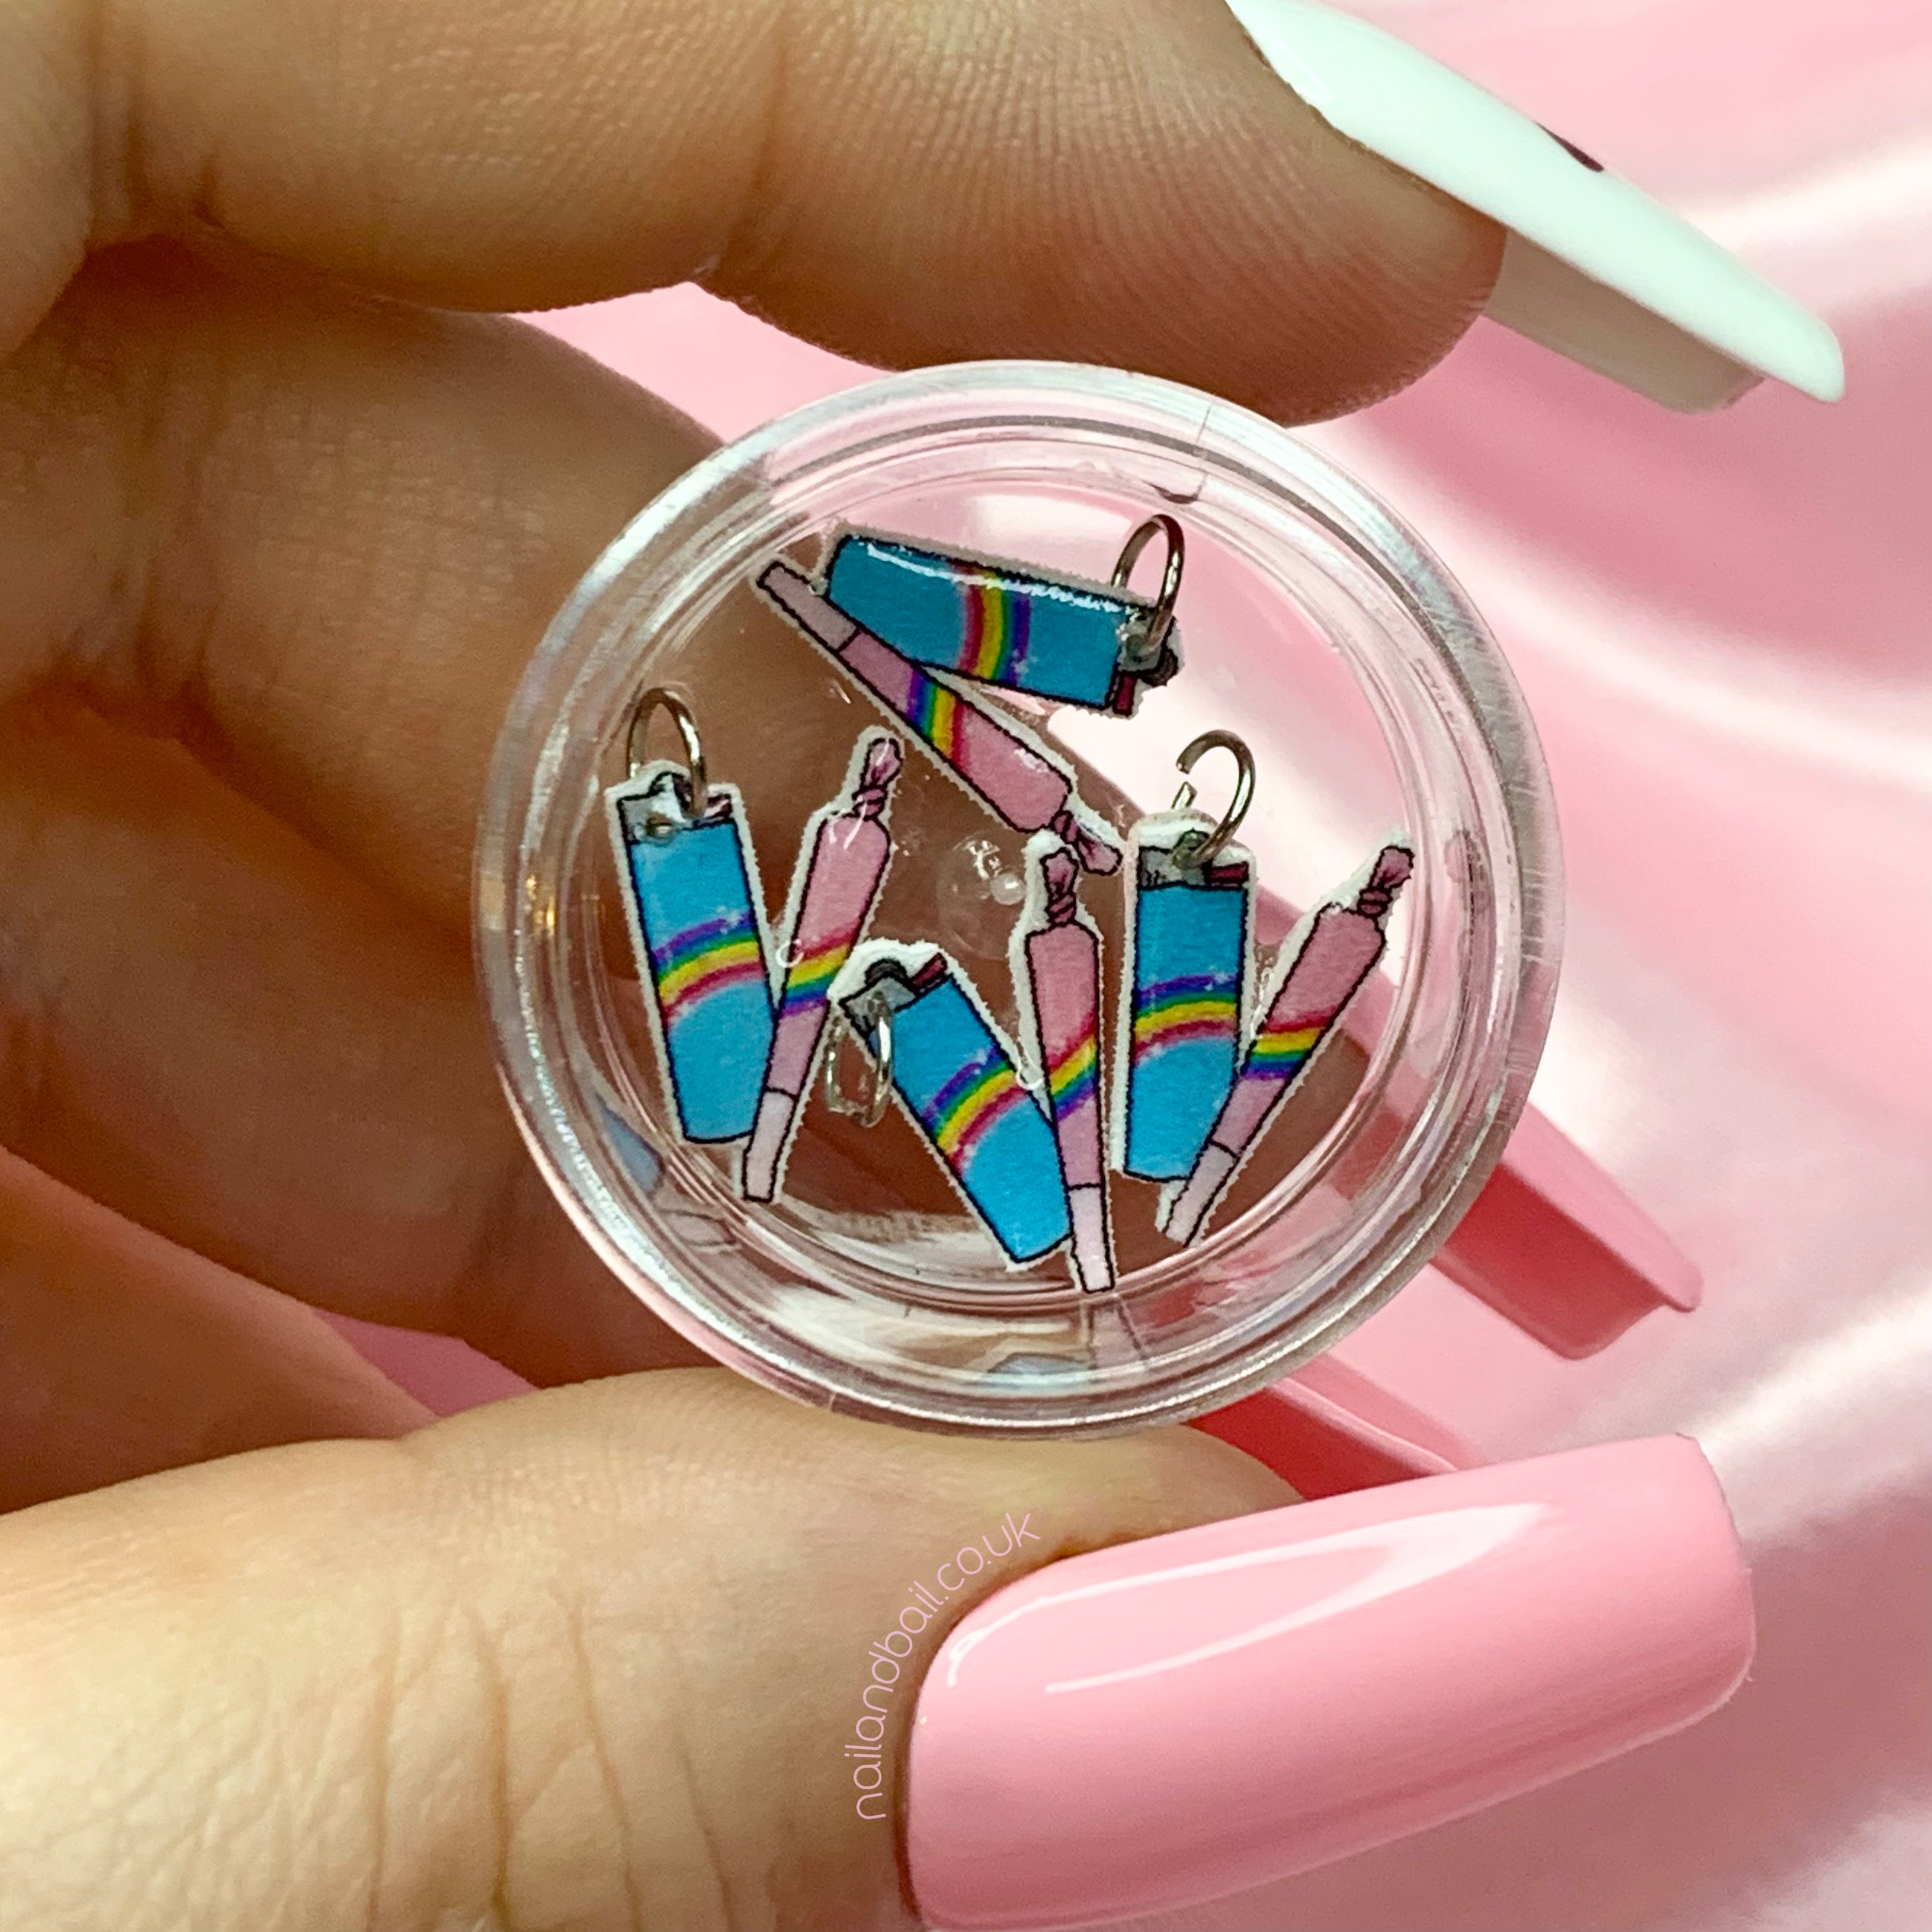
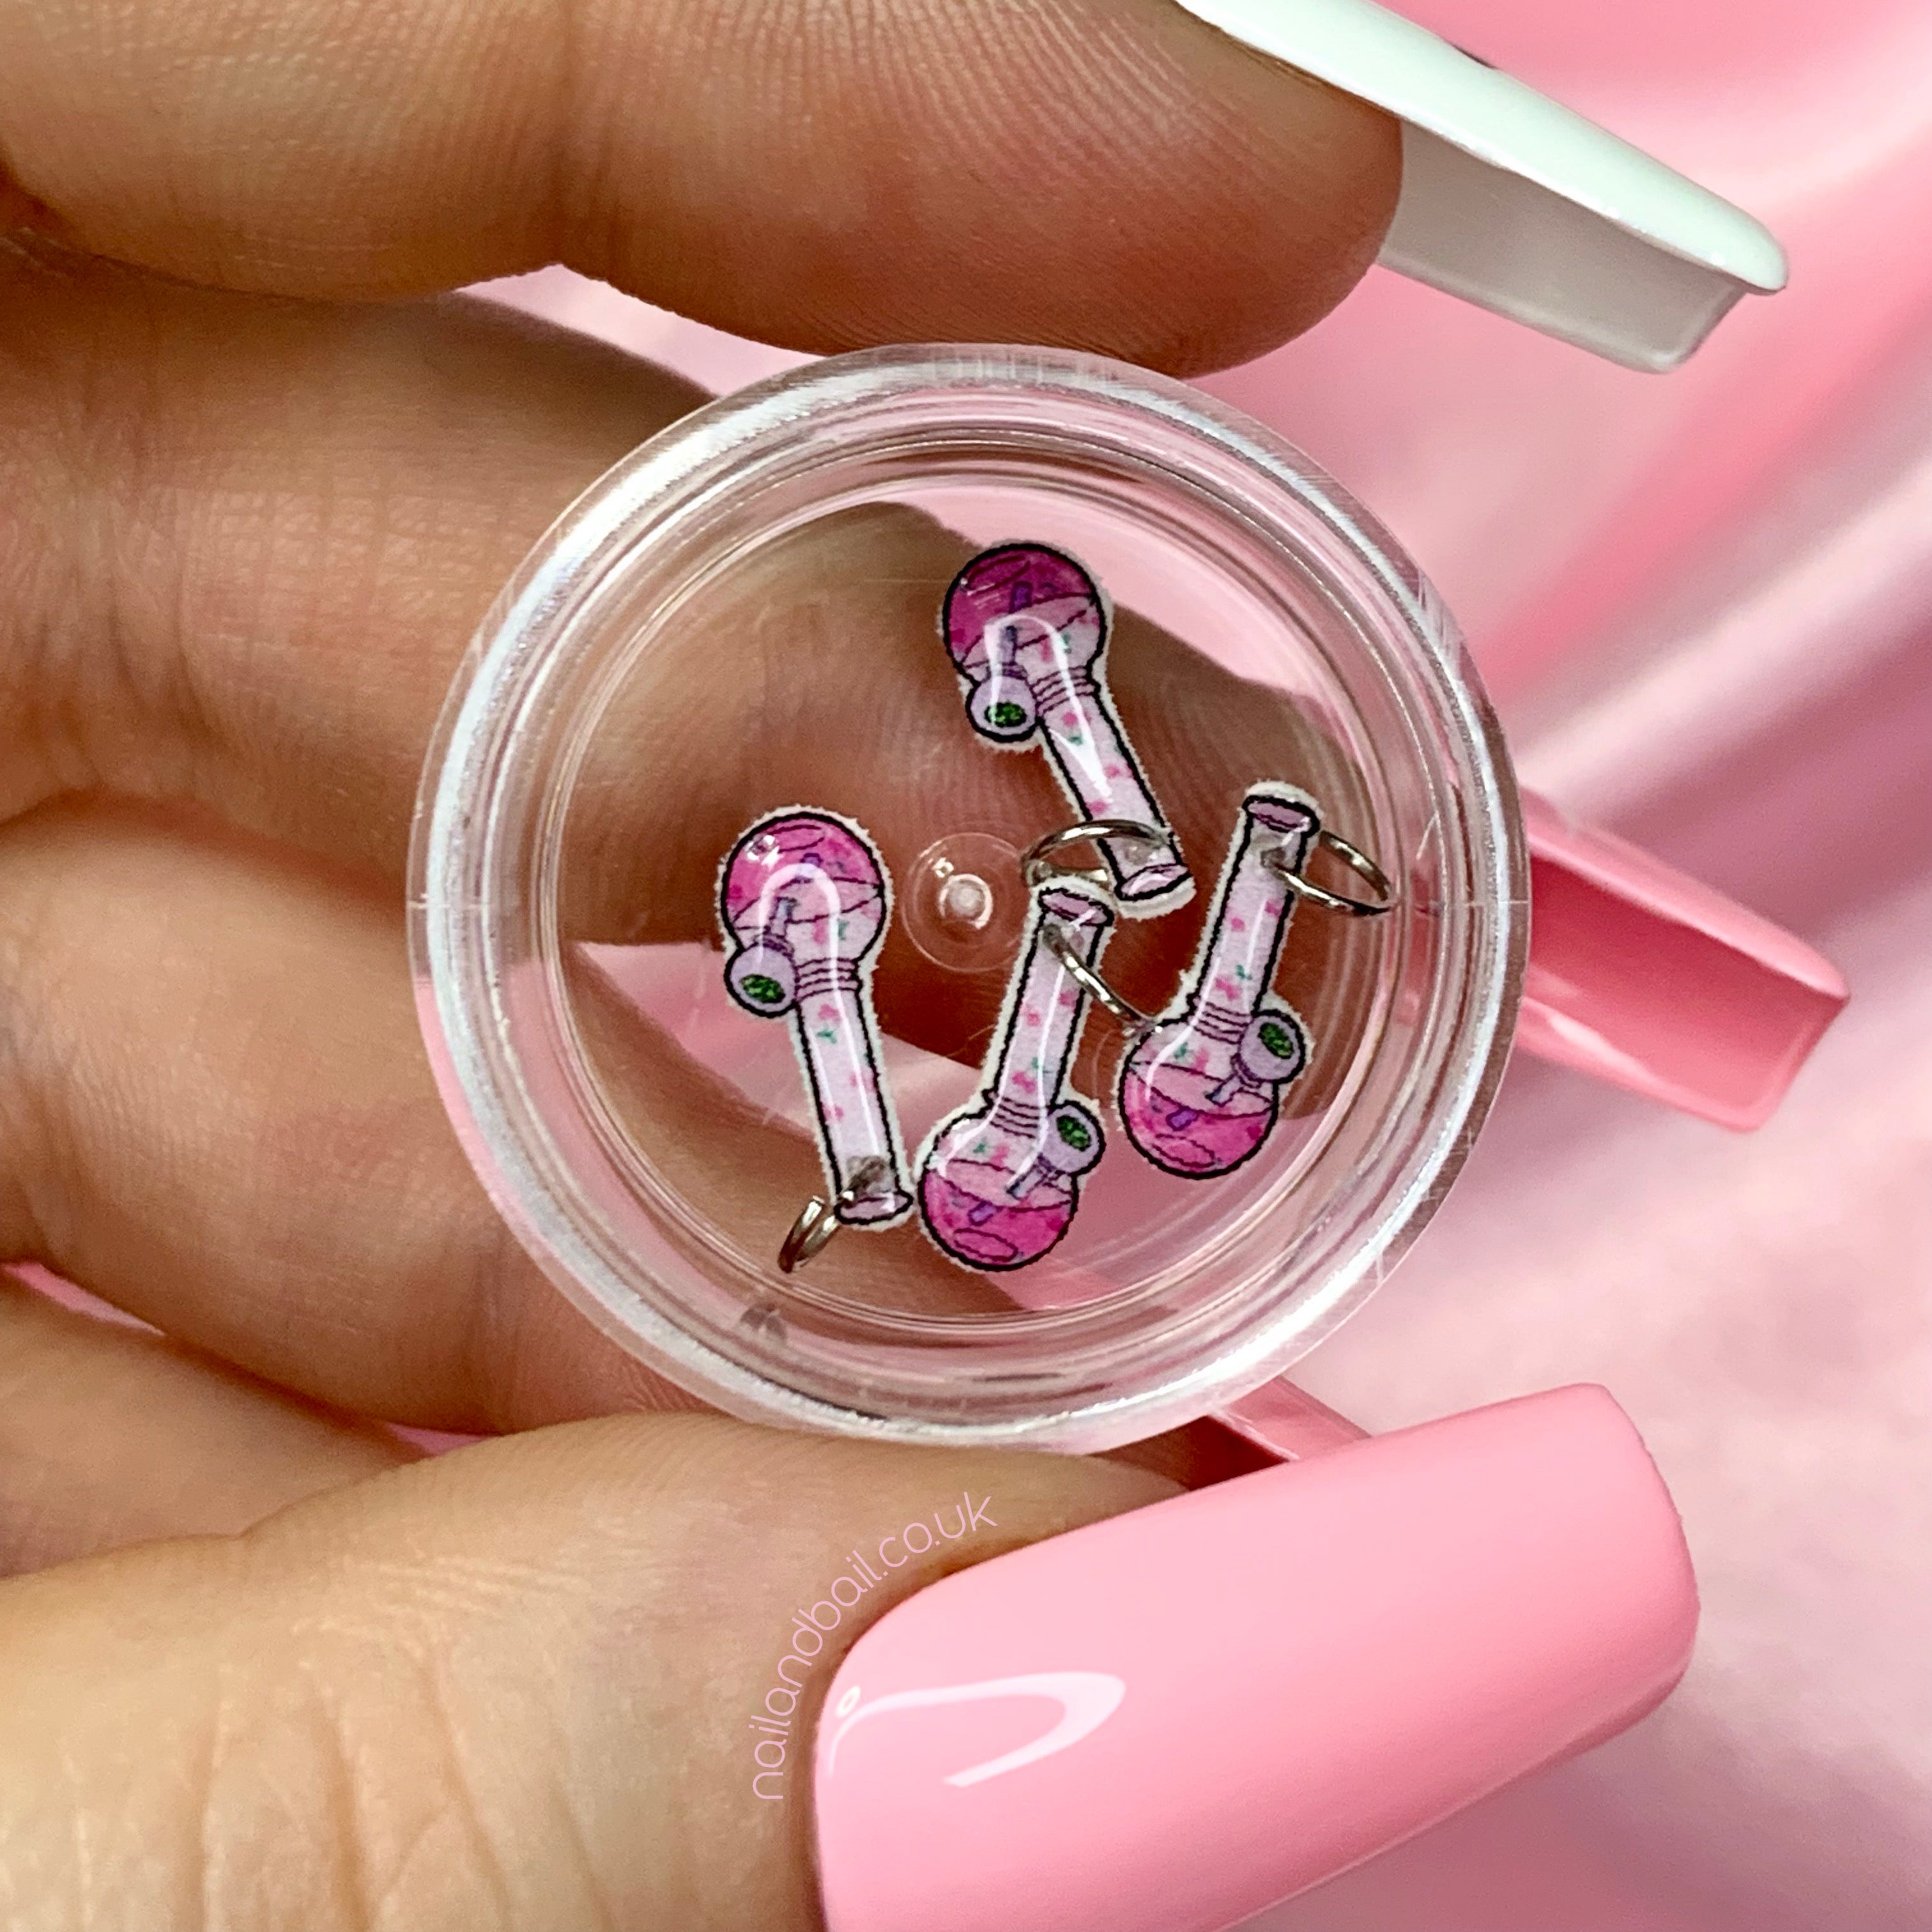
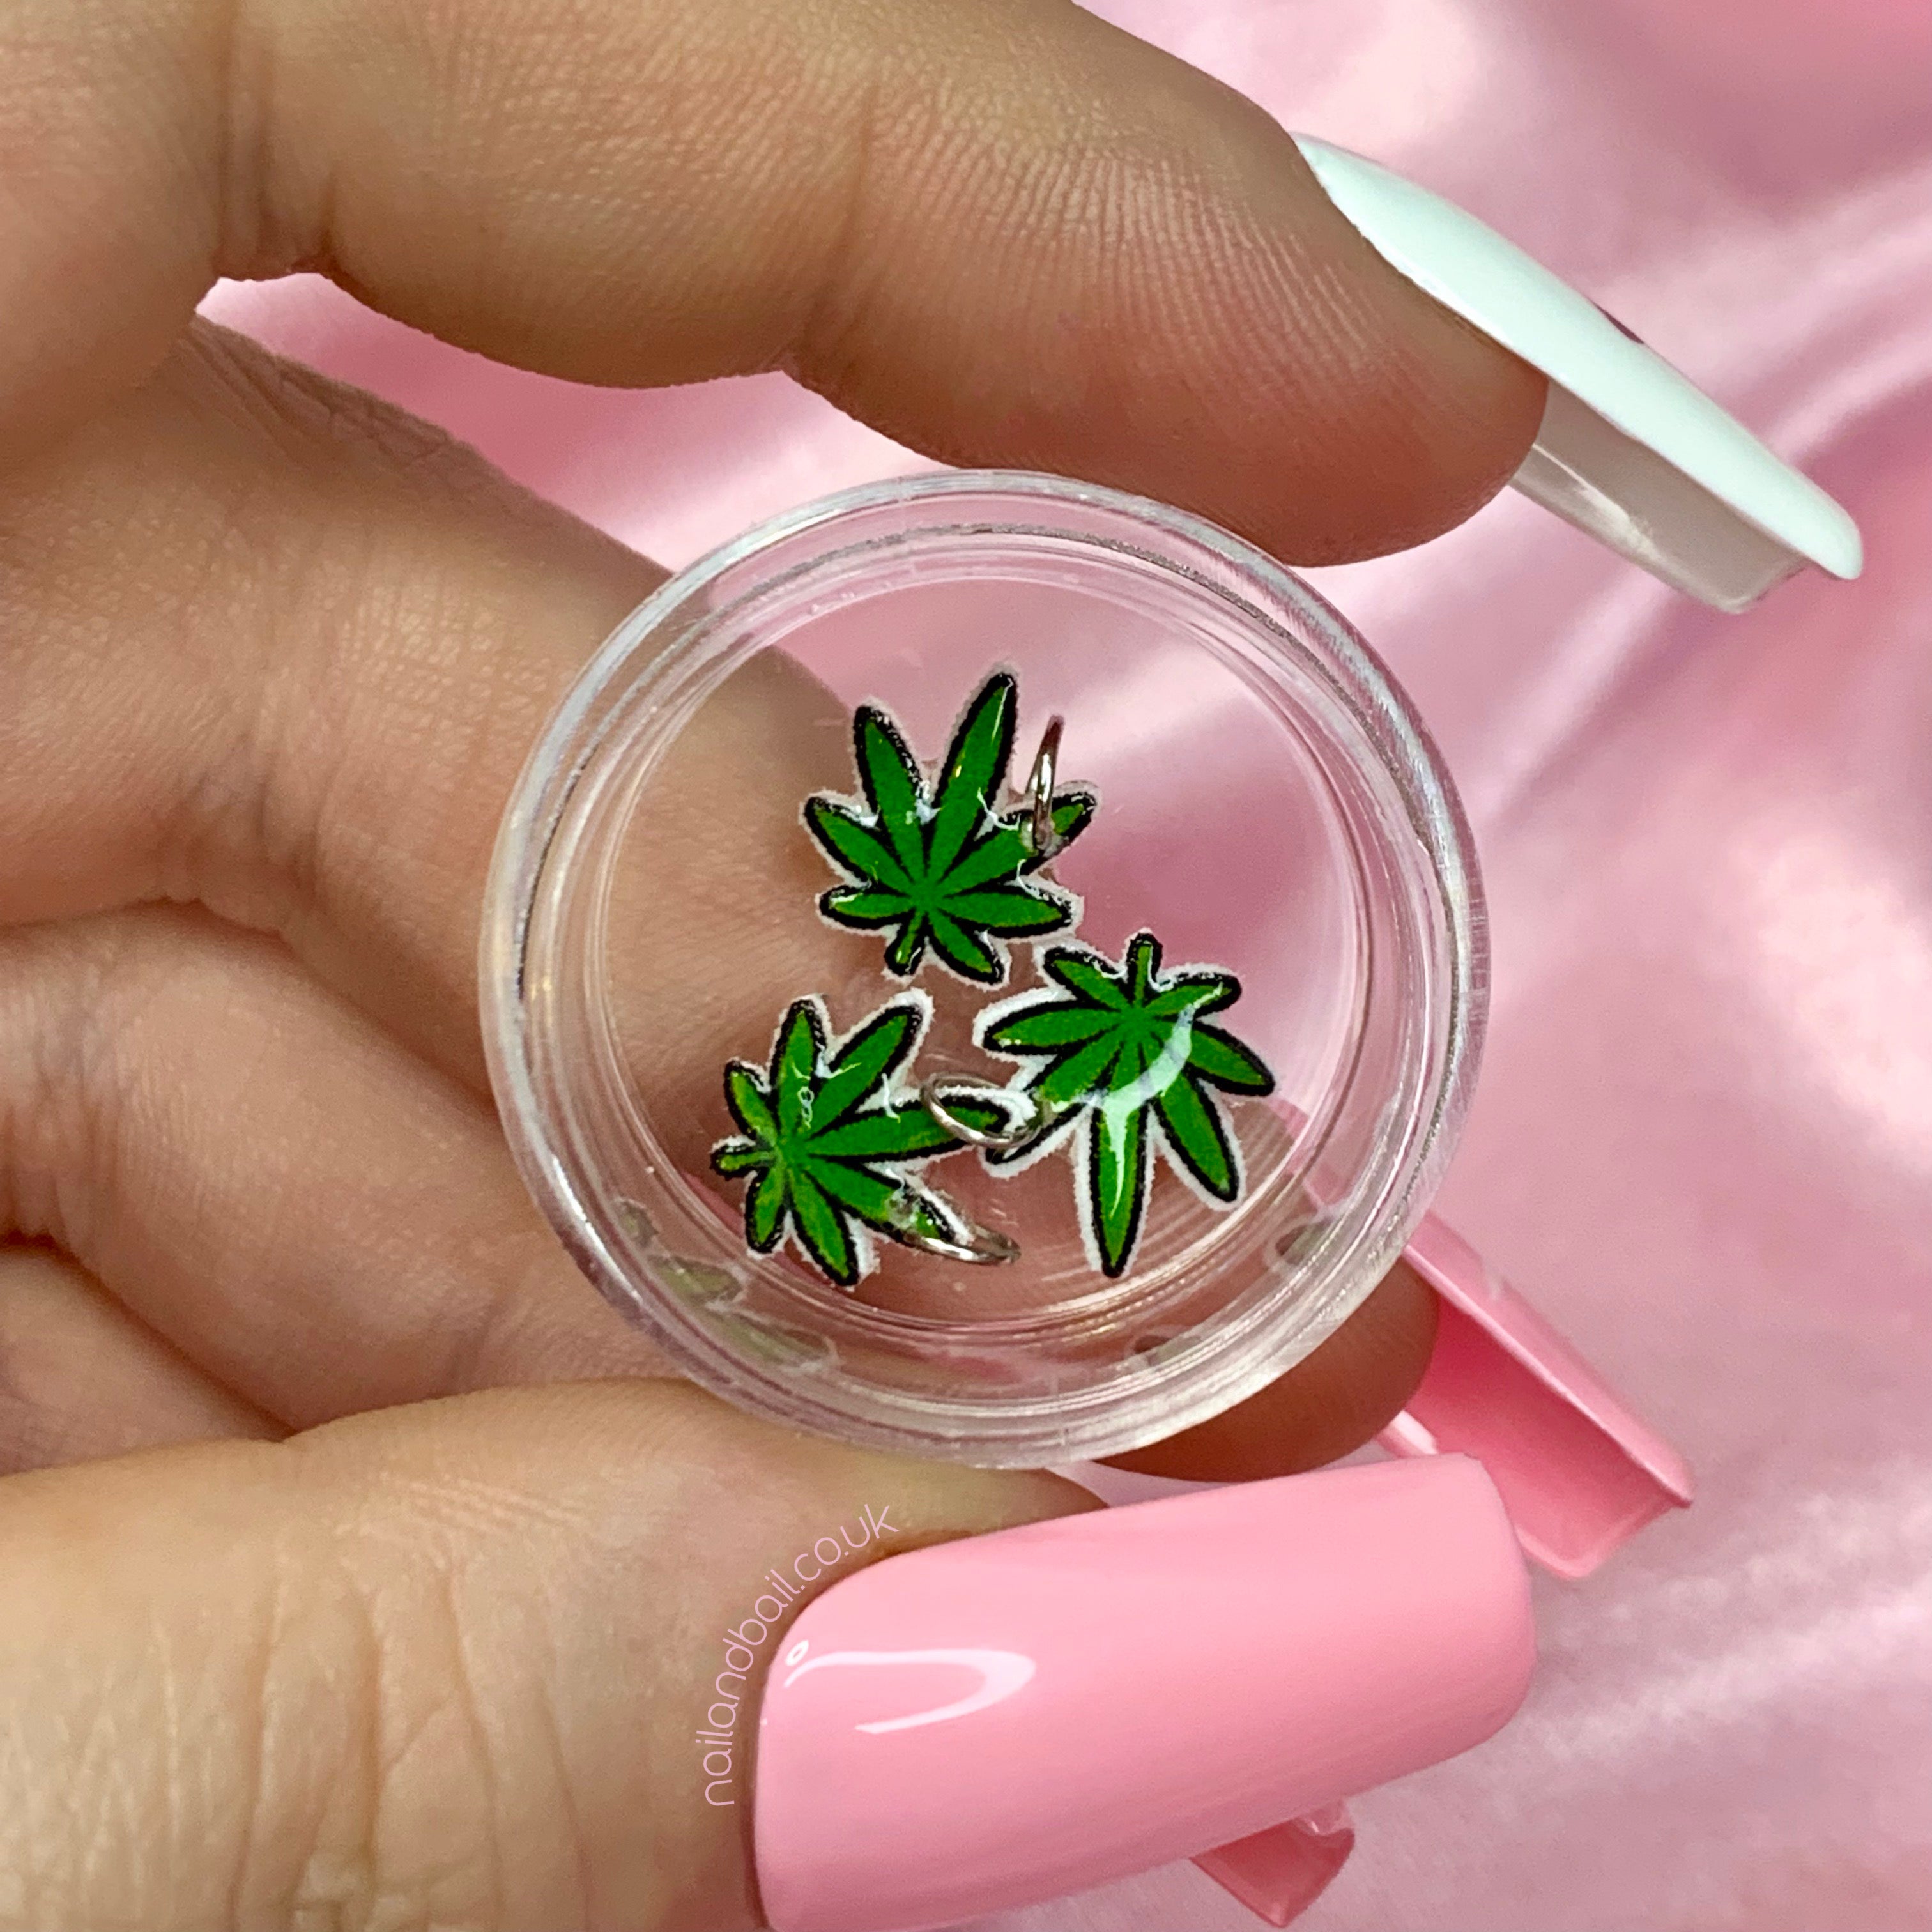
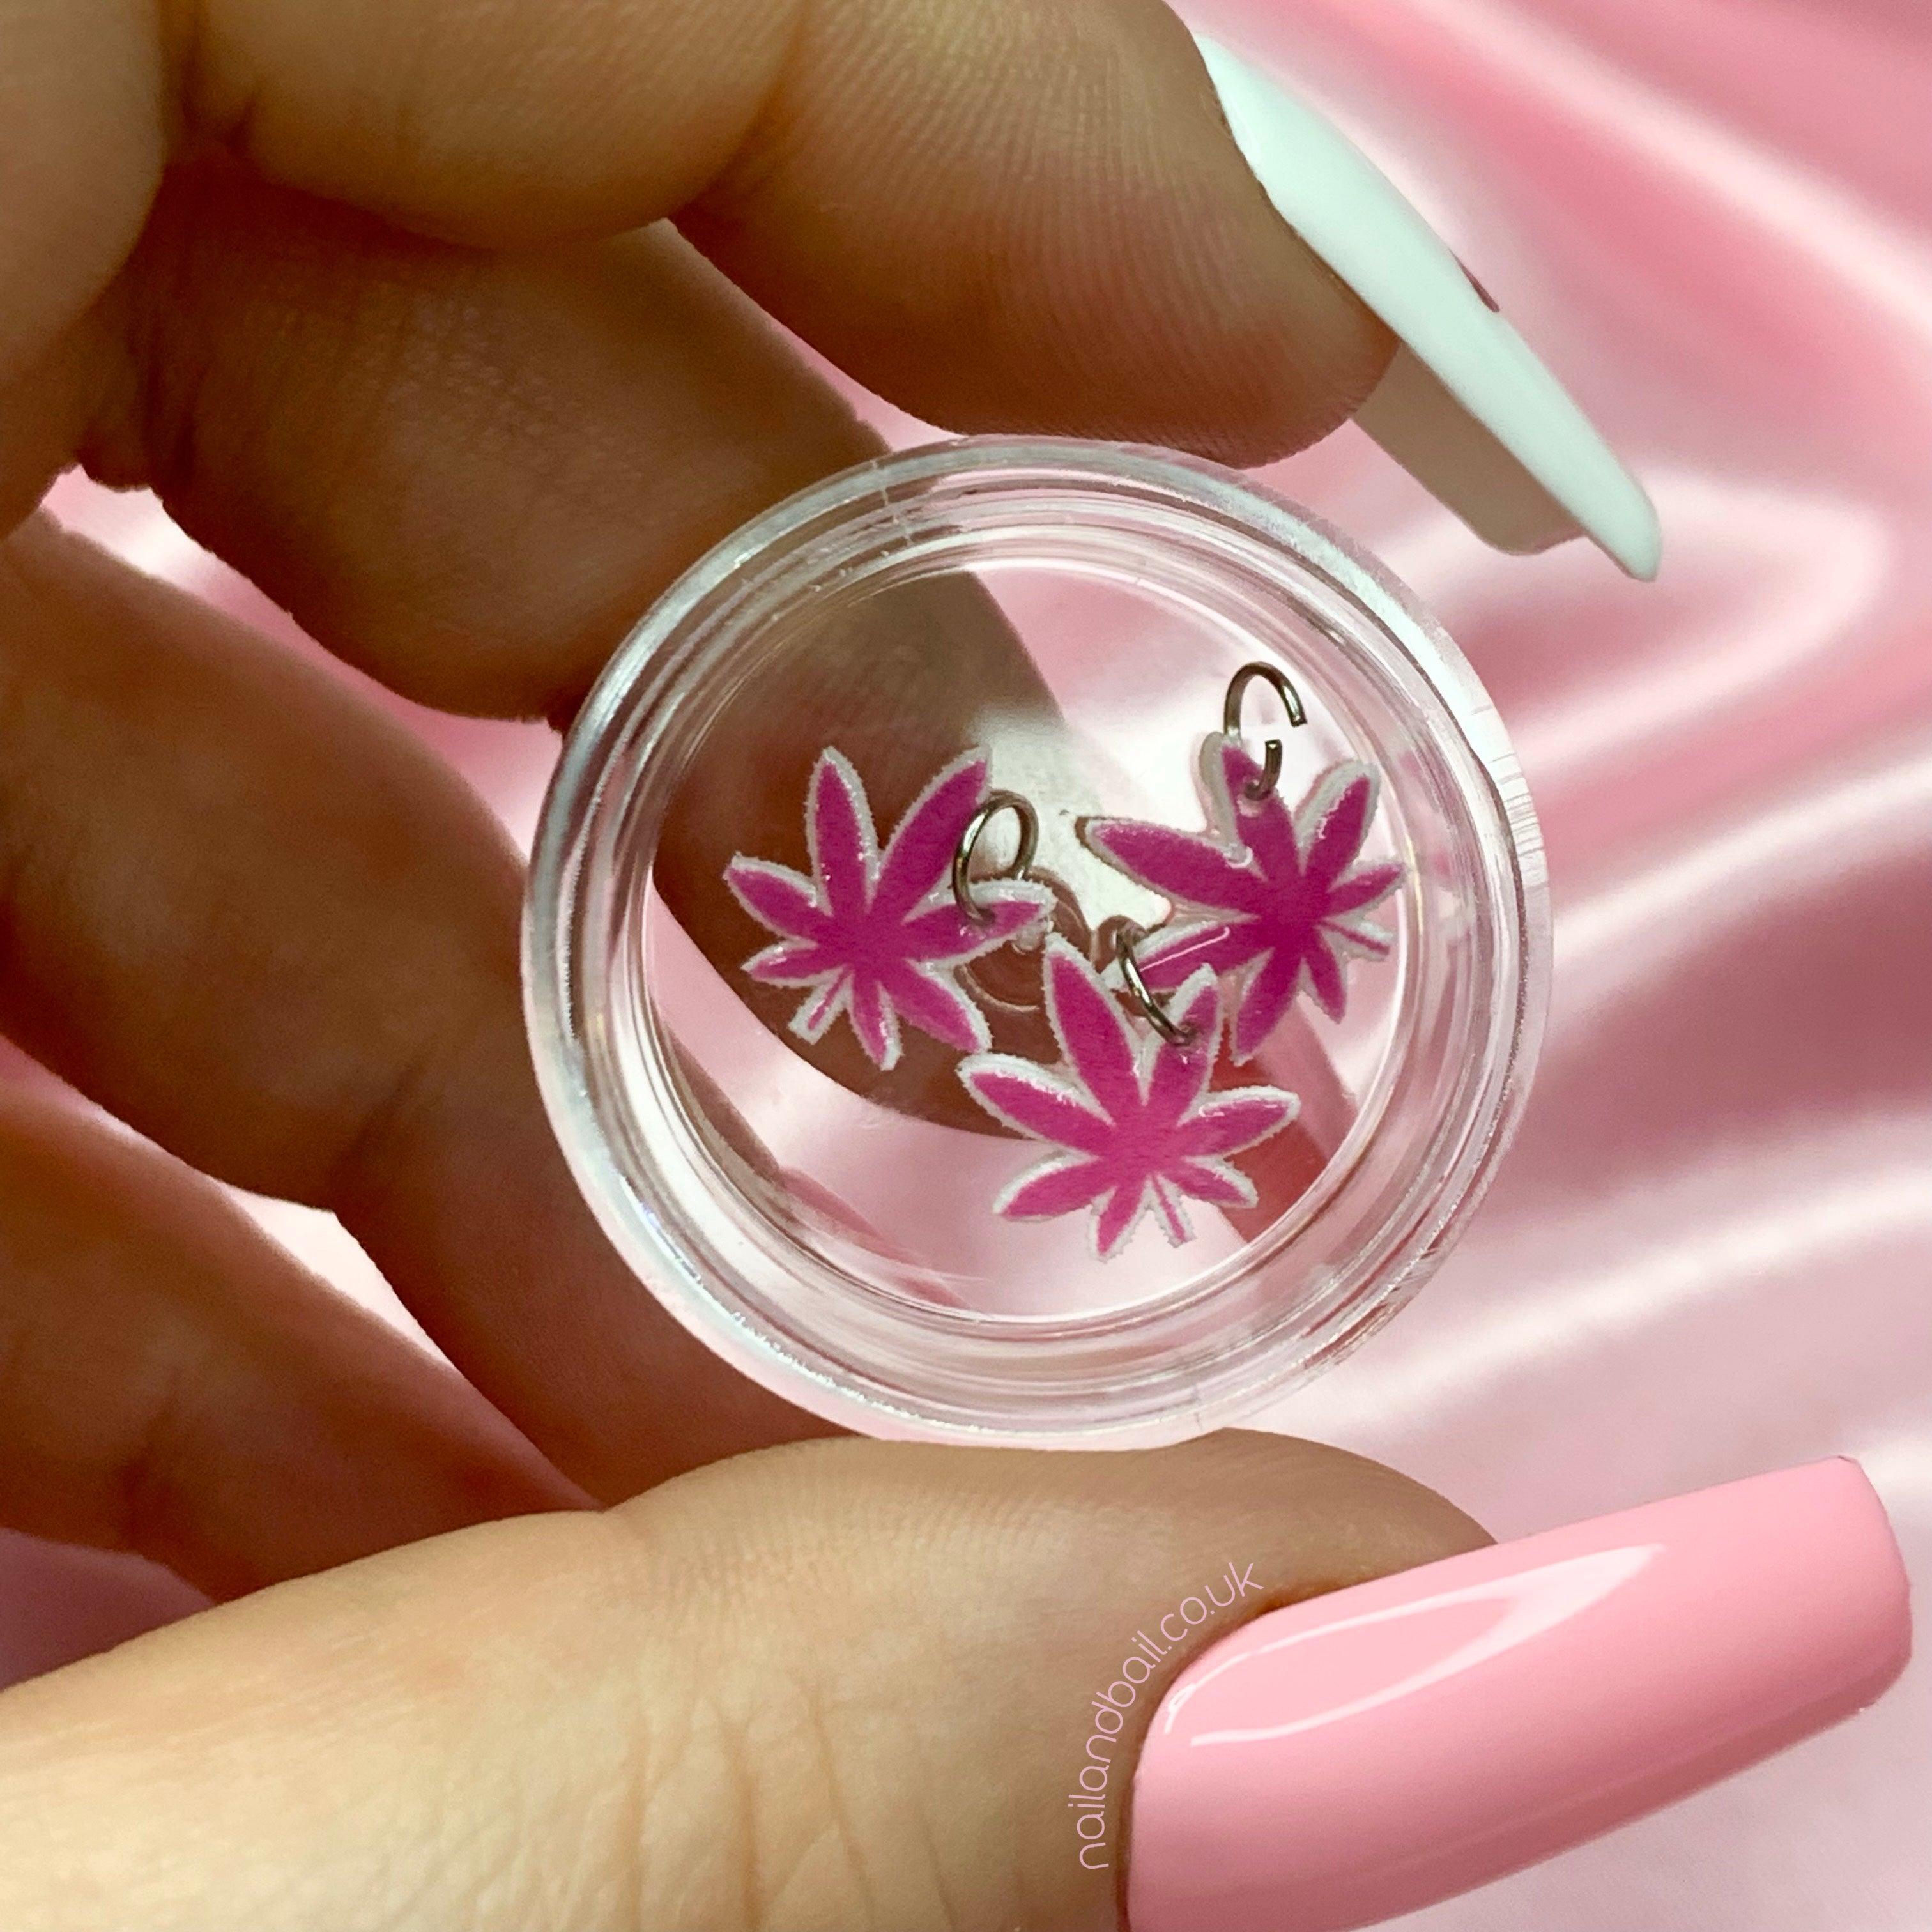
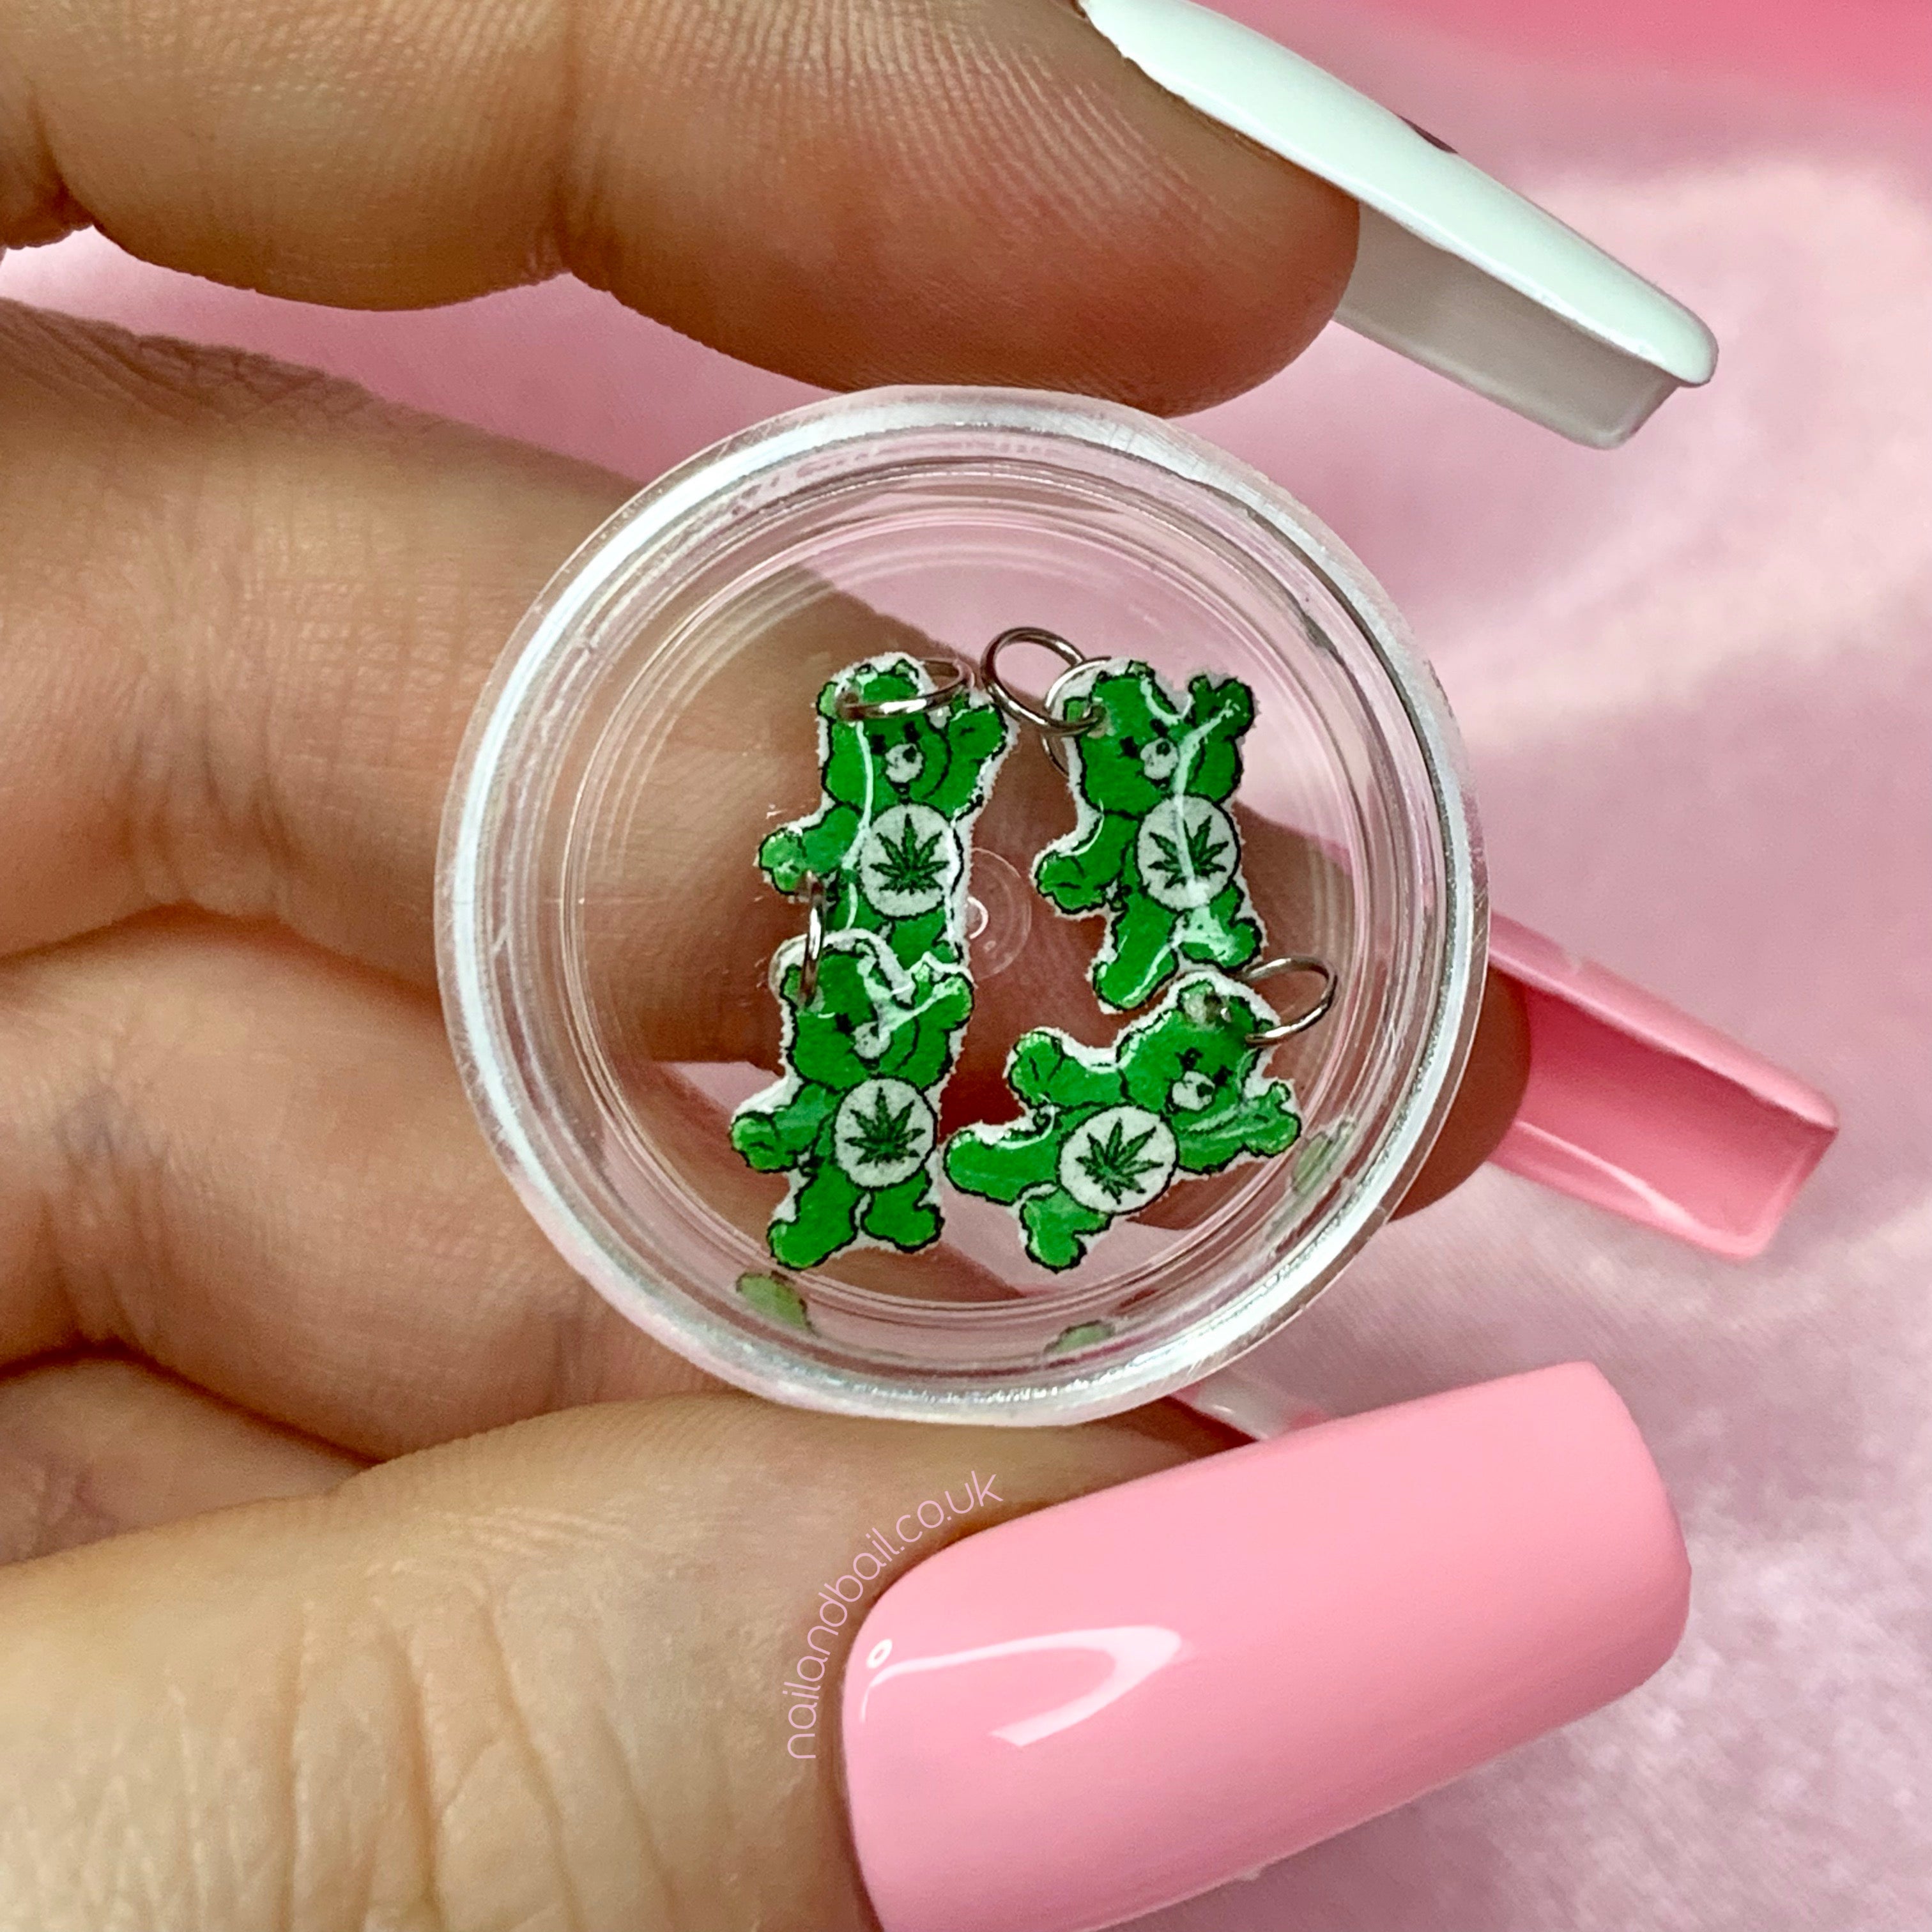
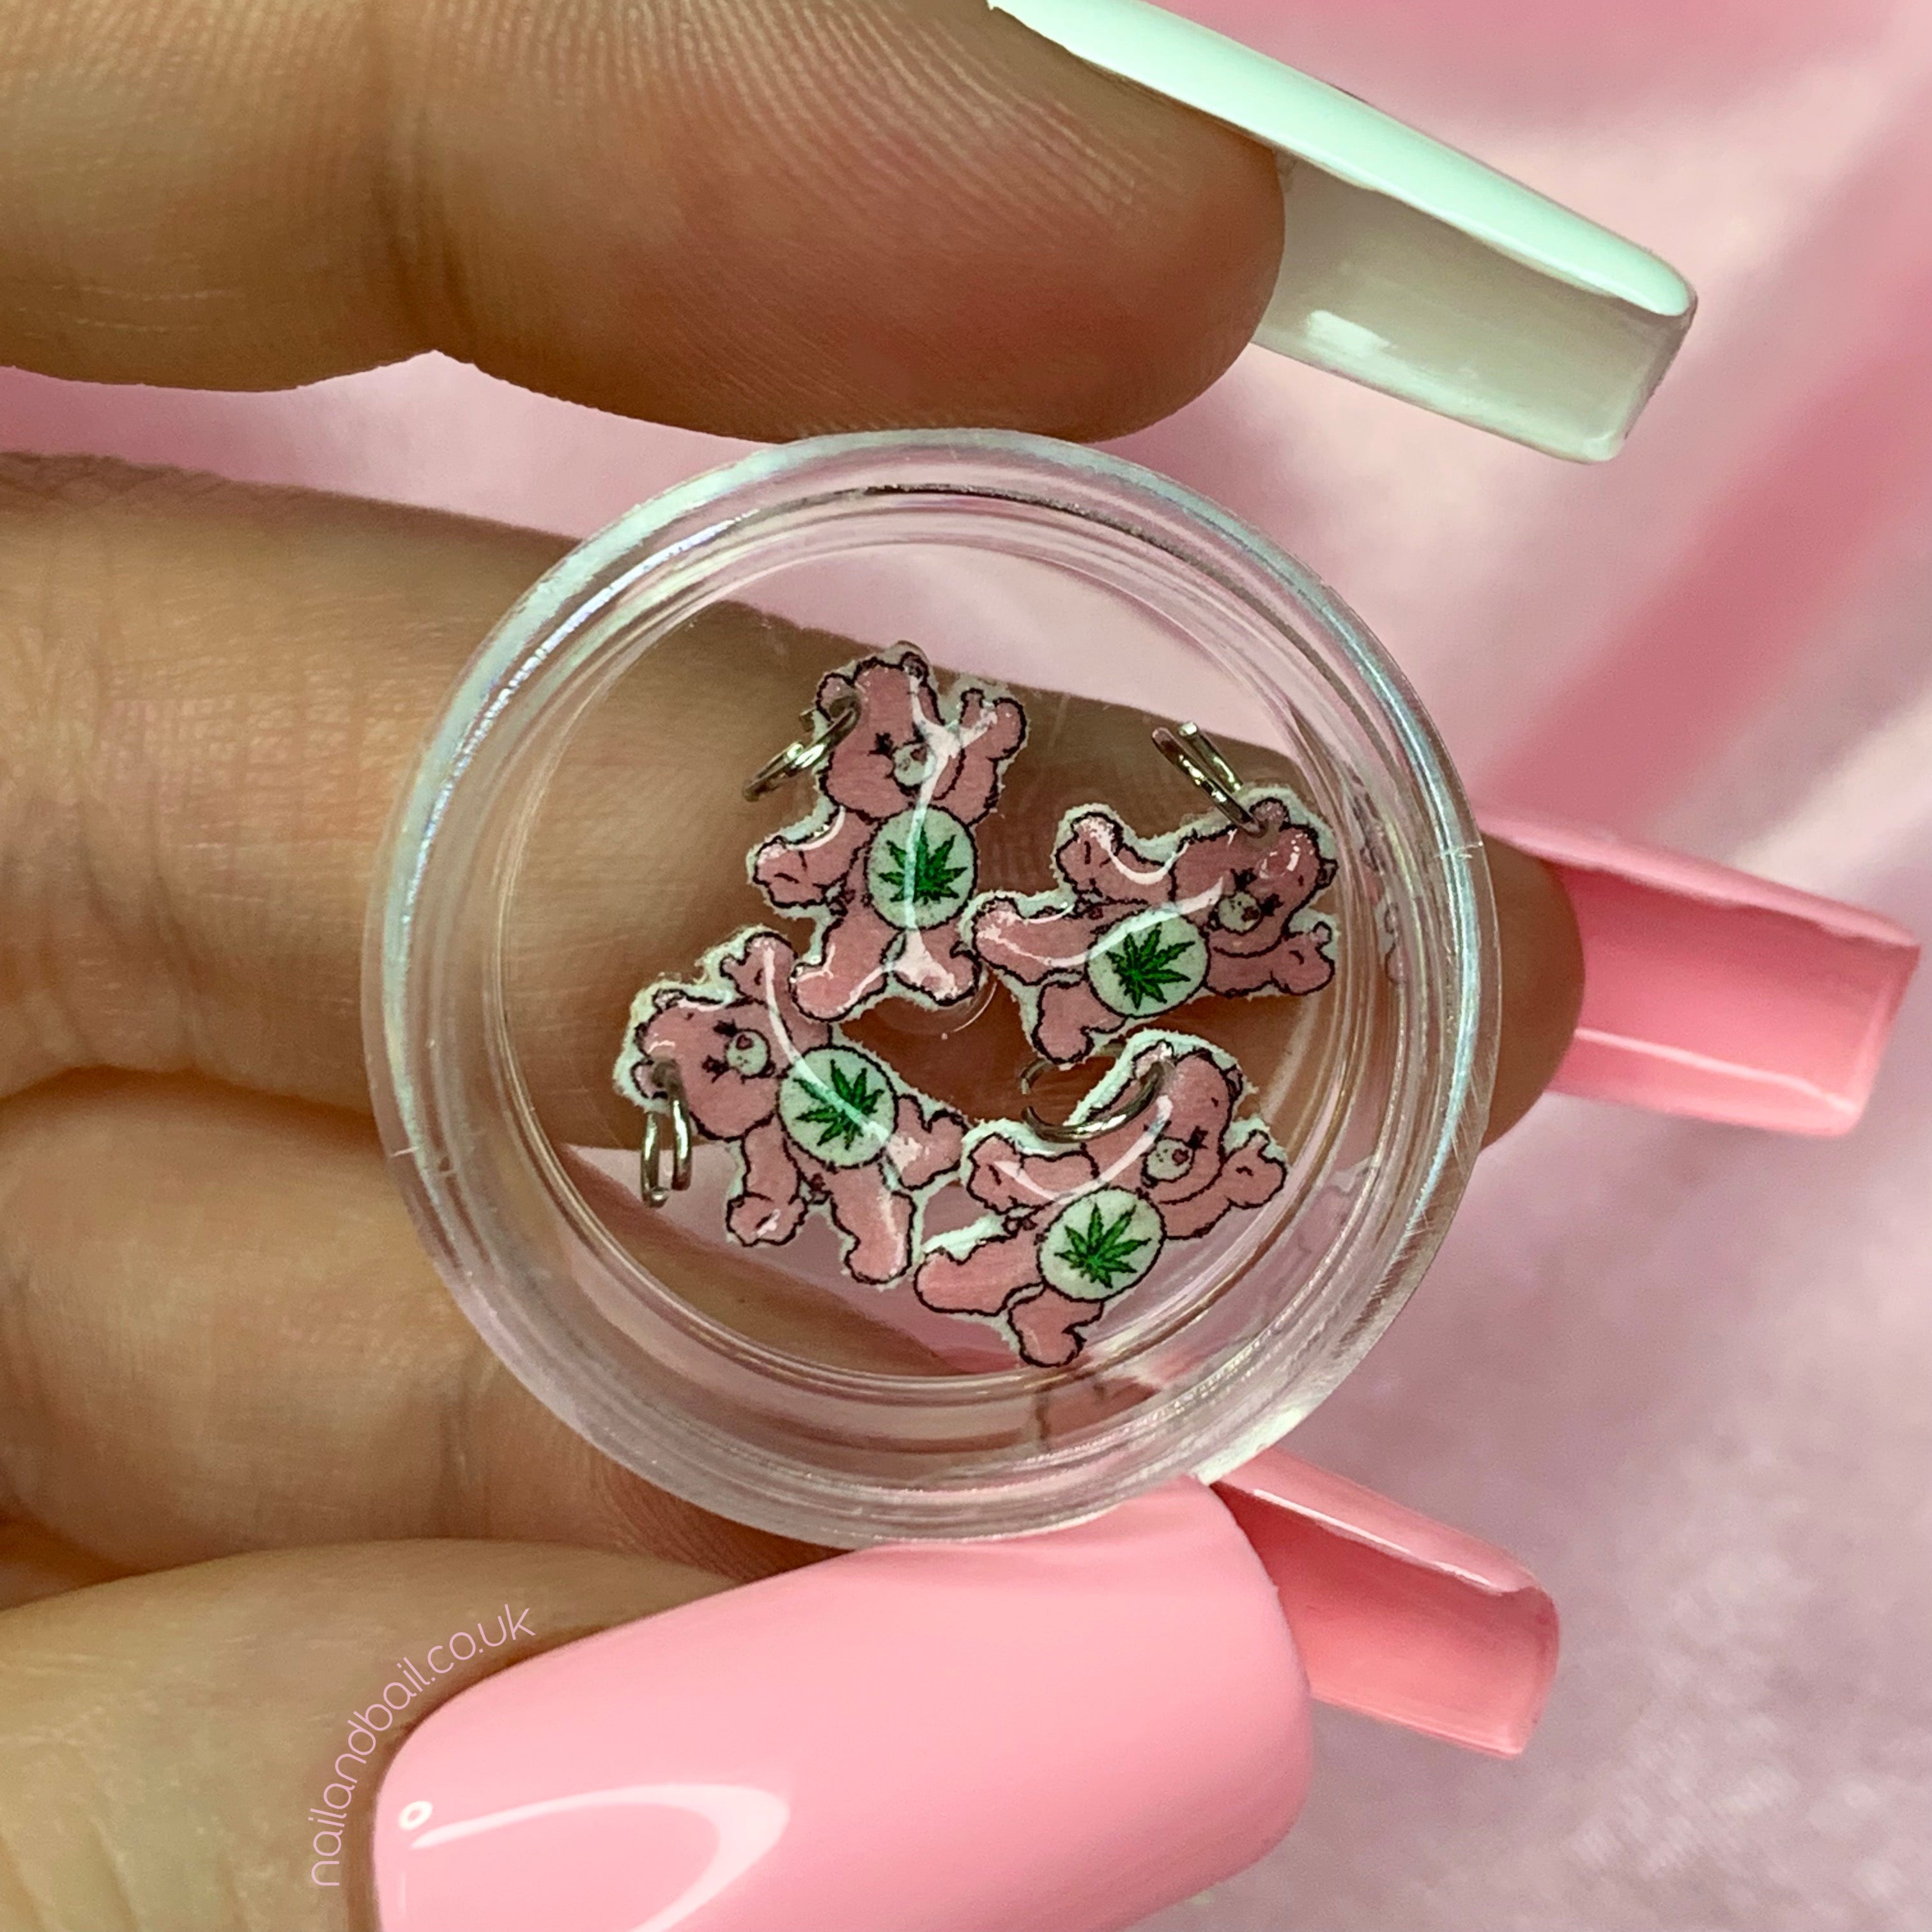
Dangle Charms
Dangle charms bring a playful touch to your nails, creating a statement look that’s as unique as you are. They can sway with your hand movement, catching the light and drawing all eyes to your nails. Here’s how to apply them flawlessly:
Step 1: Drill a Hole
Using a fine drill bit, carefully create a small hole in your nail where you want to place the charm. Make sure the hole is just big enough for the charm’s link to pass through.
Step 2: Thread the Charm
Grab a pair of tweezers and pick up your charm. Thread the charm's link through the hole in your nail.
Step 3: Secure the Charm
Once the charm is threaded, use jewelry pliers to gently squeeze the link together. This ensures the charm stays securely attached to your nail without shifting.
A Classic Technique
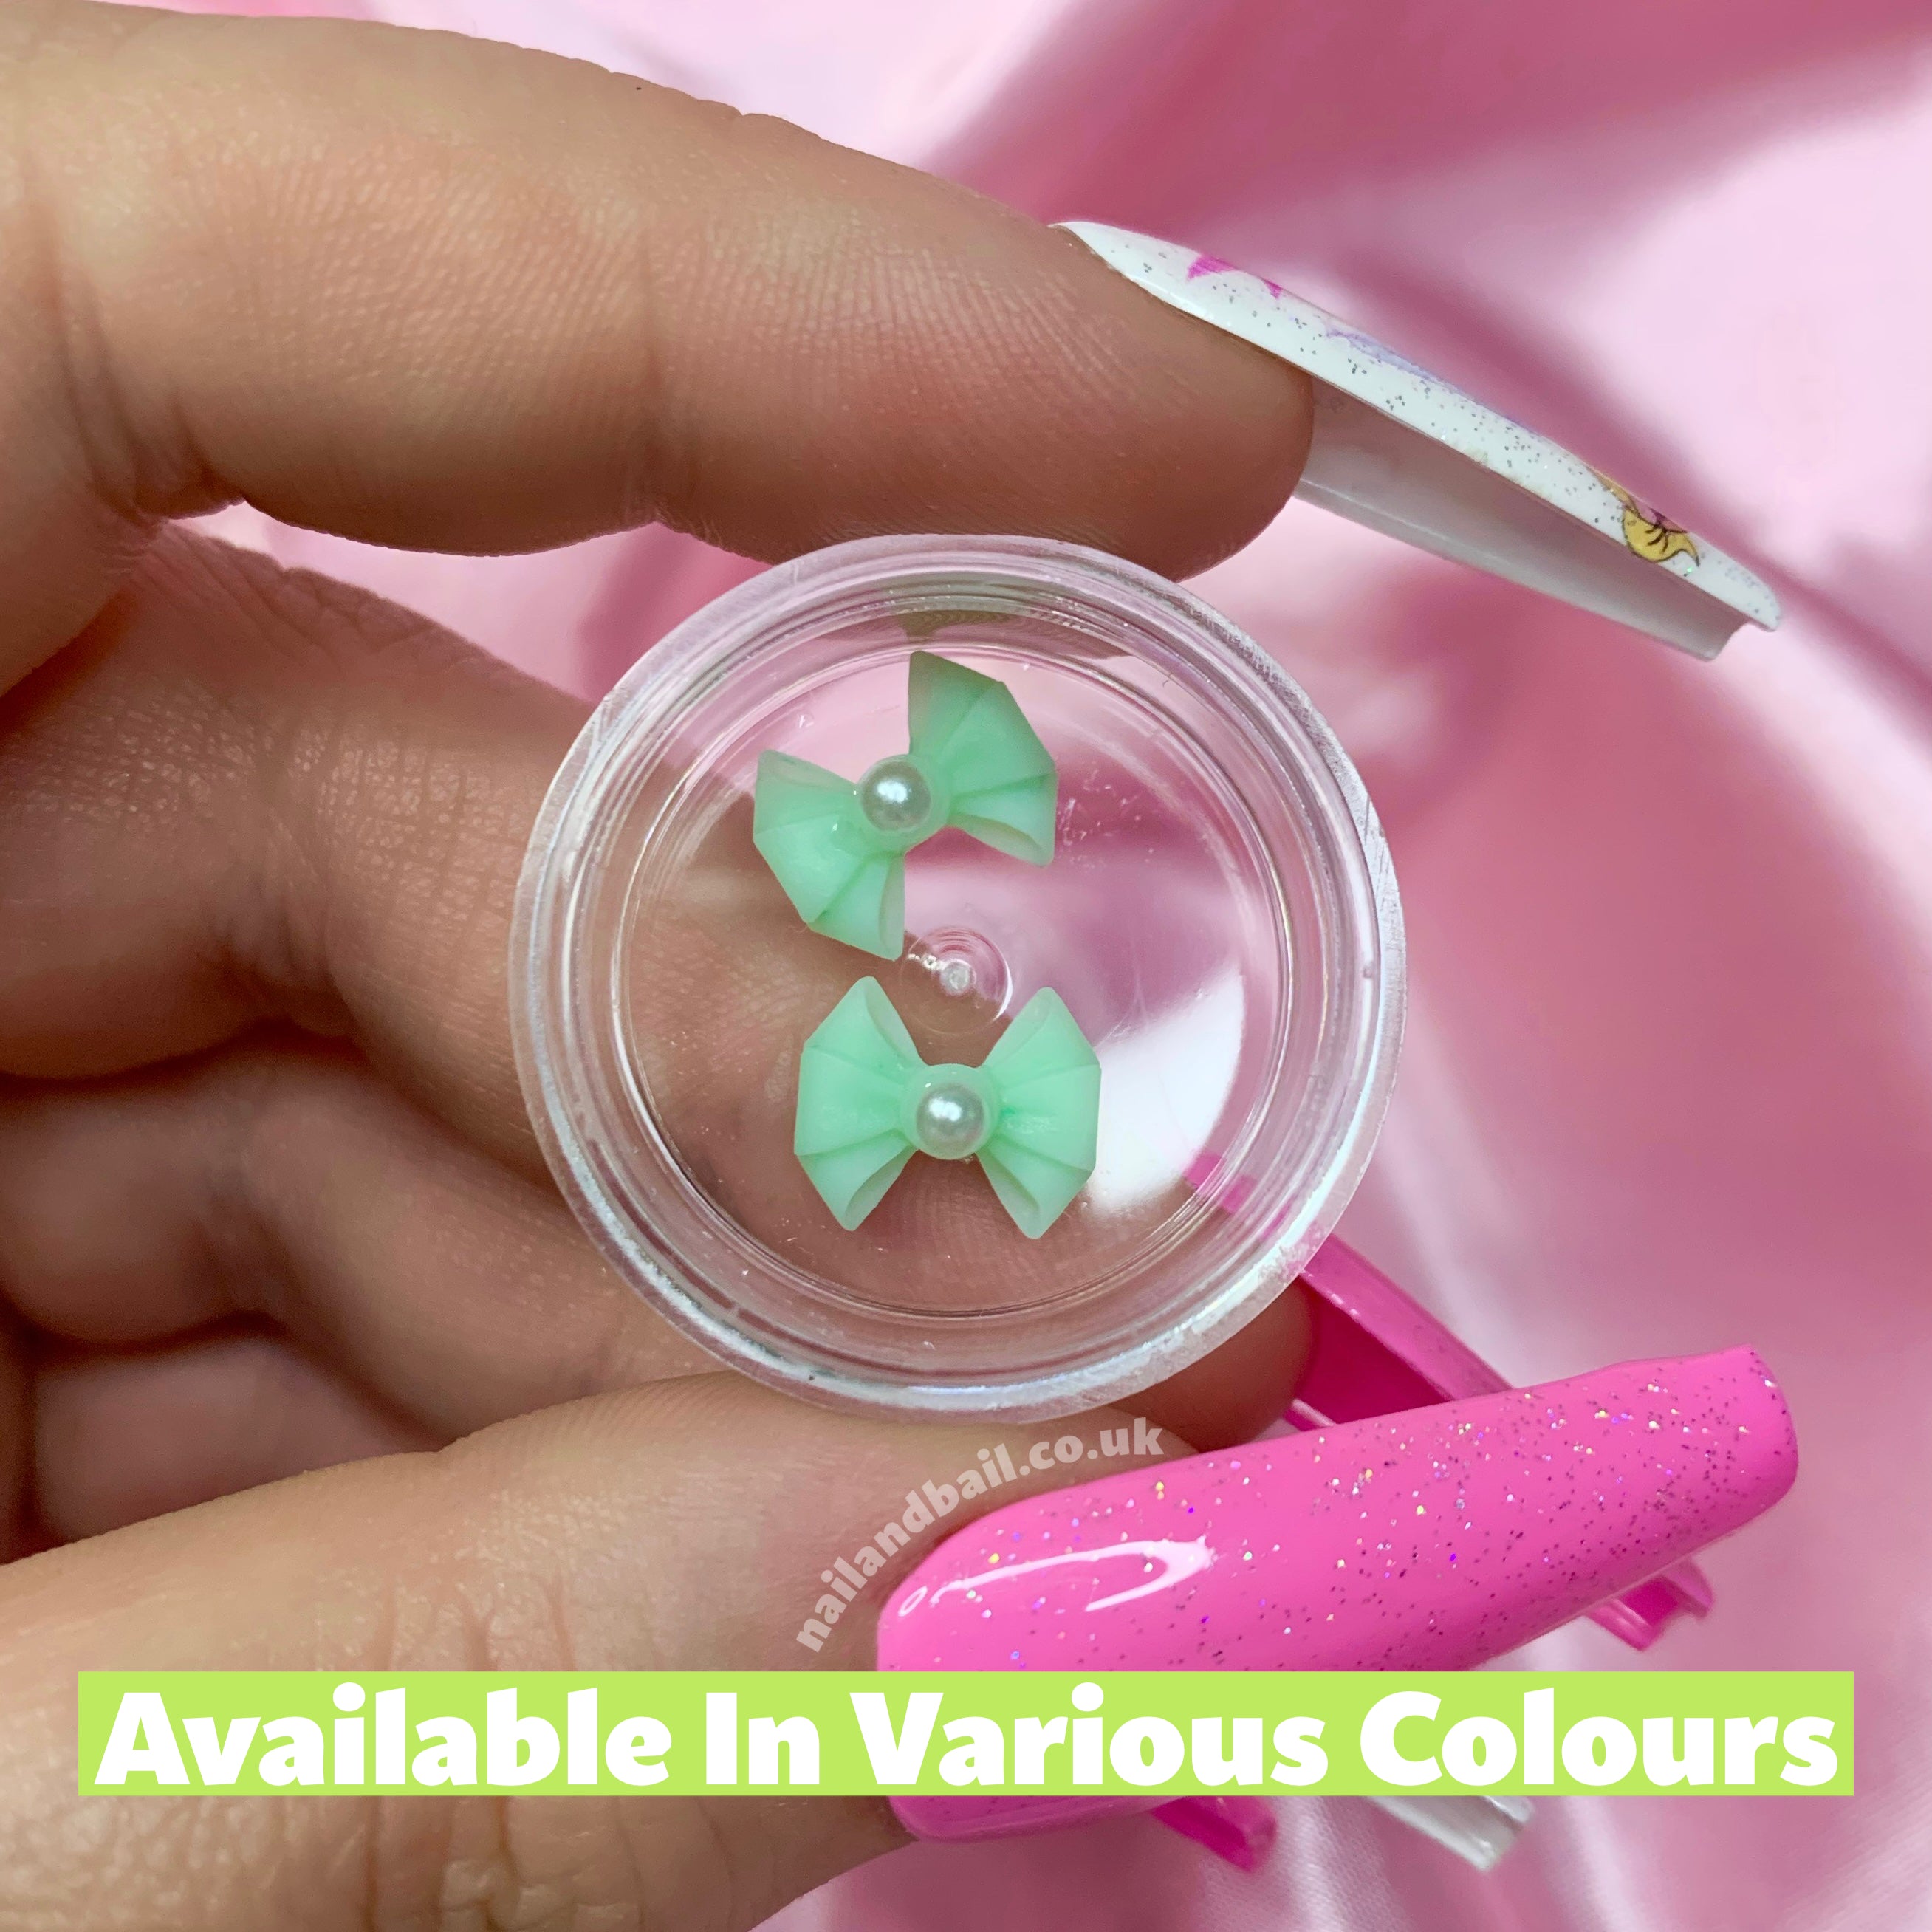
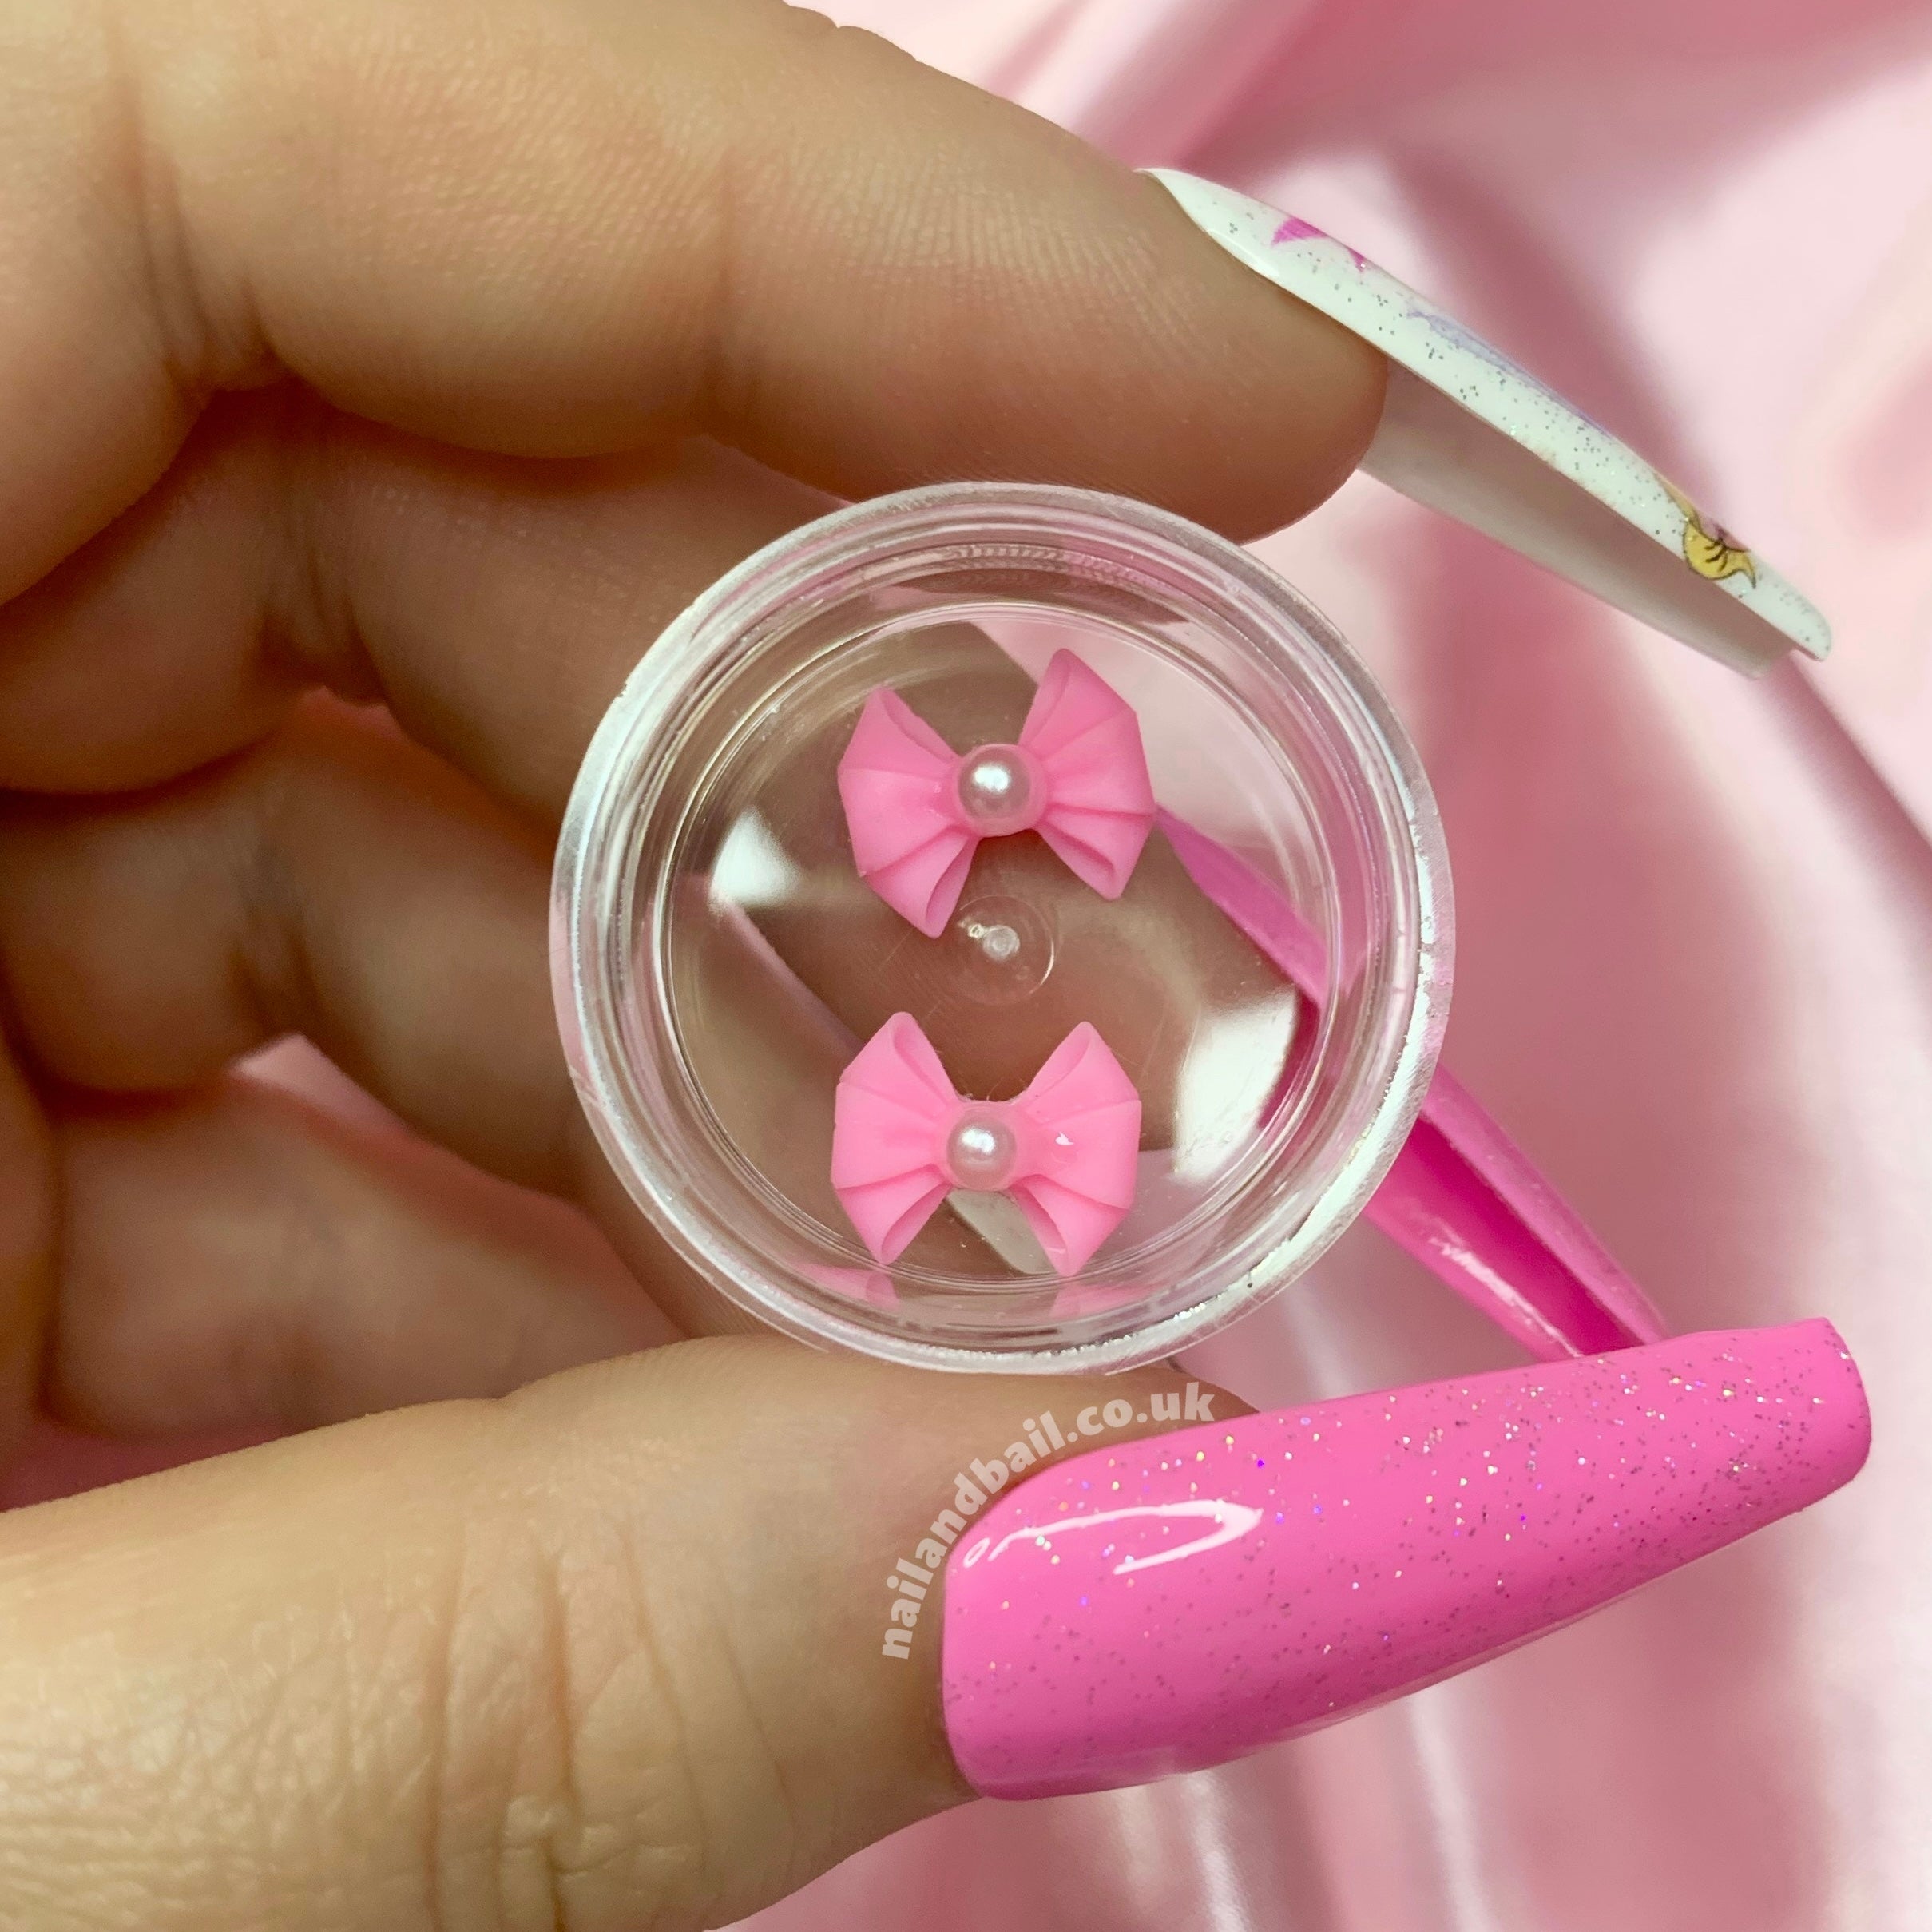
Flat Charms with Acrylic
Acrylic provide a sturdy base for your charm, making it a go-to method for those who want extra durability. Here’s how to apply nail charms using acrylic:
Step 1: Apply Acrylic
Start by applying a bead of acrylic where you want your charm to sit. Make sure the area is clean and free of any oils or dust for better adhesion.
Step 2: Place The Charm
While the acrylic is still wet, carefully place the charm onto the nail. Gently press it into the acrylic to ensure it adheres properly. Let it dry completely, and your charm will be securely set in place.
A Sleek Finish
Flat Charms with Gel
For a more flexible and glossy look, gel nails offer a fantastic surface to work with. The gel topcoat ensures a smooth, polished finish while keeping your flat back charms firmly in place. Here’s how to apply your charm using gel:
Step 1: Apply Acrygel
Start by applying a bead of acrygel to the nail in the location where you want your charm to sit.
Step 2: Apply Gel Topcoat
Before curing, apply a layer of gel topcoat over the acrygel. This will help seal the charm and give your nails a shiny, long-lasting finish.
Step 3: Place the Charm
While the gel topcoat is still wet, carefully place your charm onto the nail. Press it gently into the gel to ensure the charm sticks.
Step 4: Cure Under the Lamp
Once the charm is positioned, cure the nail under a UV or LED lamp as per the gel’s instructions. After curing, your charm will be securely embedded in a smooth, glossy surface.
Add a Touch of Charm
Final Touches
Once your charms are in place, take a moment to admire your work. Don't forget to moisturize your cuticles and hands to keep your nails looking their best. Whether you prefer playful dangles or elegant charms, the possibilities are endless. Get creative and let your nails do the talking!
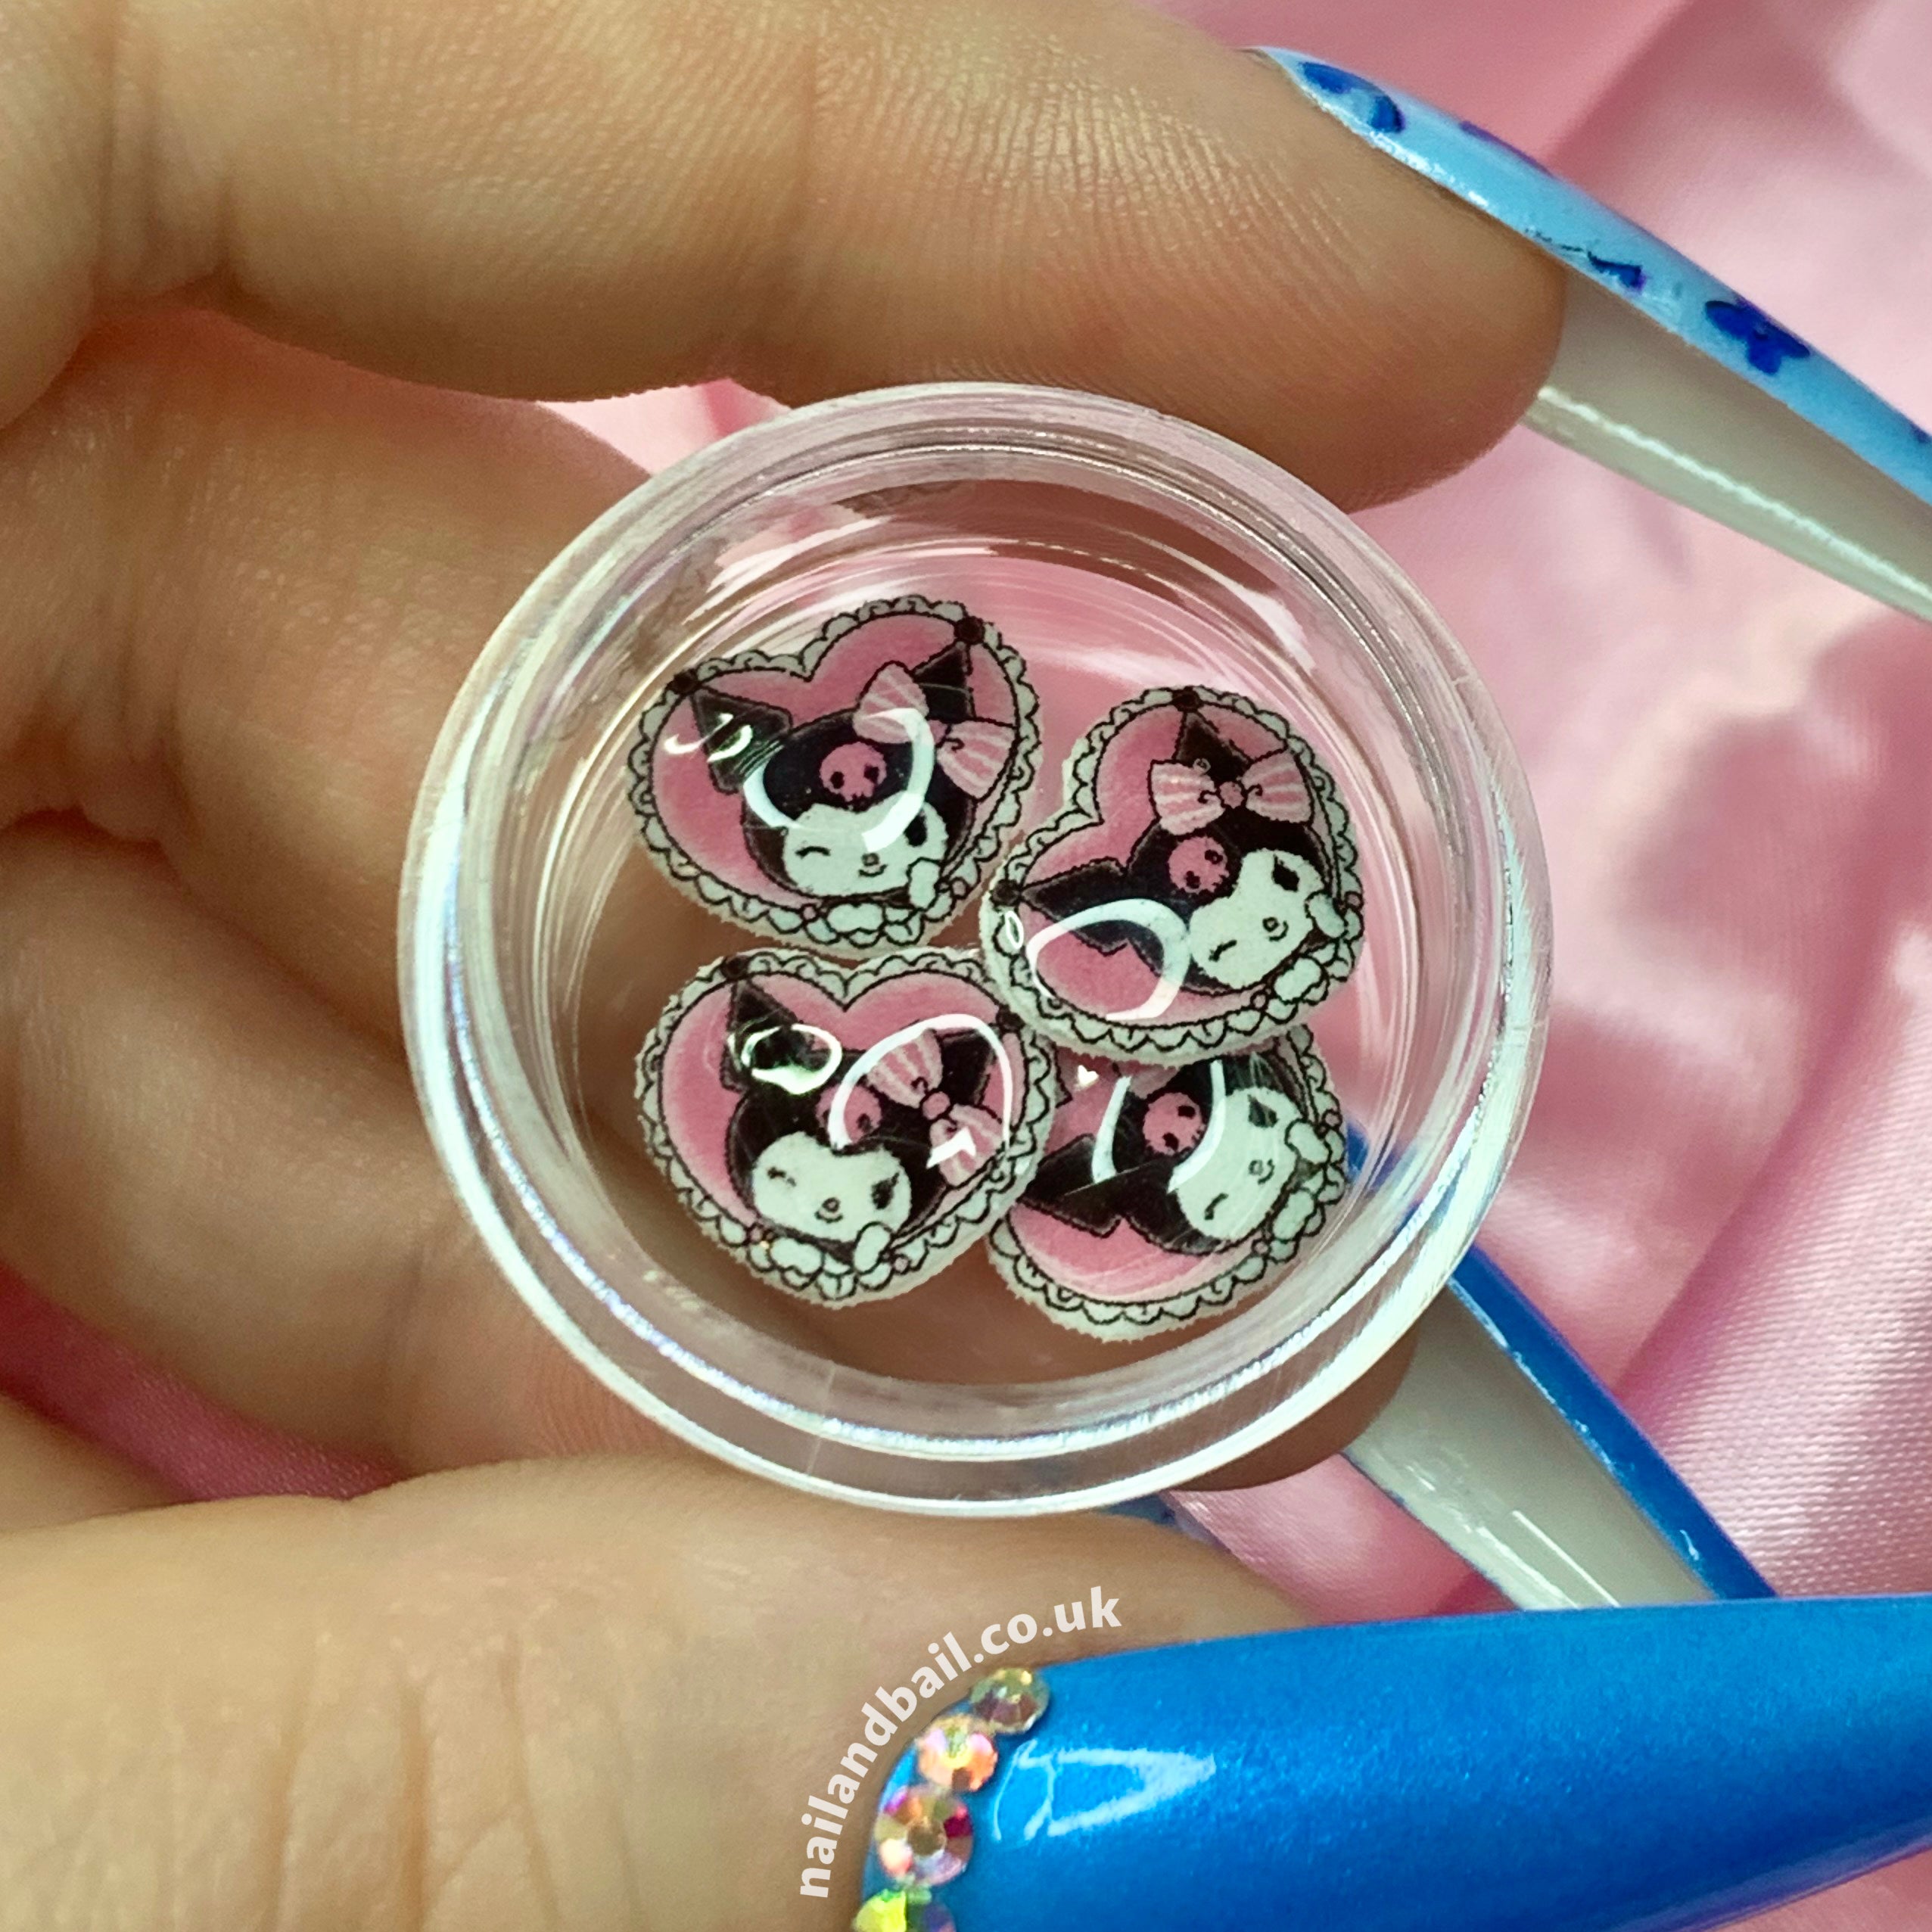
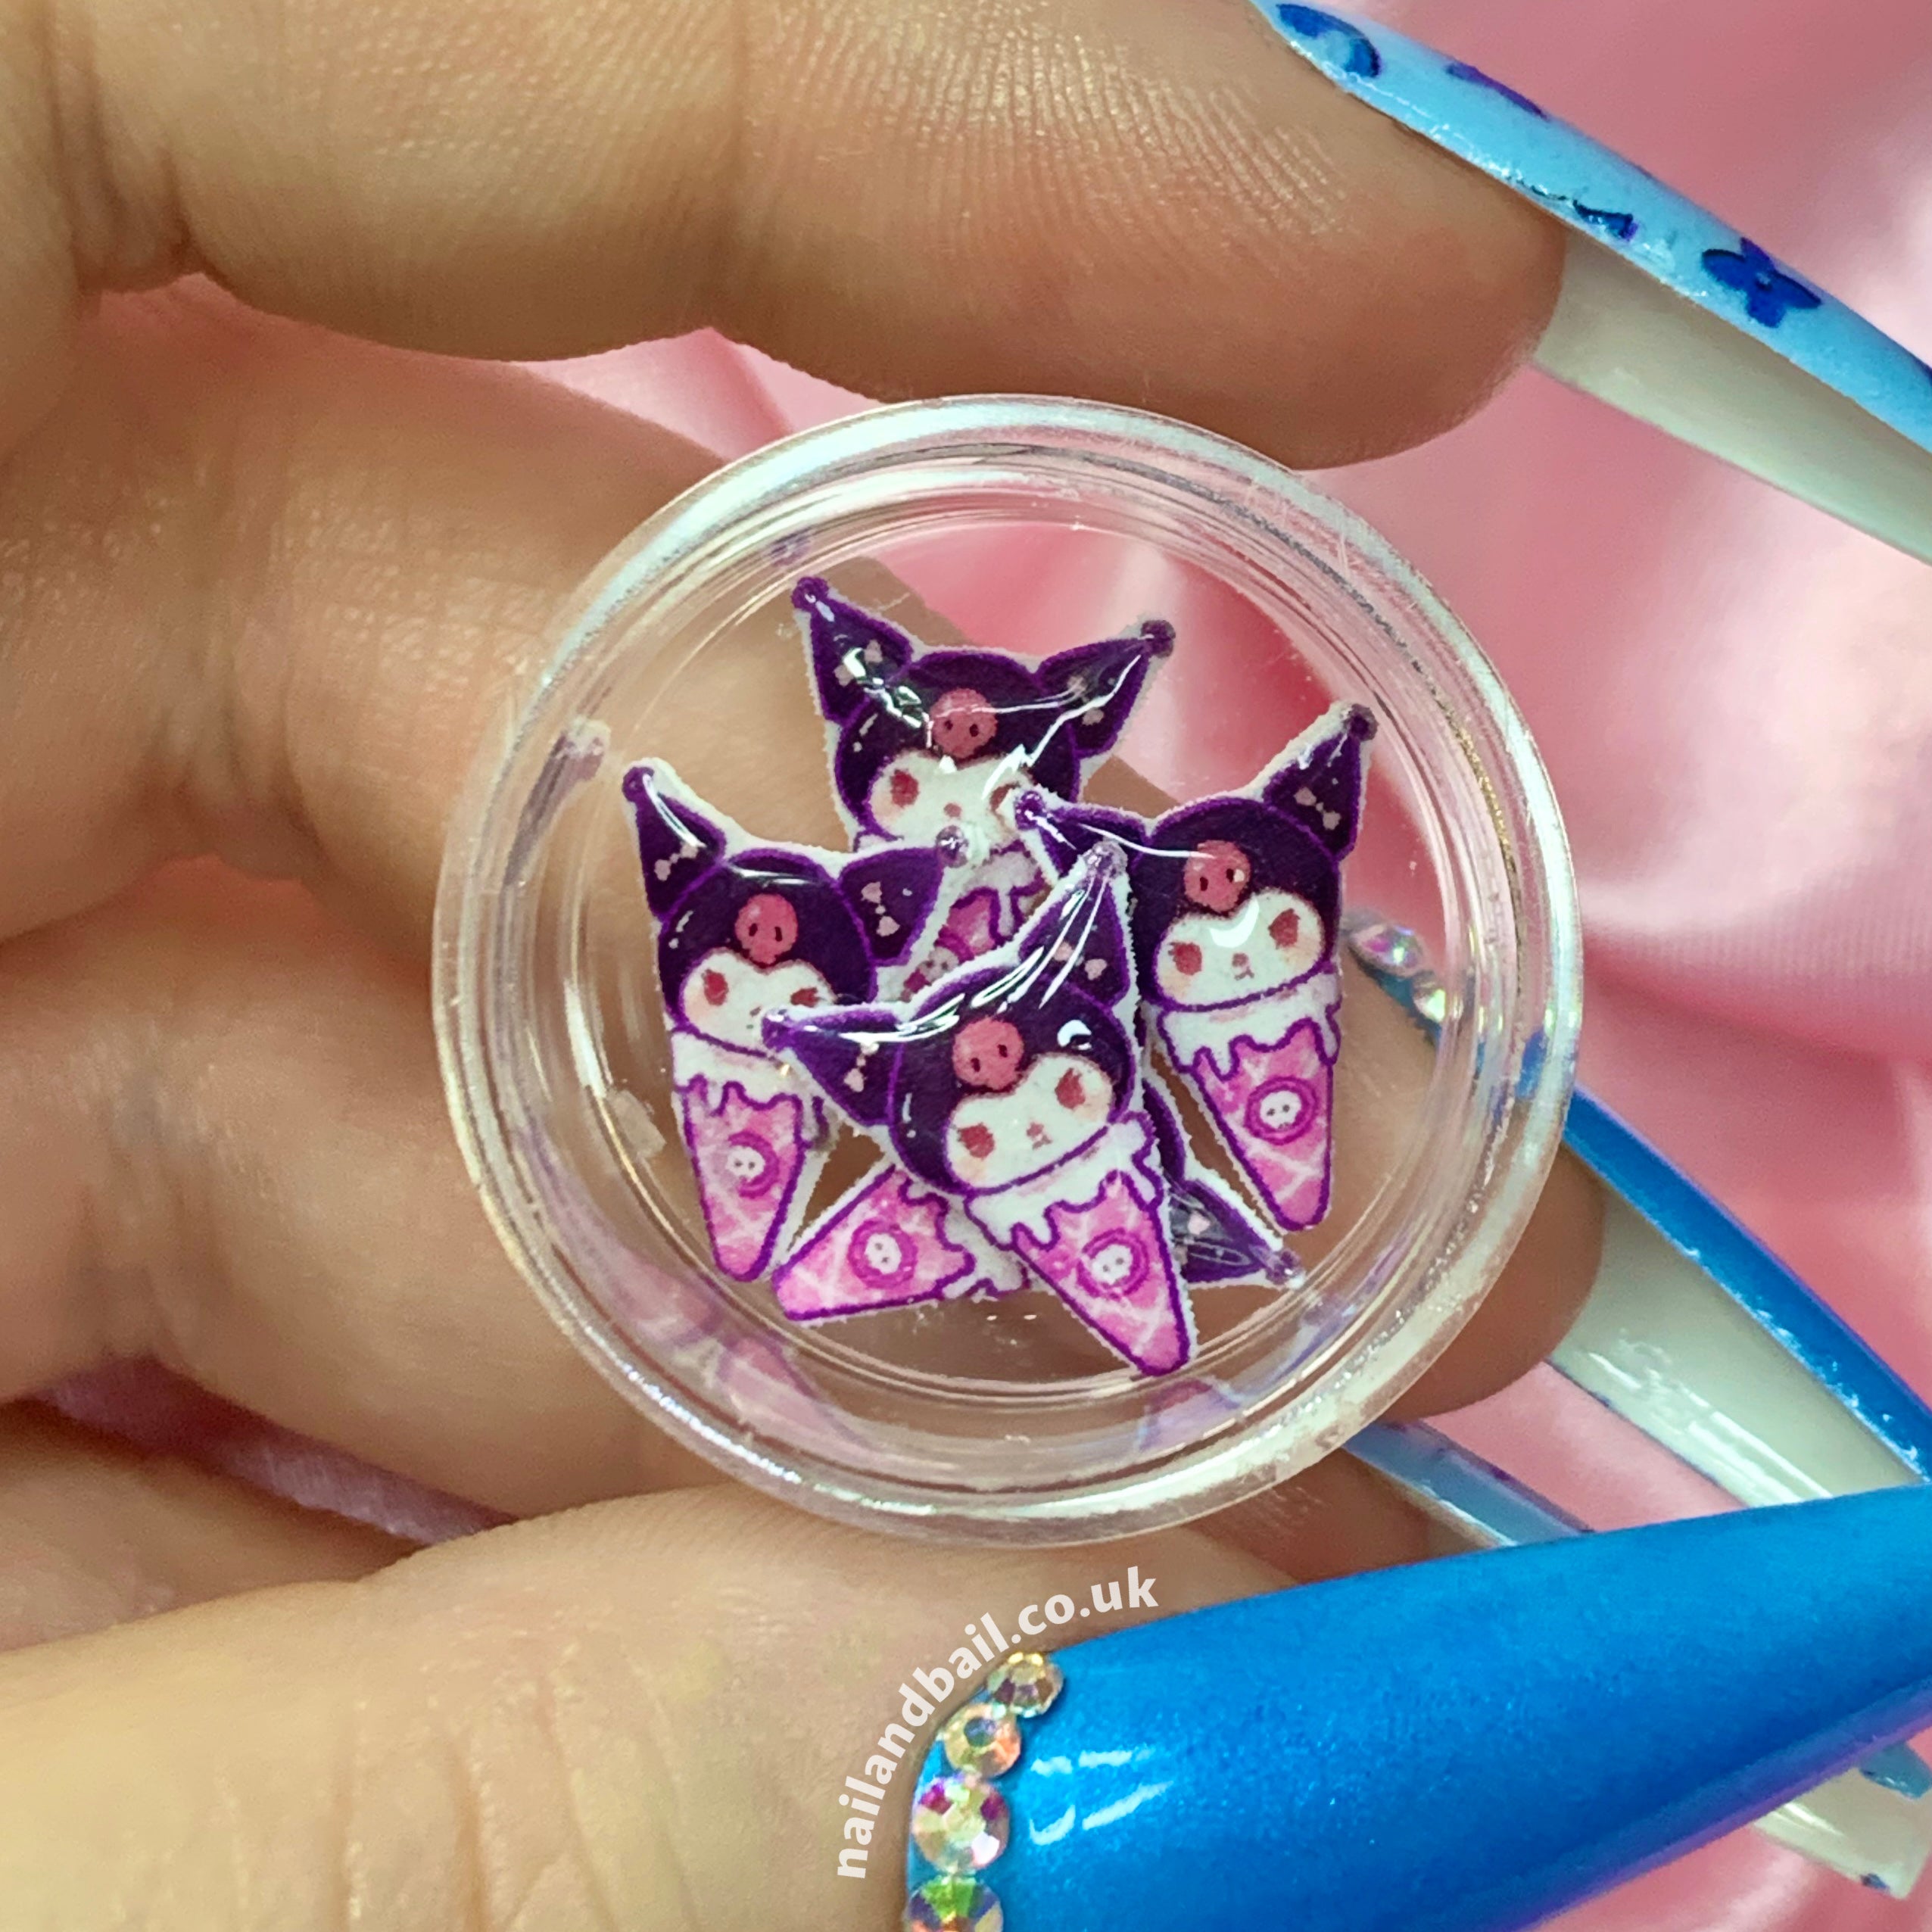
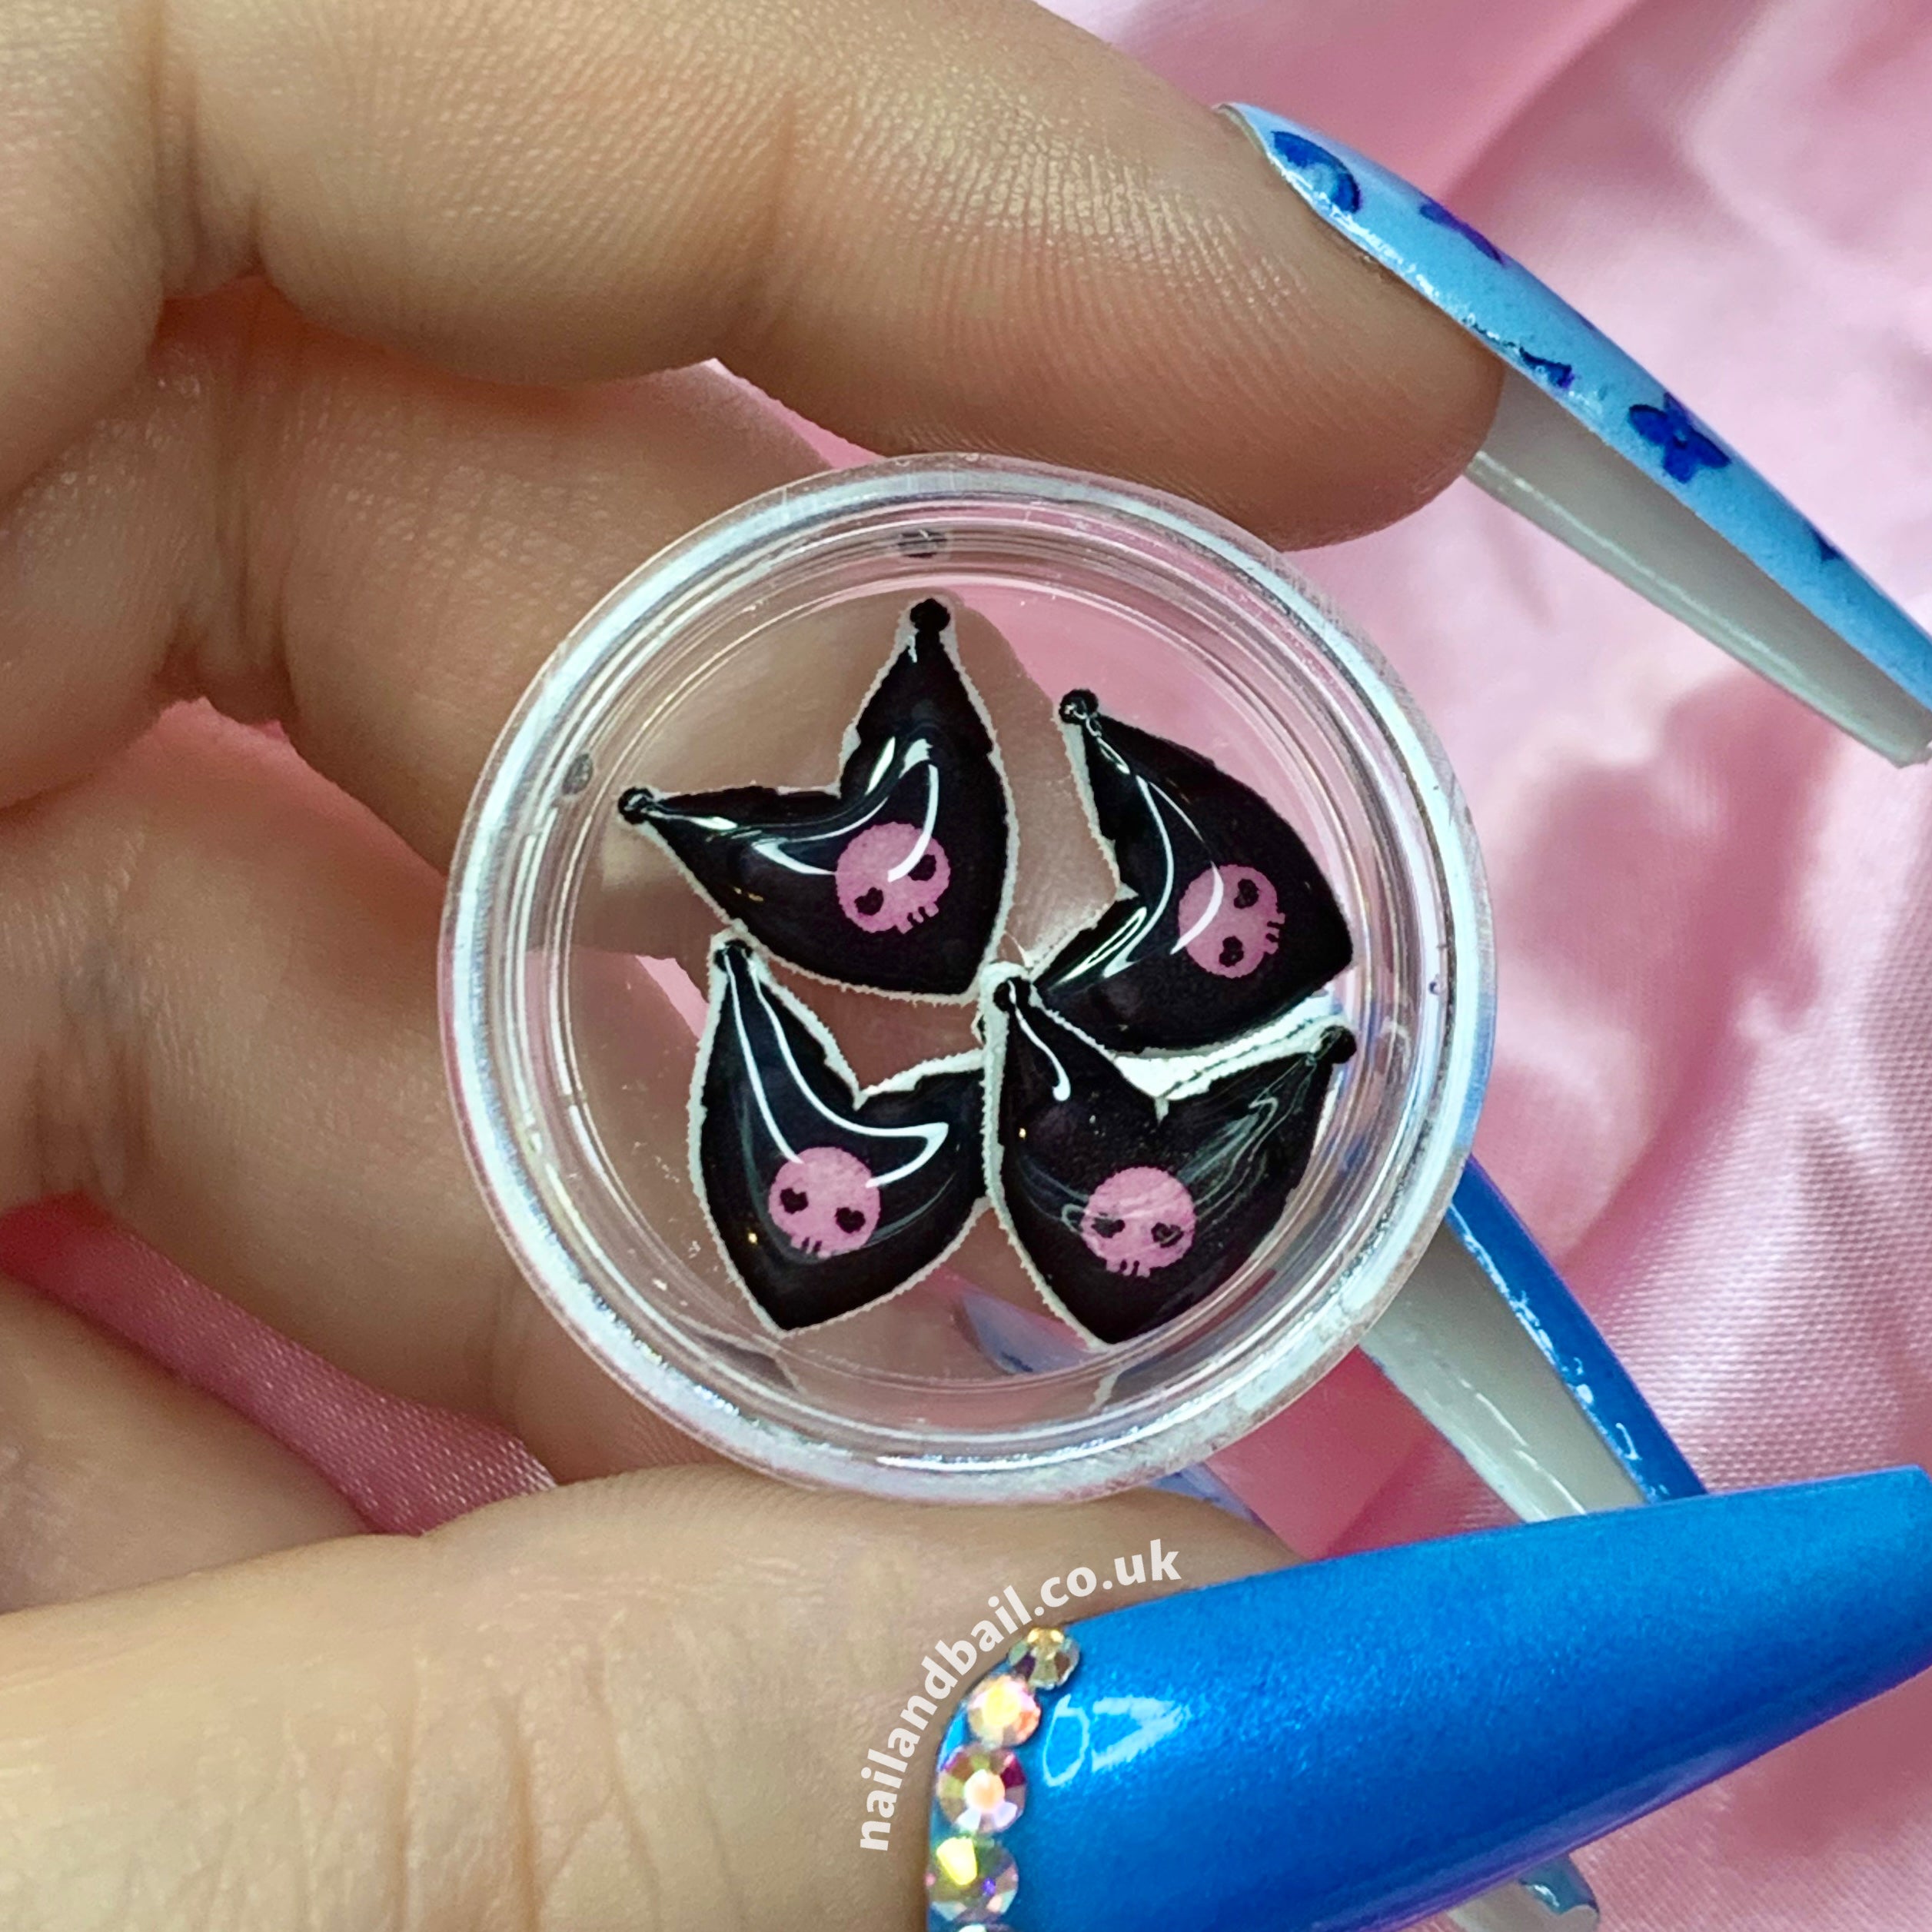
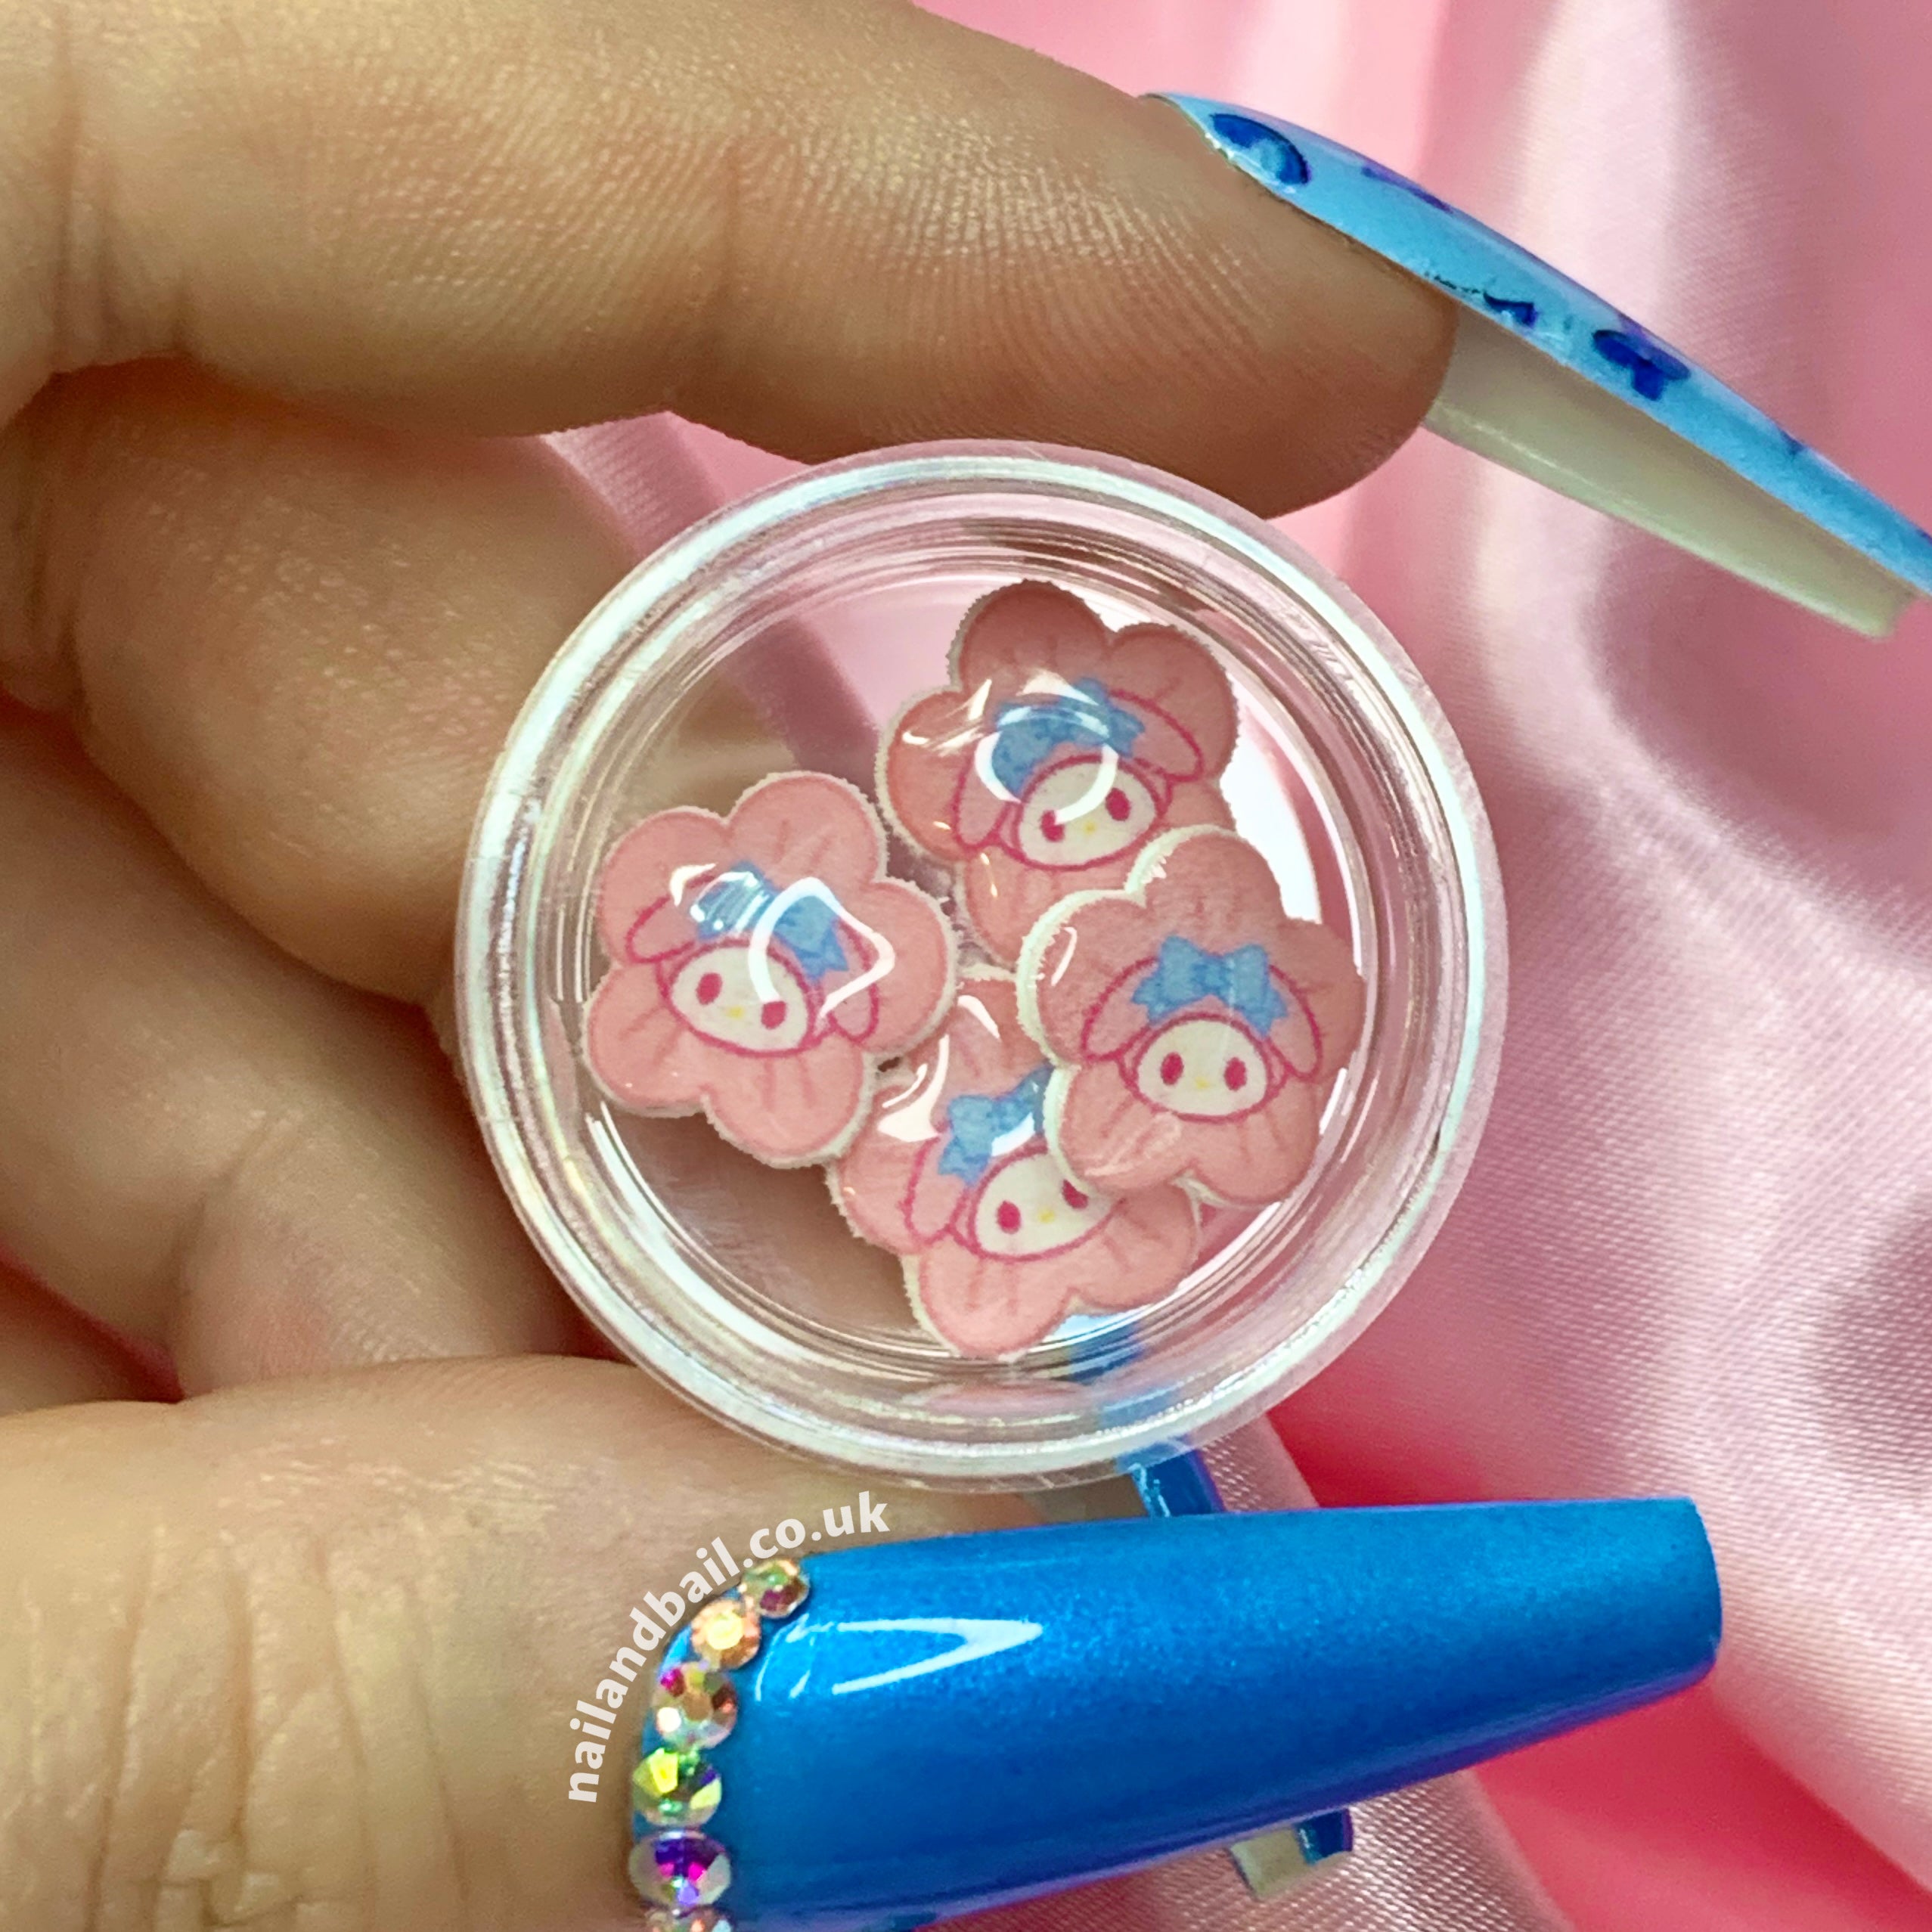
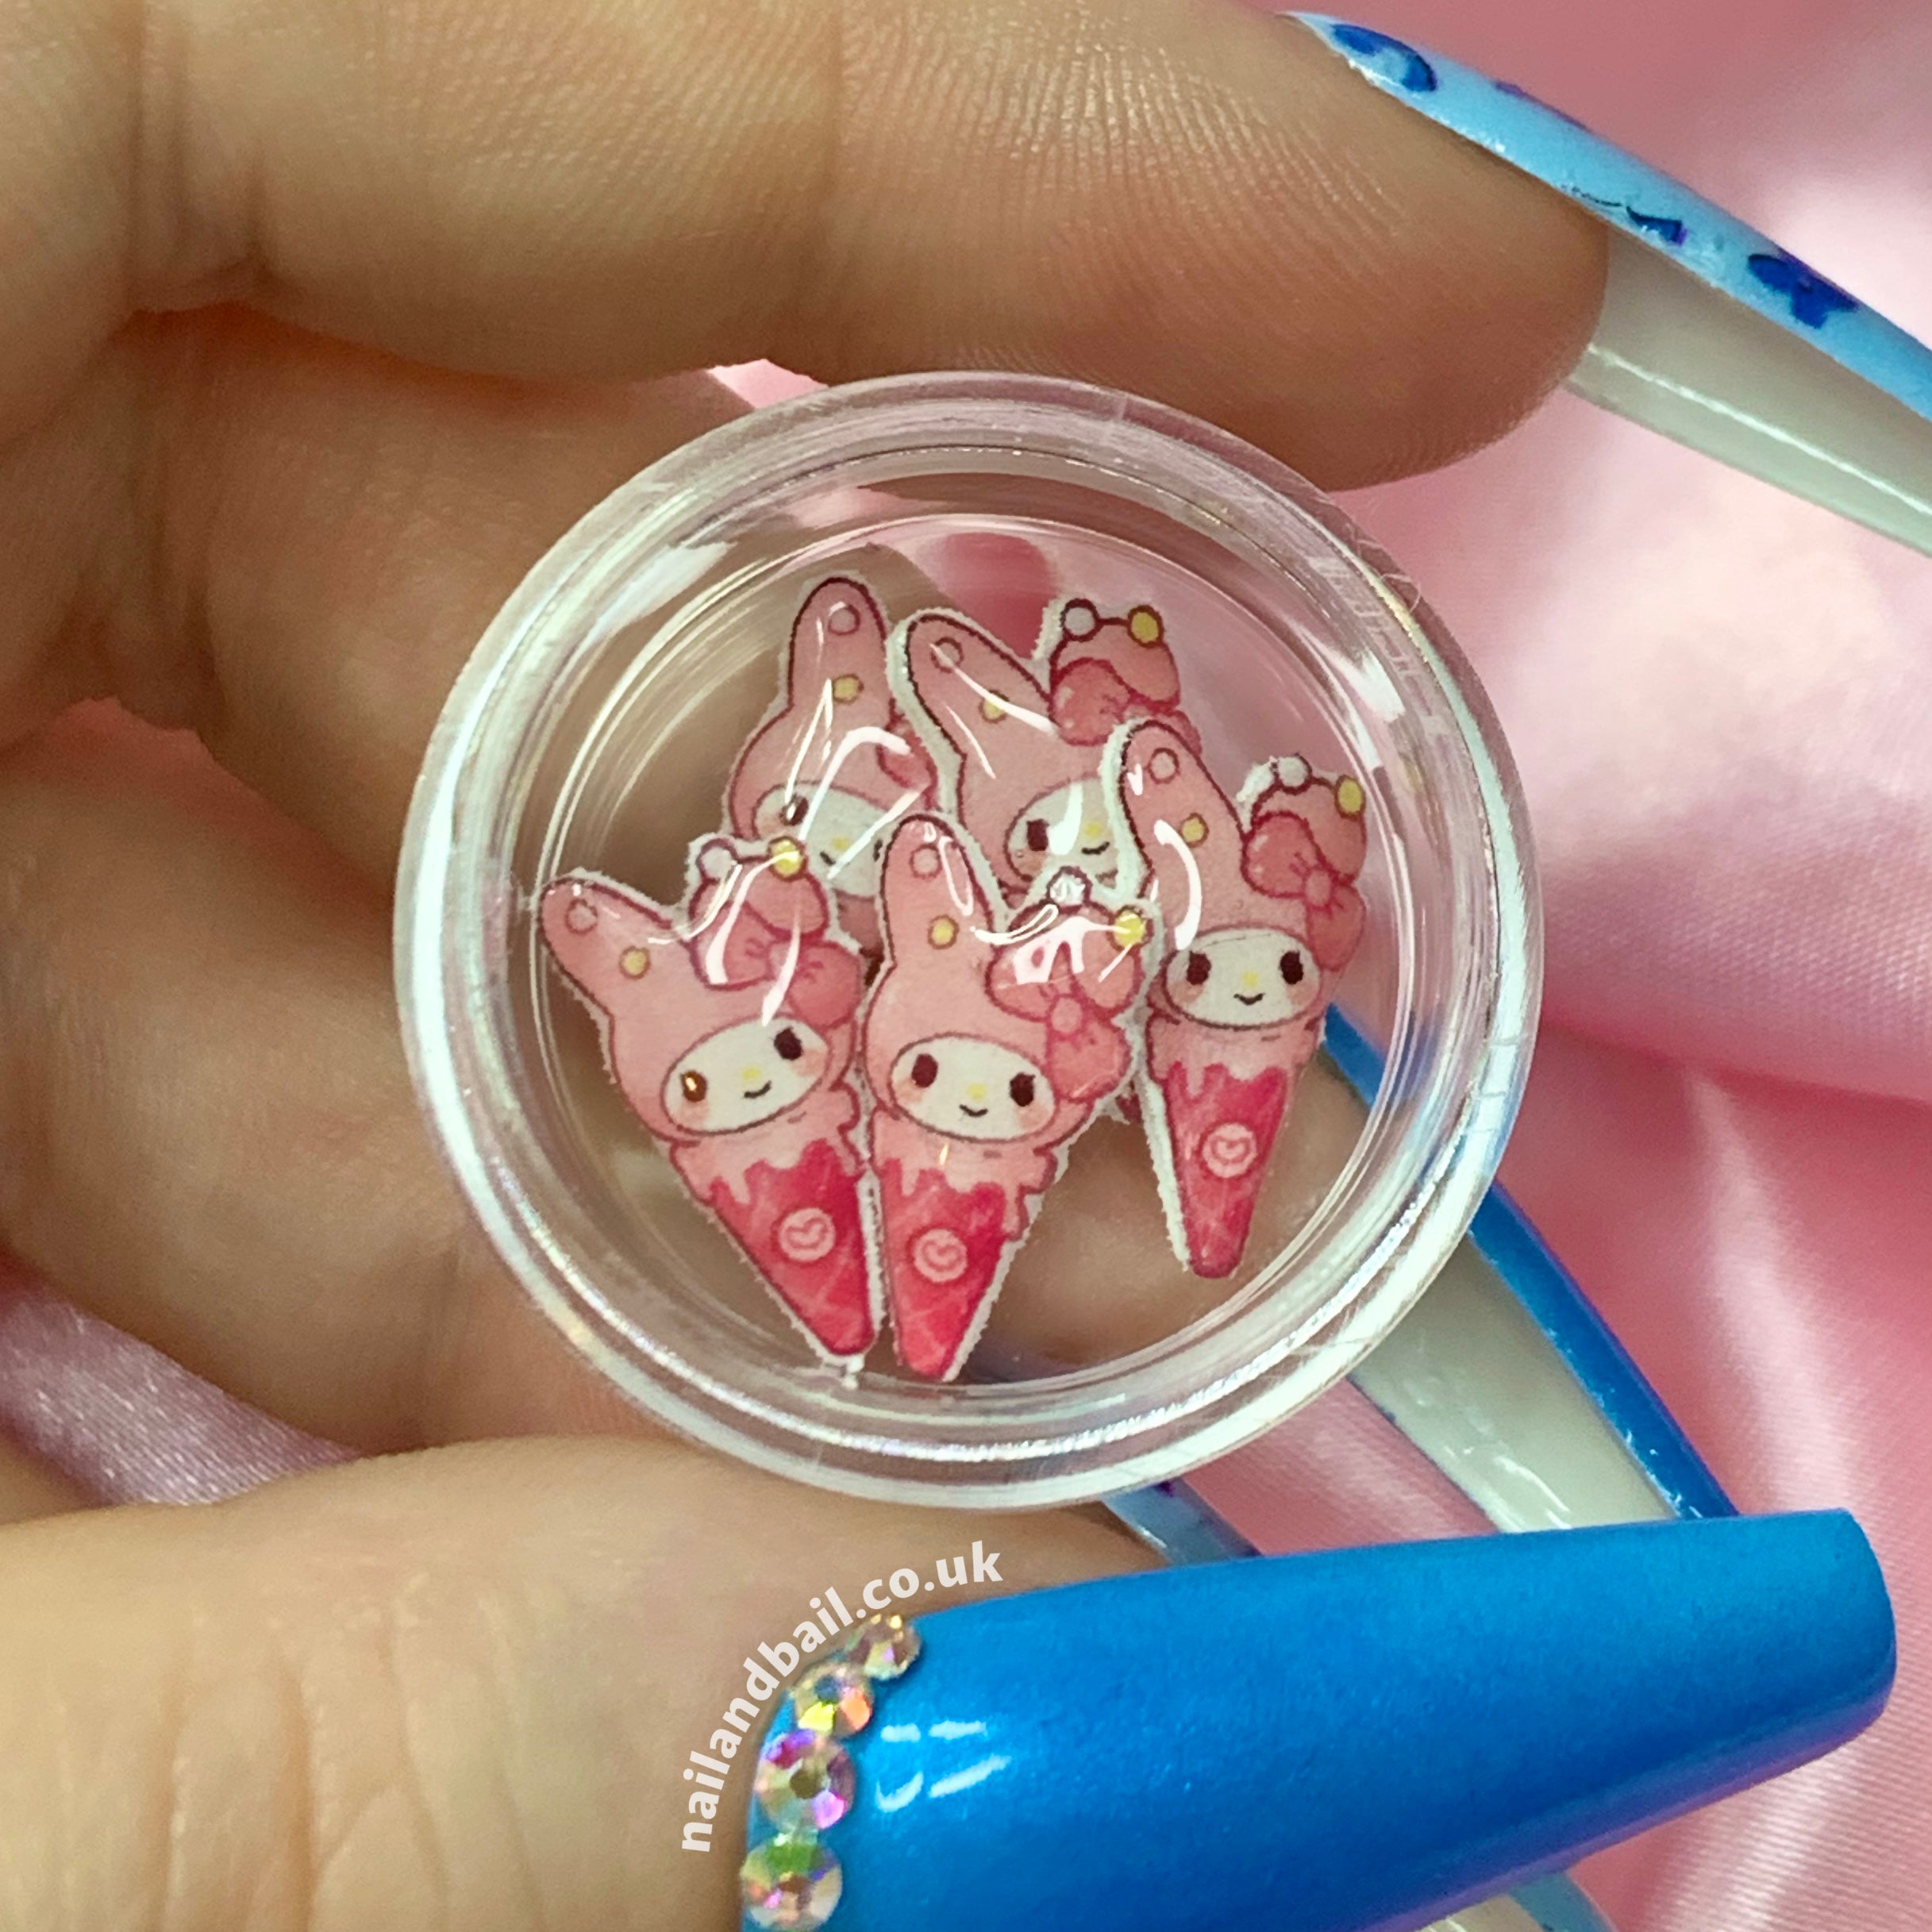
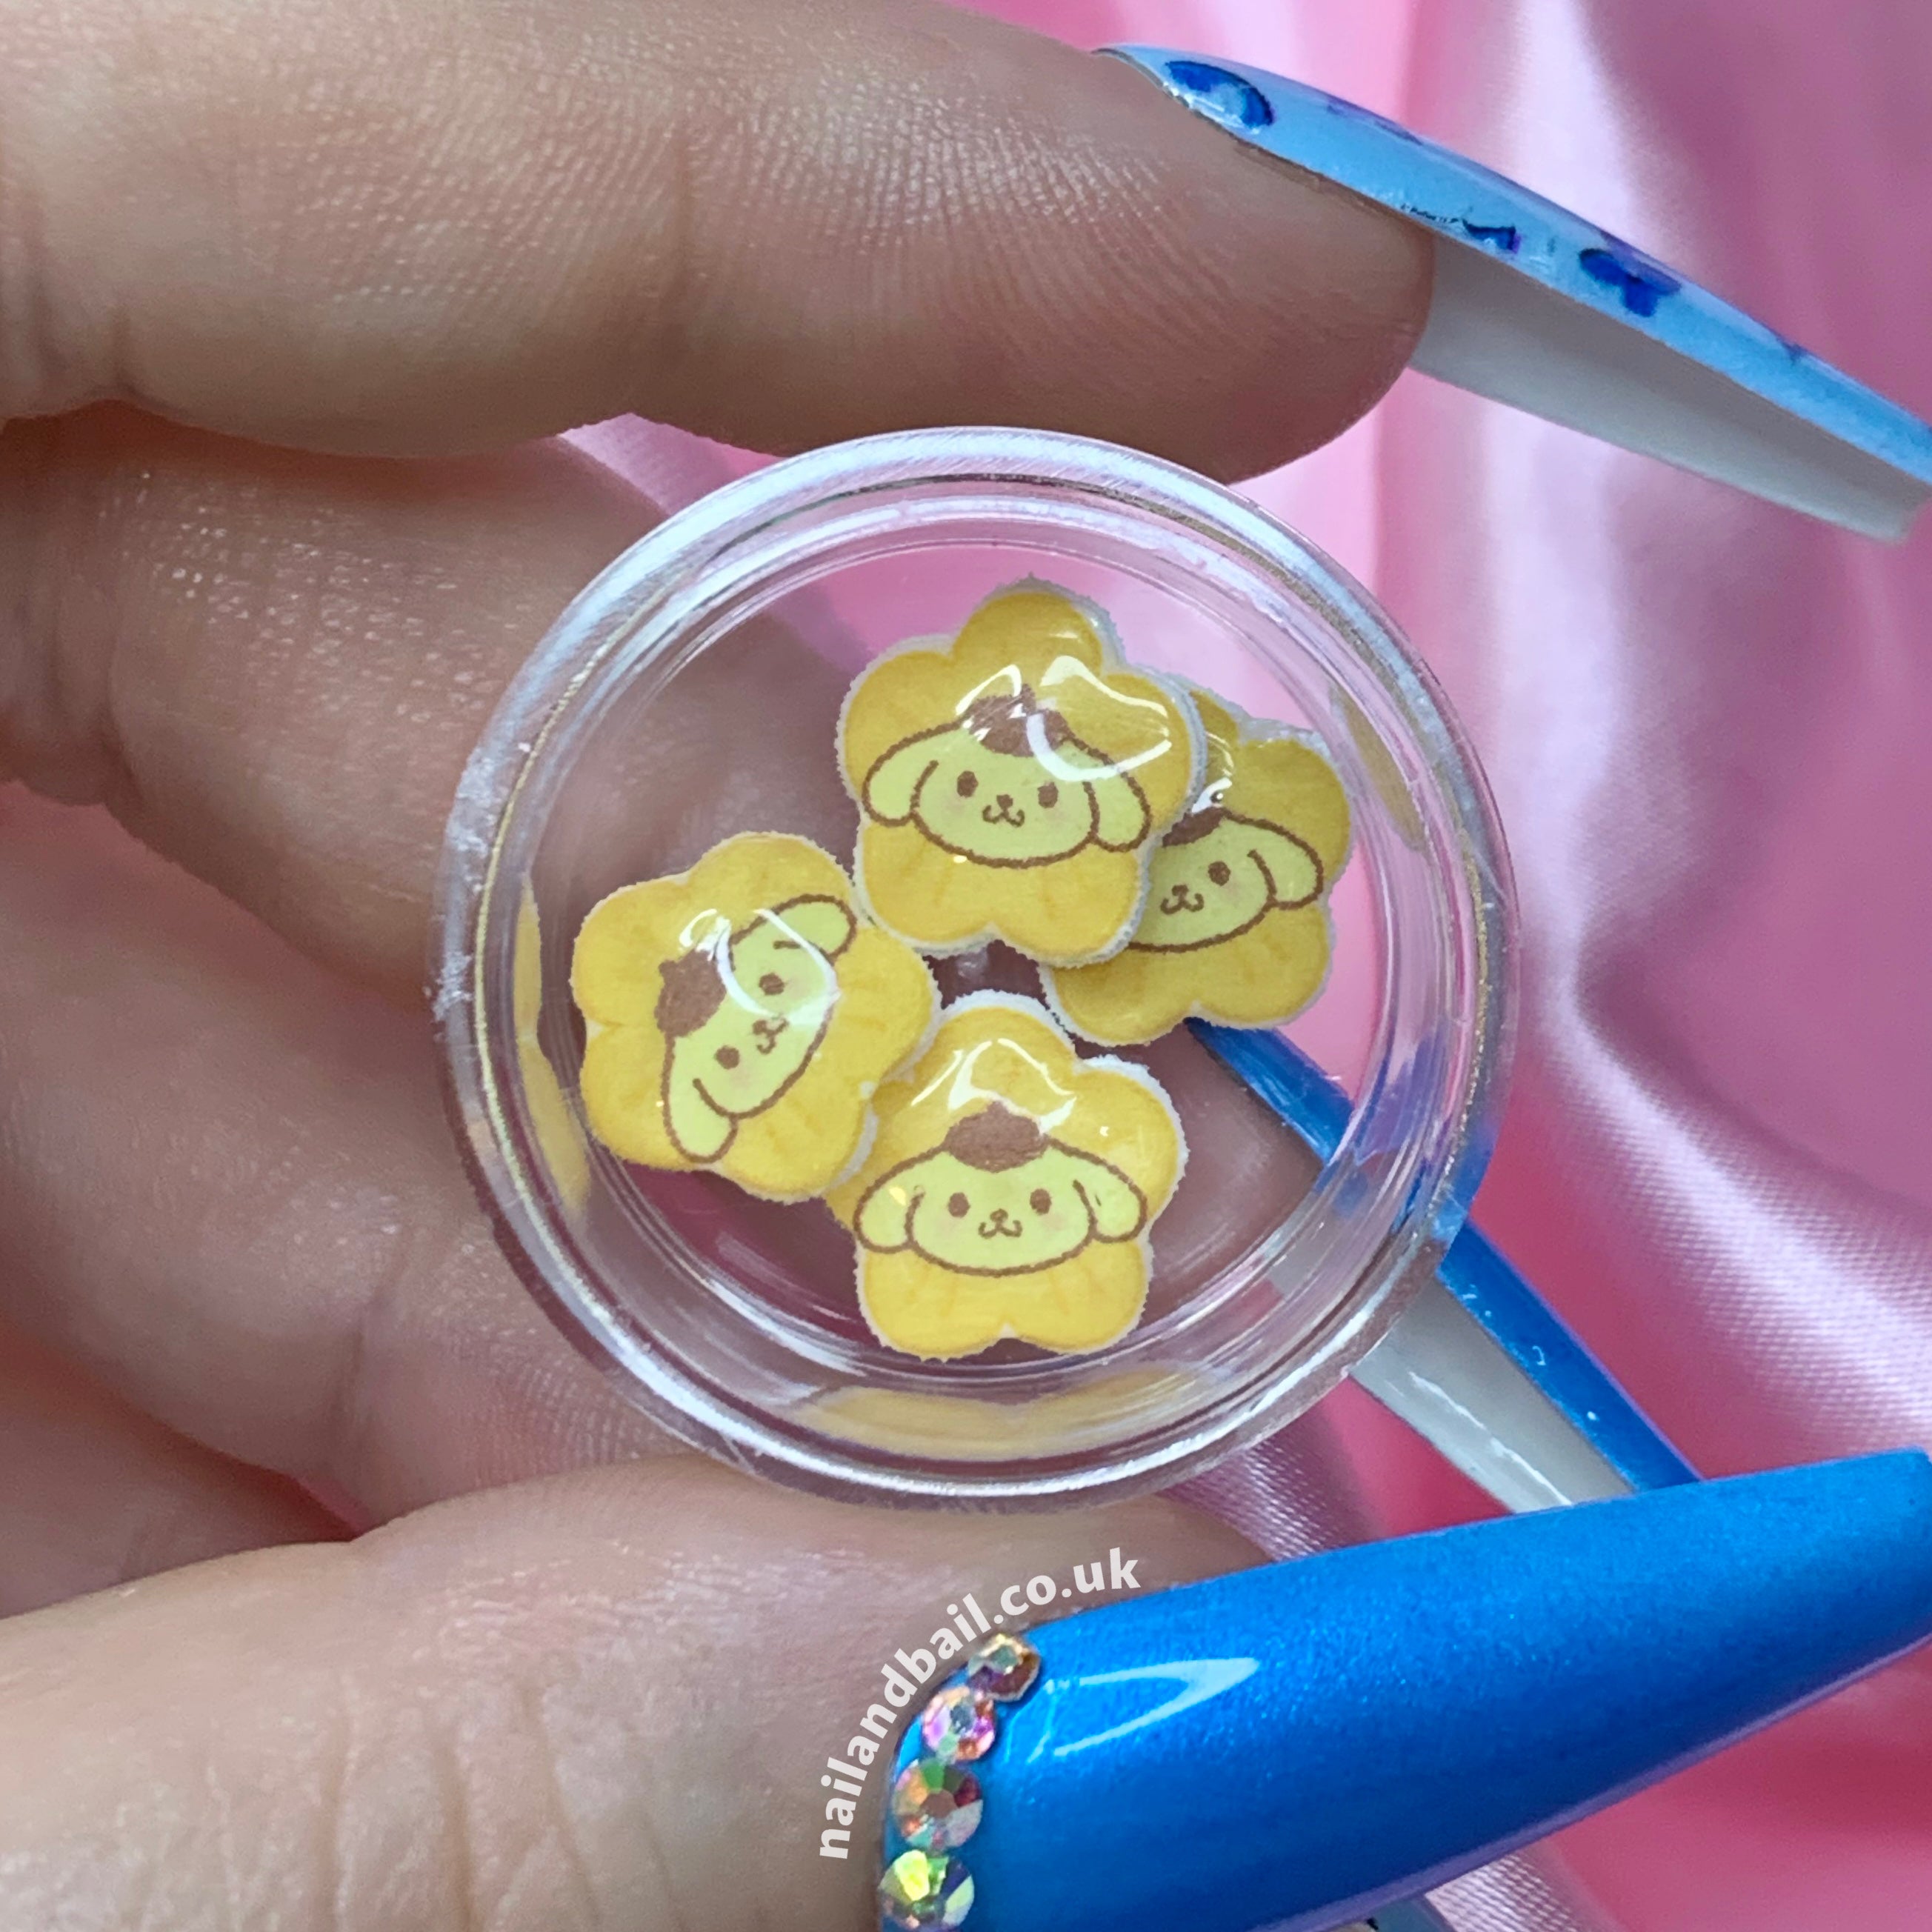
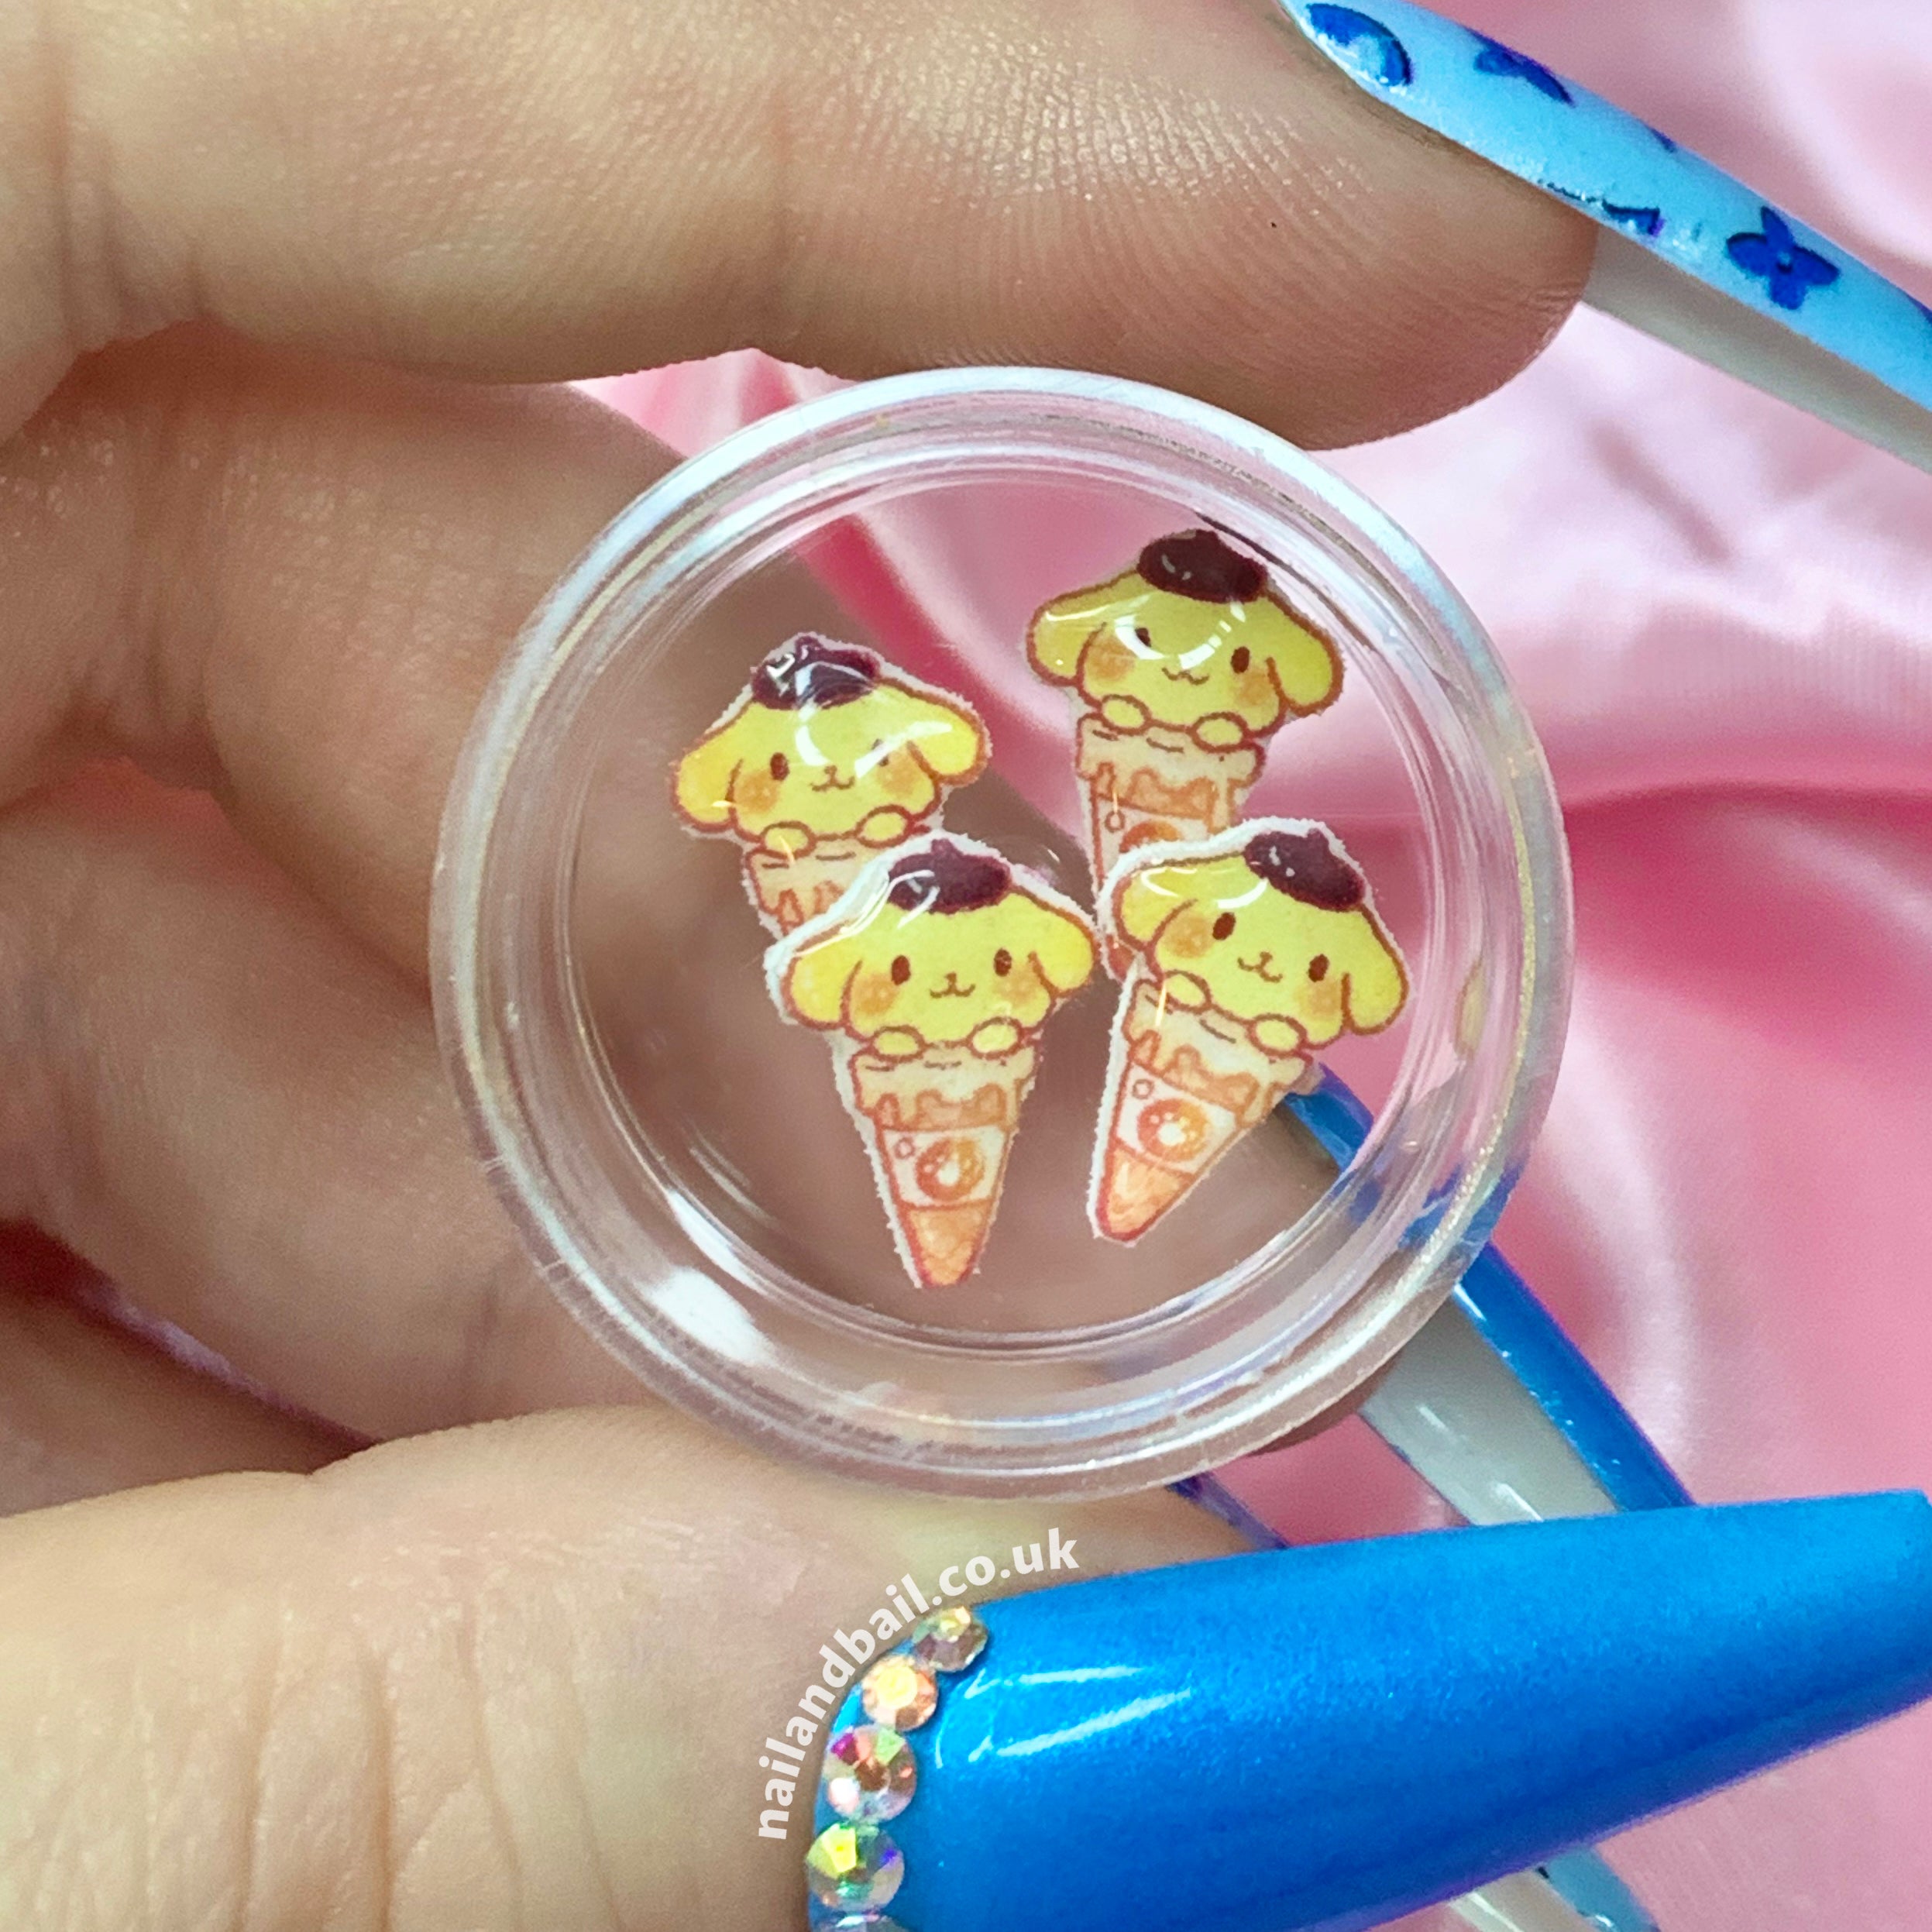
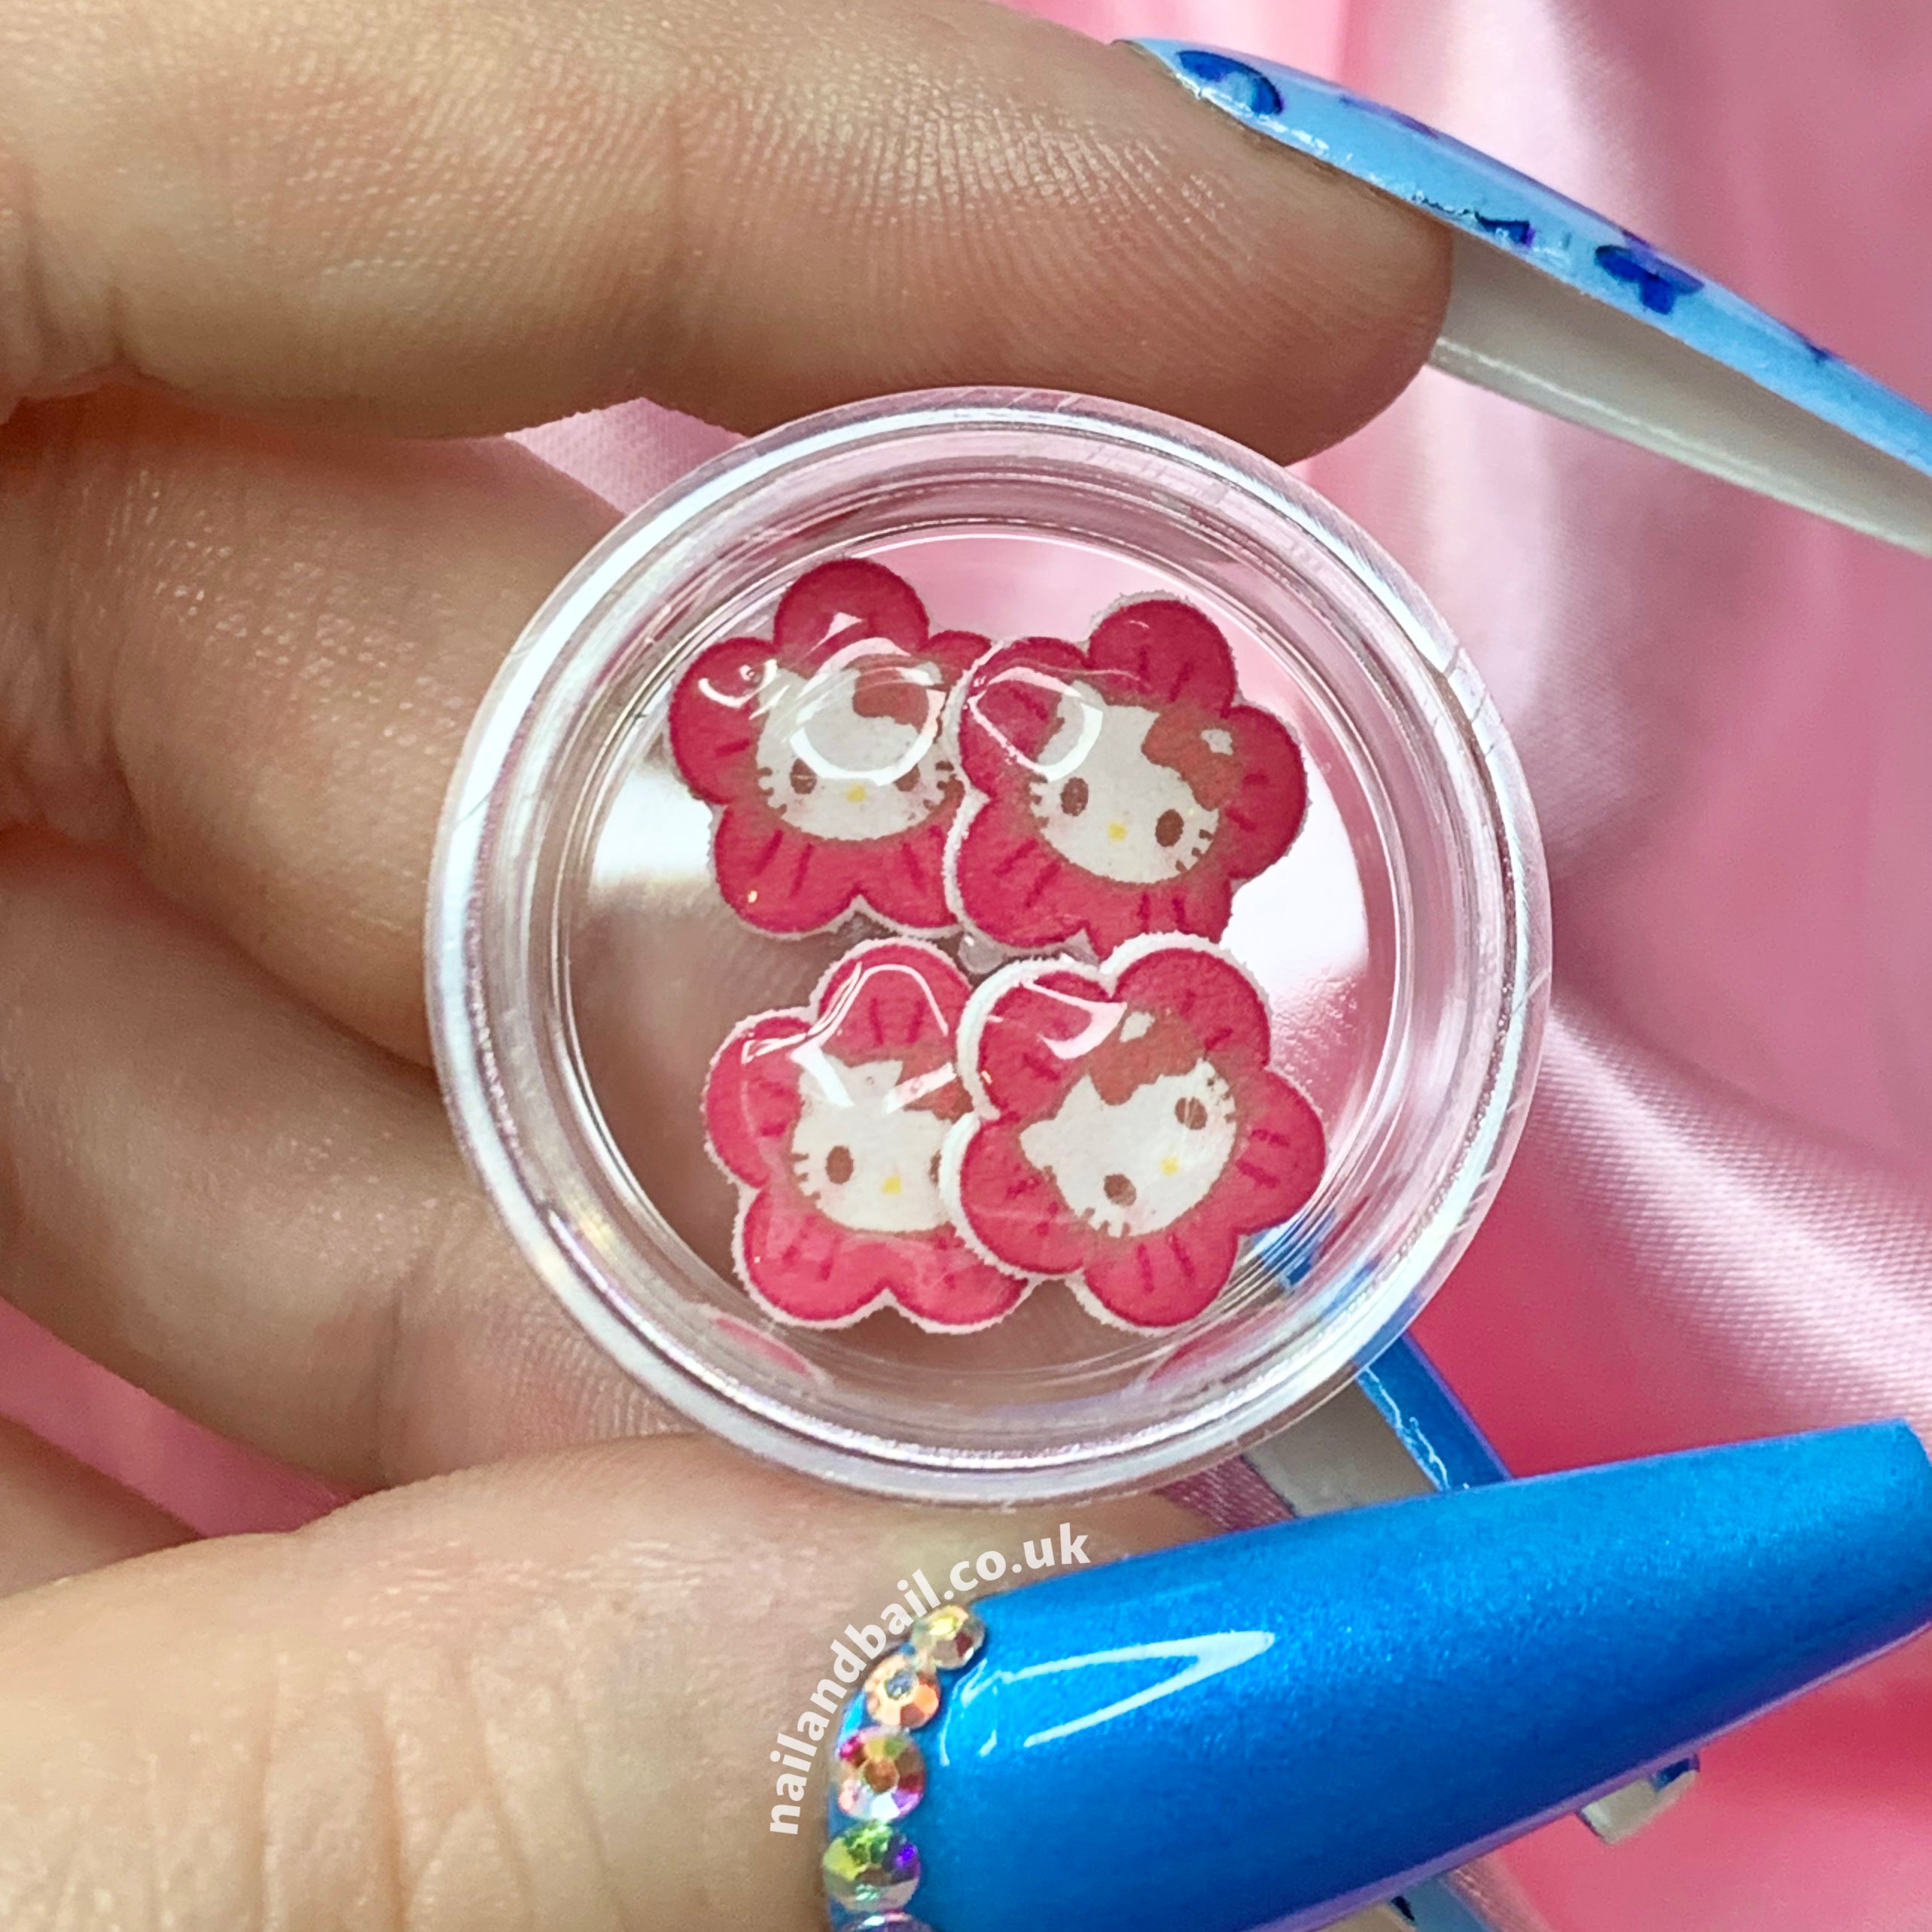
Find the perfect charm to match your vibe
Explore Our Nail Charms

Keep the Nail Vibes Going
Explore More Blog Posts
From nail care hacks to design inspo, our blog’s got everything you need to keep your nails on point.